(Written by Azul: November 16, 2025)

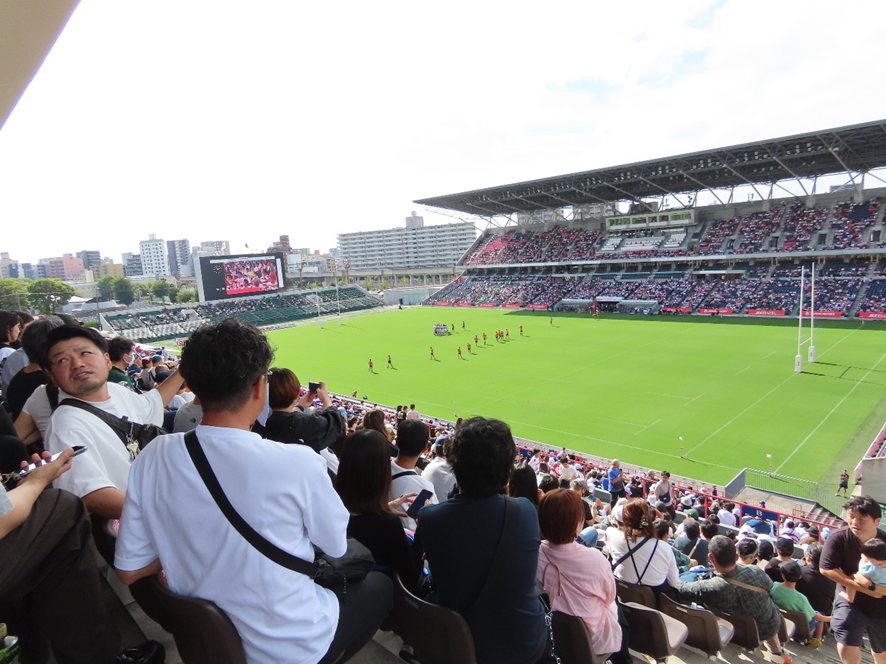
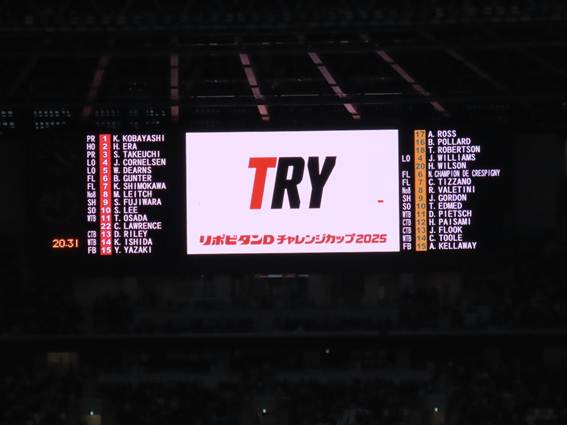
On October 25, 2025, a friendly match between the Japan national rugby team, the Brave Blossoms, and the Australian national team, the Wallabies, was held at the National Stadium in Shibuya Ward, Tokyo. The Japanese team had lost all 6 previous matches against Australia and still had no victories. Could the Japanese team finally secure their first win in this 7th encounter?
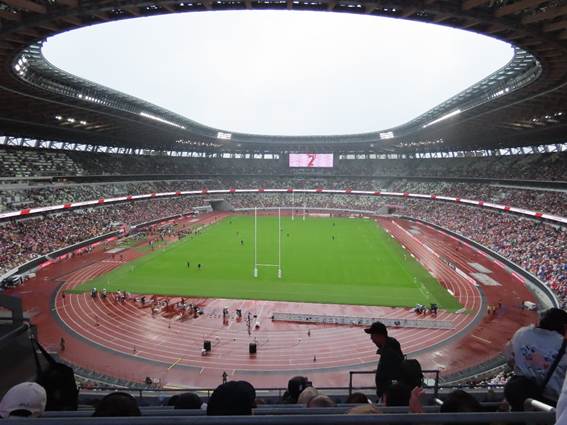
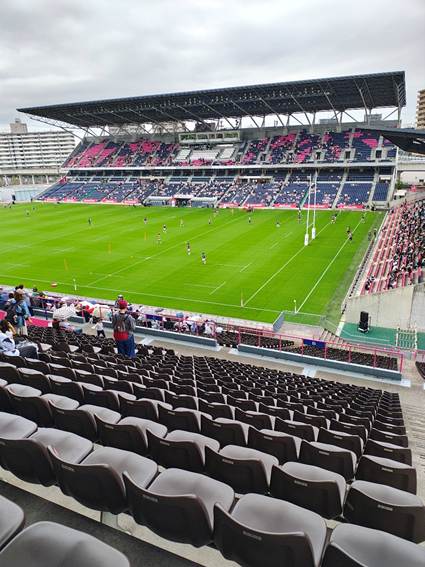
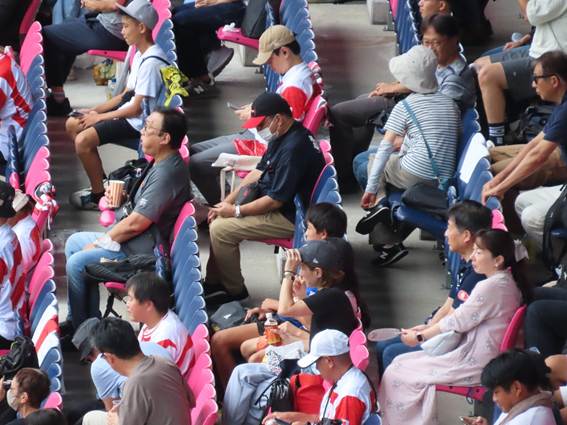
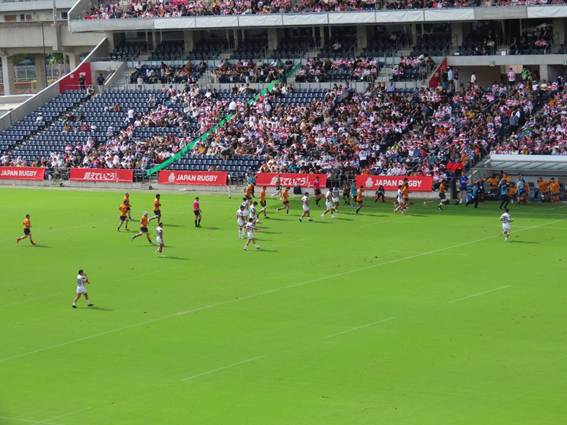
Unfortunately, the weather brought rain. The temperature was 15 degrees Celsius, making for a chilly match to watch.
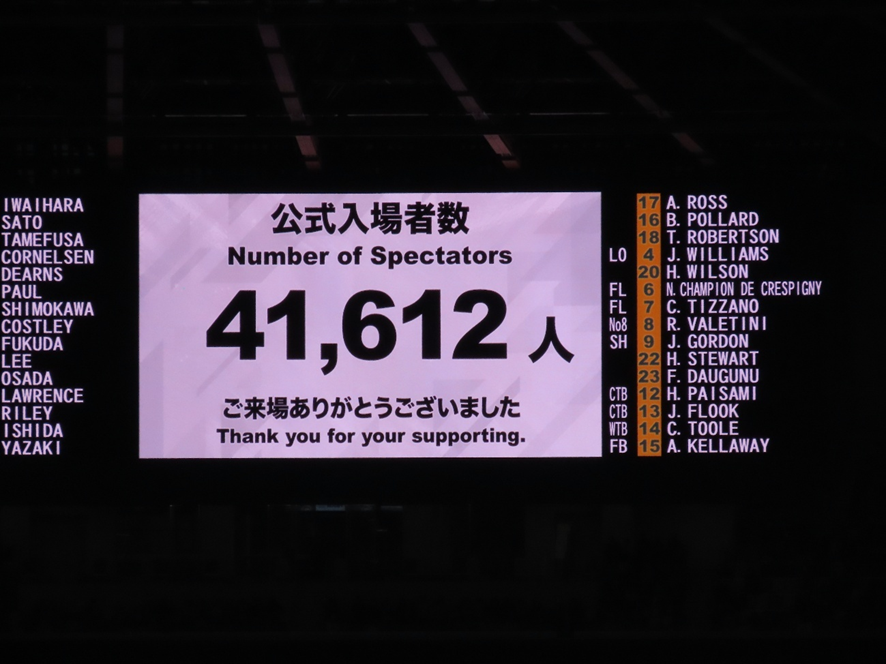
Attendance for the day was 41,612, a fairly decent turnout.
The Japanese national team is scheduled to tour Europe next, playing 4 Test matches.
The results of the Japanese national rugby team’s Test matches this season are as follows.
| Japan Rugby Test Match 2025 | ||||
| Date | Opponent | match venue | Result | |
| 1 | 6/28 | Maori All Blacks | Tokyo | 20-53● |
| 2 | 7/5 | Wales | Kitakyushu | 24-19○ |
| 3 | 7/12 | Wales | Kobe | 22-31● |
| 4 | 8/30 | Canada | Sendai | 57-15○ |
| 5 | 9/7 | USA | Heart Health Park | 47-21○ |
| 6 | 9/15 | Tonga | Dicks Sporting Goods Park | 62-24○ |
| 7 | 9/21 | Fiji | America First Field | 27-33● |
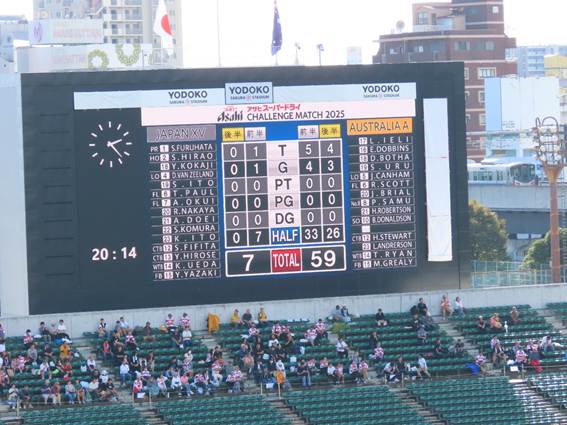
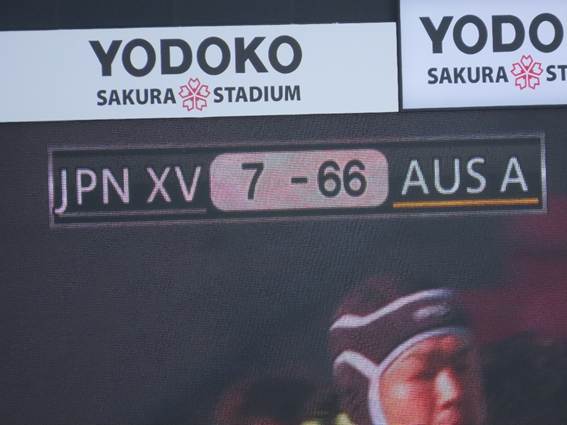
| 8 | 10/18 | Australia A | Yodokou Sakura Stadium | 7-71● |
| 5 | 10/25 | Australia | Tokyo | |
| 6 | 11/1 | South Africa | London | |
| 7 | 11/8 | Ireland | Dublin | |
| 8 | 11/15 | Wales | Cardiff | |
| 9 | 11/22 | Georgia | ||
Looking at the results so far, the Brave Blossoms have lost to opponents ranked higher in the world, except for the 7-5 win against Wales. With upcoming Test matches against higher-ranked nations, we hope to see them perform even better than last season.
Now, let’s introduce the 2 teams competing this day.
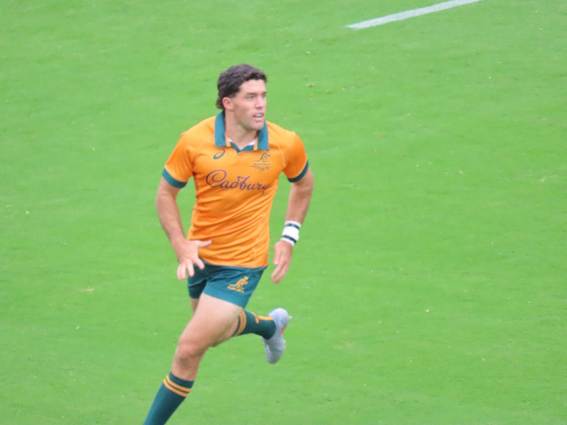
First, the Visitor Team: the Australian national rugby team, the Wallabies.
Currently ranked 7th in the world. They have won the Rugby World Cup twice, in 1991 and 1999. At RWC 2023, they suffered the humiliation of their first-ever pool stage elimination. However, since last season, the team has strengthened and is regaining its peak form. The Wallabies’ playing style combines dazzling open attack with stable set pieces anchored by a powerful forward pack. They are not a team that relies solely on the forwards to attack, making them a good matchup for the Brave Blossoms, who also excel in open attack. This has historically produced exciting matches. However, the head-to-head record favors the Australian national team completely. The Japanese national team has never won.
** Player to watch **
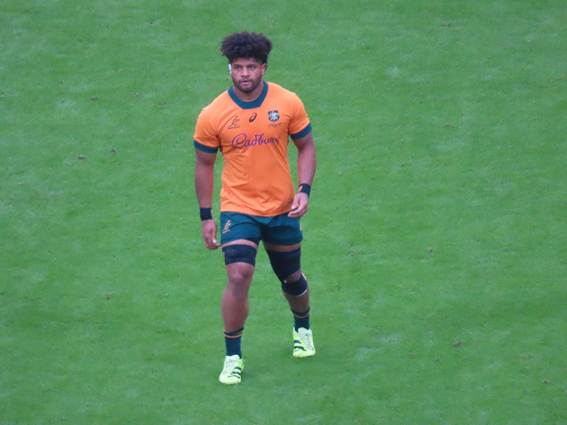
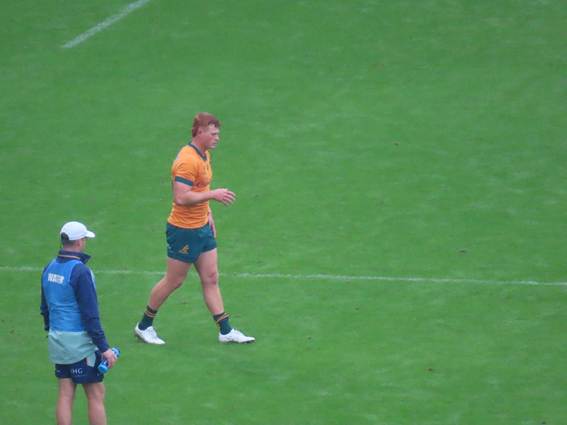
Rob VALETINI. 193cm, 117kg, 27 years old. Position = FL, No. 8. Club = Brumbies. Australia caps = 39. The second player in history to sign a Super Rugby contract while still in high school. In 2018, he suffered a major injury that forced him to take an extended break. However, his subsequent performances earned him his Australian Test debut against Samoa in September 2019. His playing style, leveraging his powerful physique, features strong ball carries and clever offload play that leaves a strong impression on spectators. In 2023, he was named Super Rugby Pacific Player of the Year.
In this Test match, the powerful Wallabies back row, centered around him, is expected to dominate the game.
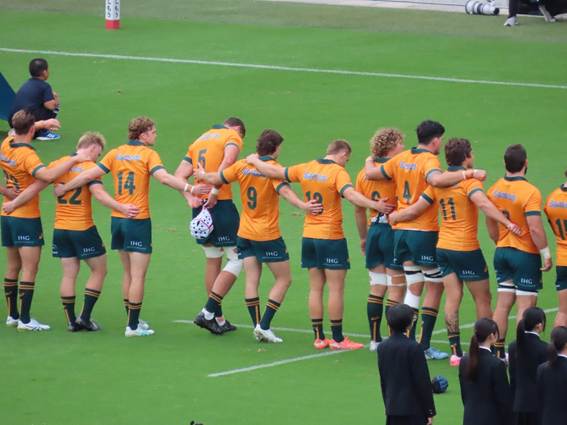
Next, an introduction to the Home Team, the Japan national rugby team, the Brave Blossoms.
The Brave Blossoms face 4 consecutive weeks of matches against teams ranked in the top tier of the world rankings starting this week. The goal for this series is to elevate their current world ranking of 13th into the top 12. The RWC 2027 pool draw will be determined by the world rankings as of December this year. To secure a favorable pool draw in the RWC 2027 qualifiers, they aim to accumulate wins even against top-ranked opponents. Will the Brave Blossoms succeed?
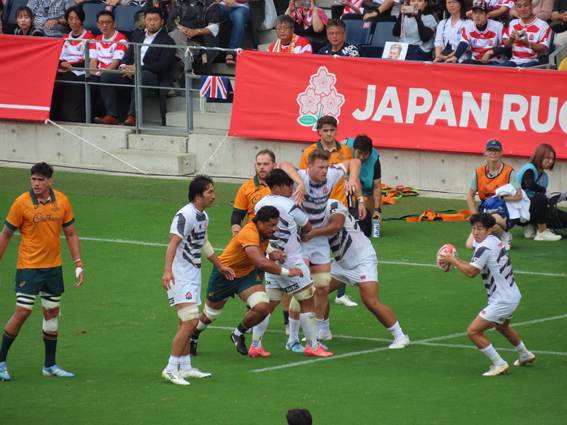
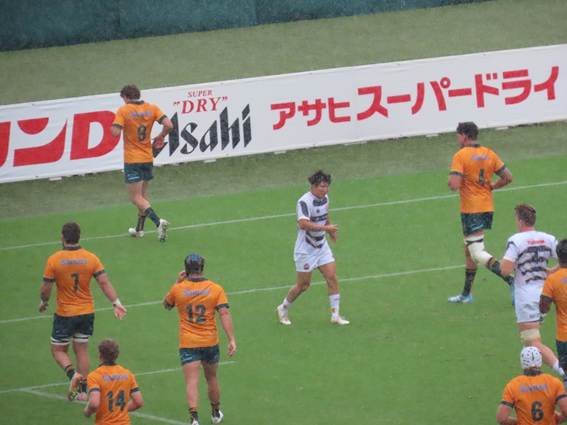
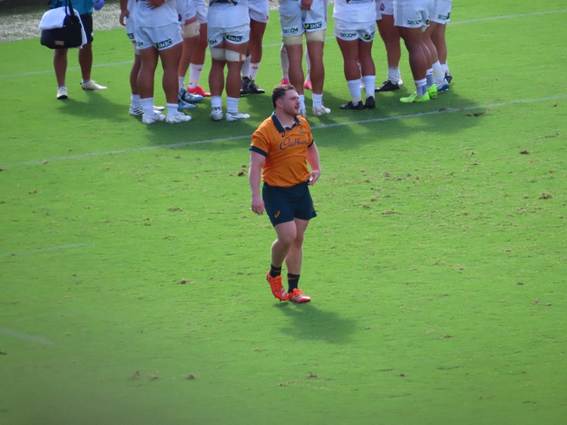
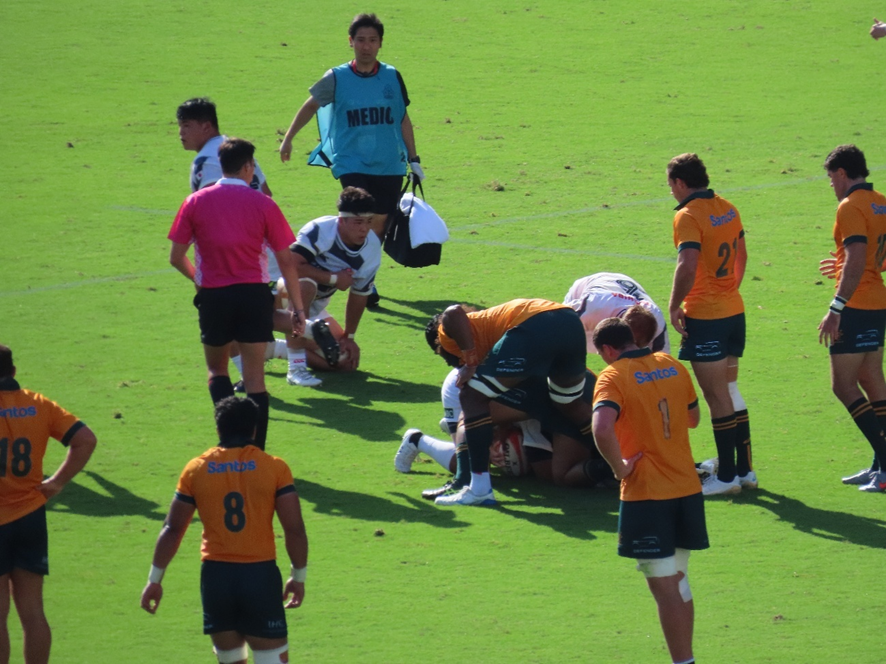
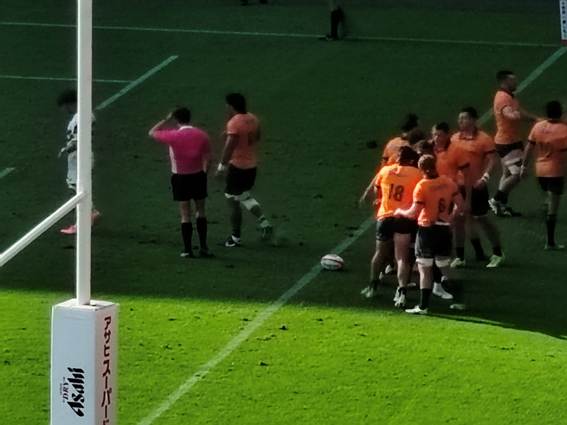
** Player to watch **

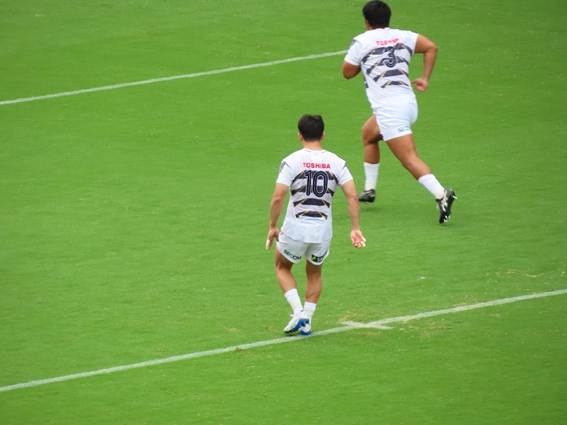
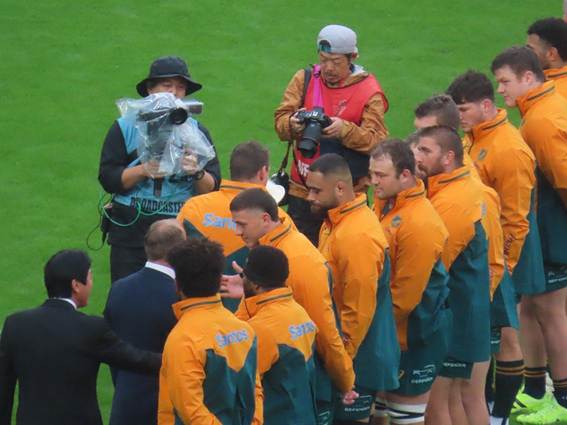
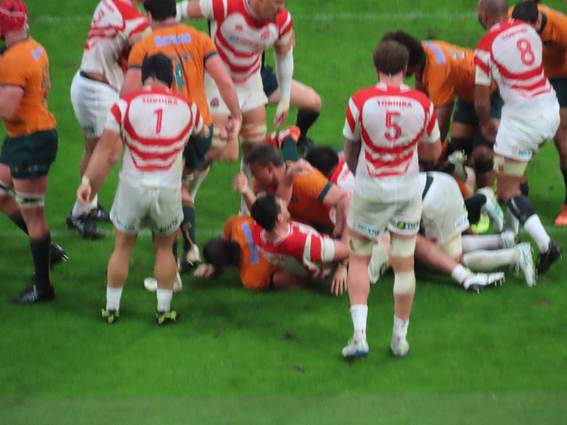
(The player standing in the left corner of the photo above is Ben GUNTER)
Ben GUNTER. 195cm, 120kg, 28 years old. Position = FL. Club = Panasonic Wildknights. Japan National Team Caps= 16. Born in Australia. After graduating high school in Australia, he was unable to secure a professional contract with a local team. However, he passed the tryouts for Japan’s Wildknights and turned professional in Japan. At age 19, he set the record for the youngest player ever to appear in a Top League match,Japan. Later, at age 21, he was selected for the Sun Wolves, Super Rugby Team. At age 26, he was selected for the Japan National Team for RWC 2023. He is currently a central defensive player for the Japan national team. His physical abilities are world-class. His tackles are so powerful that he has suffered frequent injuries in the past, limiting his caps. We hope he can approach RWC 2027 in peak physical condition.
Now, the first half kicks off.
One week prior, Japan XV, the Japan national team’s reserve squad, suffered a humiliating defeat against Australia A. The Brave Blossoms, Japan’s national team, faced immense pressure in this home game, carrying the hopes of their local fans. The previous week, Japan XV’s set pieces nearly collapsed under the opposing team’s pressure, leading to their heavy defeat. On offense, Japan XV’s attacks failed to breach Australia A’s defensive line, resulting in them being shut down except for FB YAZAKI’s try.
Could the Brave Blossoms live up to the expectations of the Japanese fans?
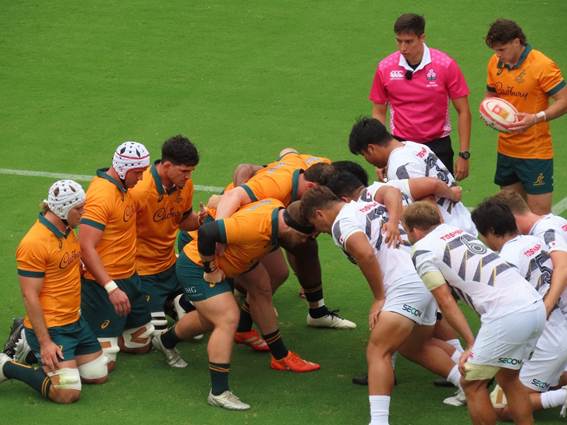
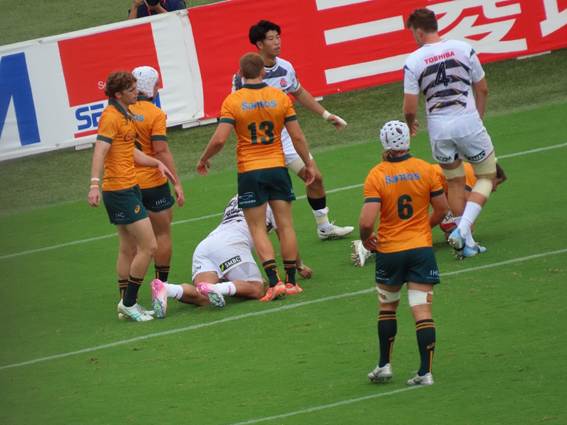
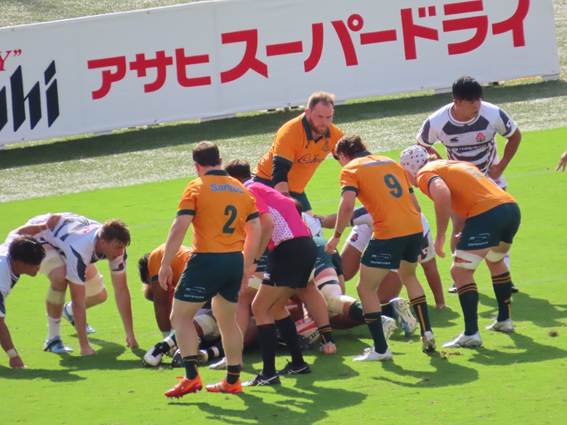
The Brave Blossoms successfully retained possession in the first scrum. However, in the early scrum battles, the Wallabies held a slight advantage.
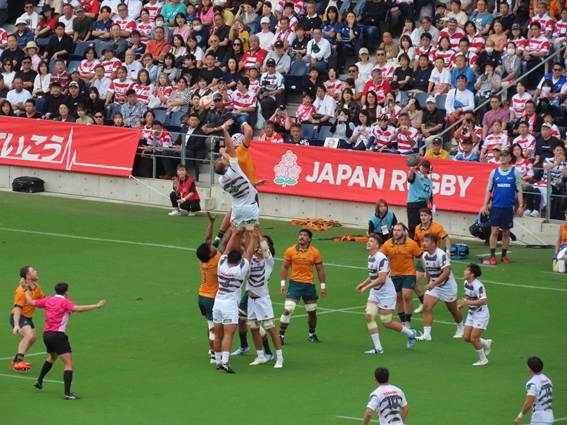
13 minutes into the first half:
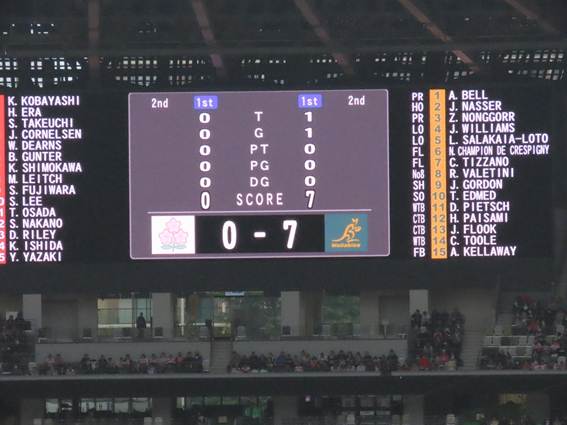
The Brave Blossoms failed to secure the ball at their own lineout. Despite having the 201cm tall jumper DEARNS, they couldn’t win the ball. This allowed the Wallabies to advance deep into the opposition’s territory. Their forwards drove forward vertically, scoring the opening try in the left center of the opposition’s in-goal area after only a few phases.
The conversion kick was successful, bringing the score to 0-7.
27 minutes into the first half:
Rain had been falling since kickoff, causing the ball to be quite slippery and leading to numerous handling errors like knock-forwards. Consequently, both teams’ scrum-halves adopted a strategy of kicking for contest deep into the opposition’s territory after some build-up play, aiming to regain possession.
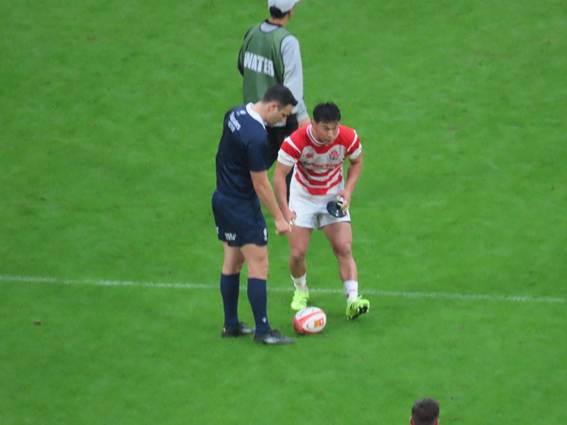
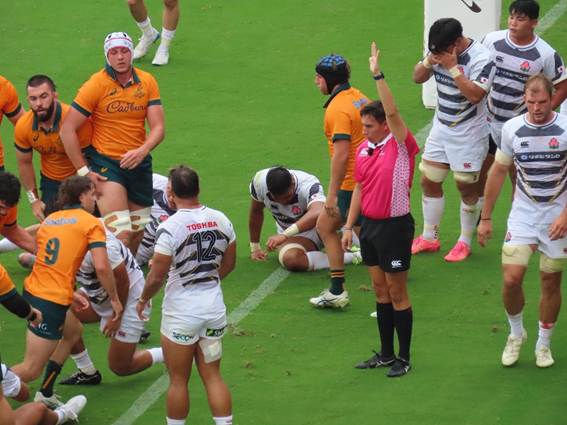
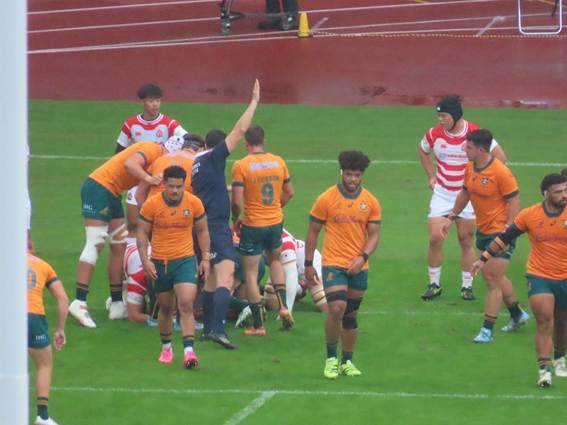
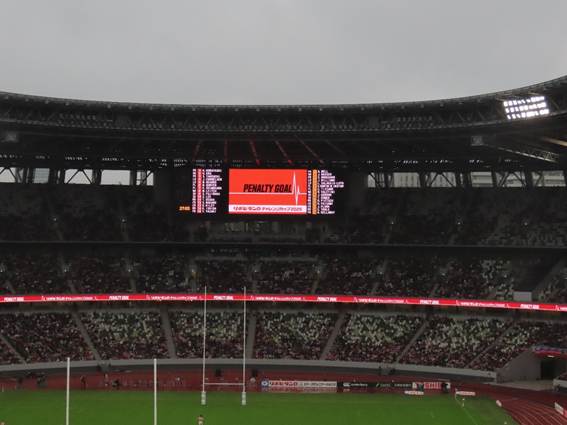
During this phase of play, the Wallabies committed an offside infringement in a scrum. The Brave Blossoms, seeing the infringement occurred directly in front of the goalposts, approximately 30 meters out, opted for a penalty goal.
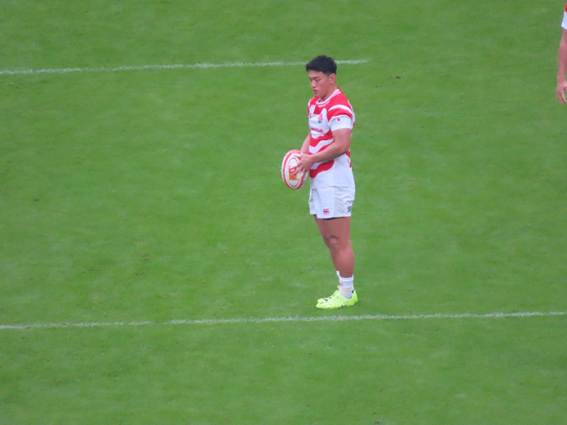
Brave Blossoms SO LEE converted this penalty goal, bringing the score to 3-7.
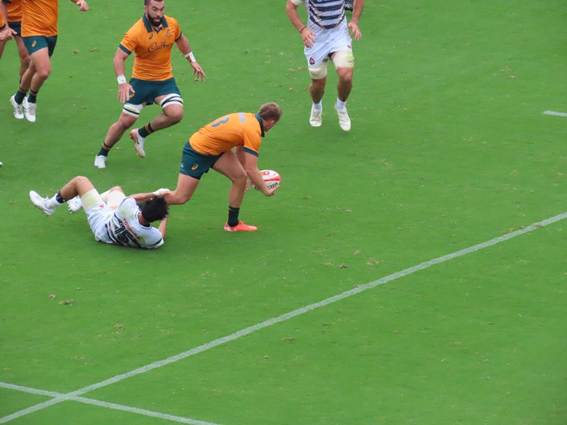
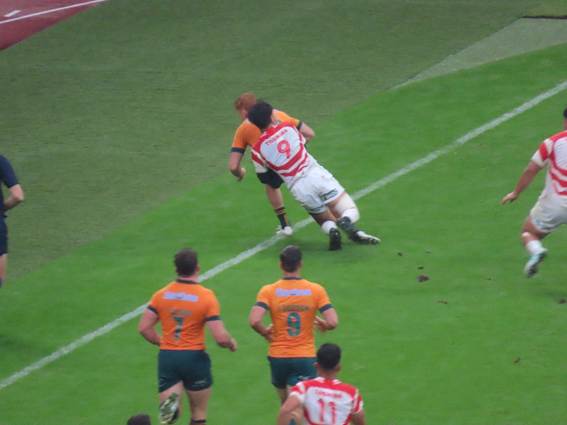
30 minutes into the first half:
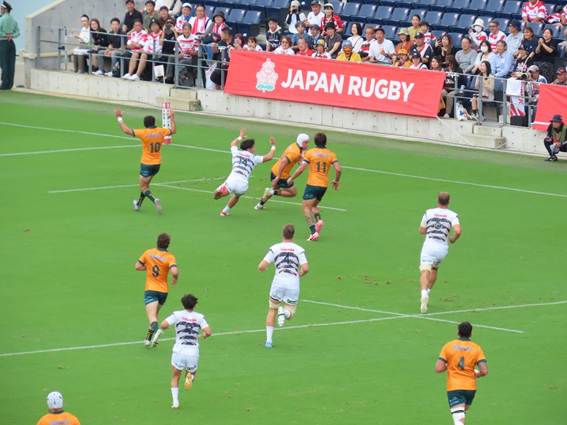
The Brave Blossoms needed to regain ground after catching the restart kickoff in their own half. However, they committed a knock-forward penalty in their own territory, resulting in a Wallabies scrum. From there, the Wallabies advanced, with FB KELLAWAY breaking through the line on the first attack. He passed to the following CTB FLOOK, who carried it straight into the opposition’s goal area.


The conversion kick after the try was successful, bringing the score to 3-14.
The first half ended with this score. While the rainy weather played a part, the Brave Blossoms spent little time attacking and were mostly on defense. In contrast, the Wallabies showed efficient attacking, converting their opportunities into points without wasting much time.
Can the Brave Blossoms stage a comeback in the second half despite this disadvantage?
Before the second half began, heavy rain started falling, worsening the ground conditions.
Now, the second half begun.
The Brave Blossoms finally penetrated the opposition’s territory and launched a series of attacks, though they failed to get them into scores. However, the Wallabies’ defense was solid, preventing them from reaching the try line.
12 minutes into the second half:
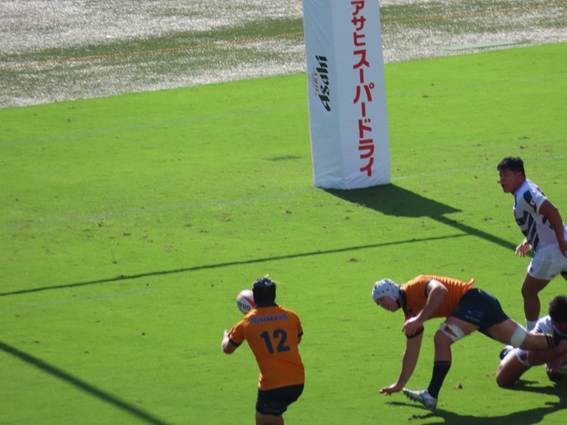
The Wallabies committed a foul near the center of the field, and the Brave Blossoms opted for a penalty kick. SO LEE kicked the ball to a position threatening the try line, earning a lineout on the left corner in a prime spot. Securing the ball here, the Brave Blossoms’ forwards repeatedly launched side attacks towards the try line.
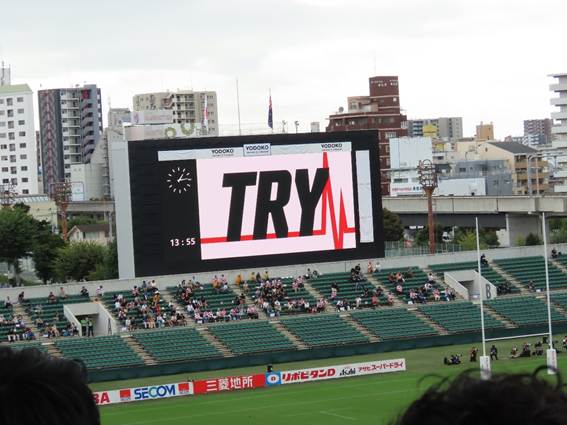
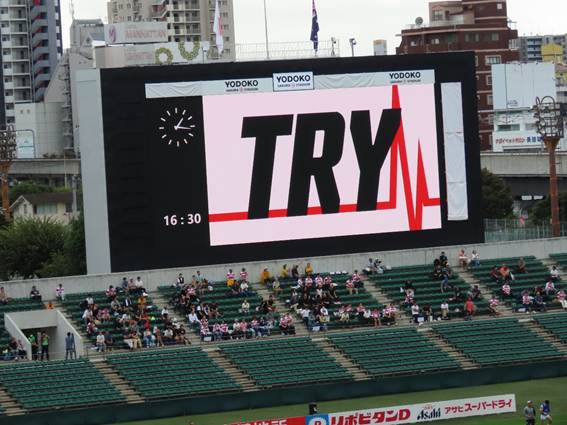
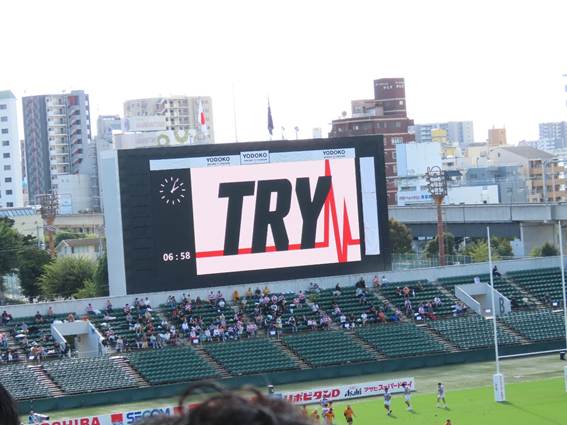
In this sequence, Brave Blossoms prop TAKEUTI broke through the opposition defense and scored a try in the left center of the in-goal area. The Brave Blossoms scored their first try of the match. The stadium erupted in the loudest cheer of the day.

The conversion kick after the try was missed, bringing the score to 8-14.

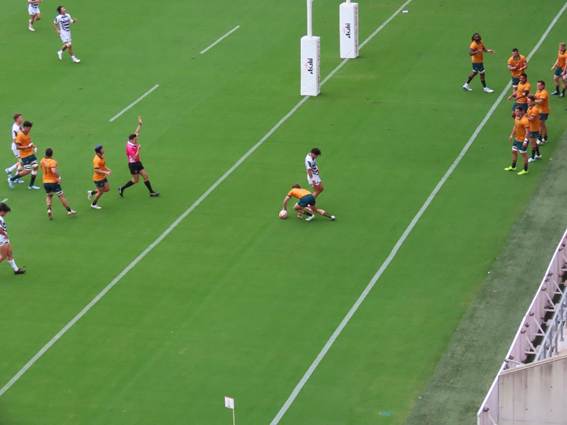
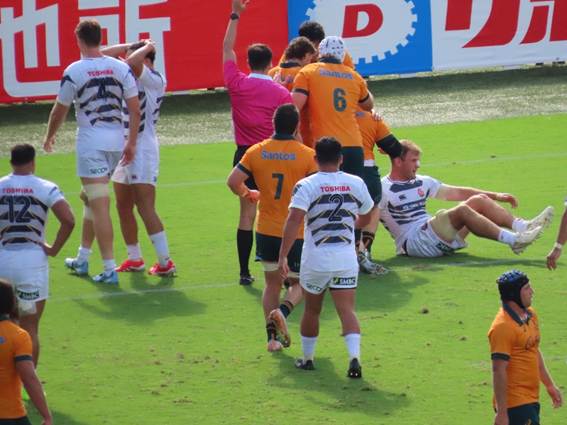
17 minutes into the second half:
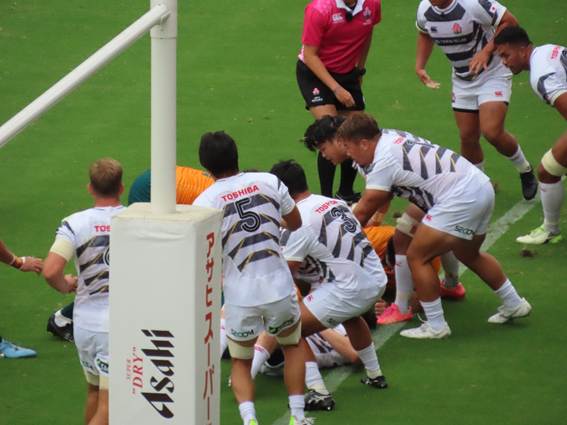
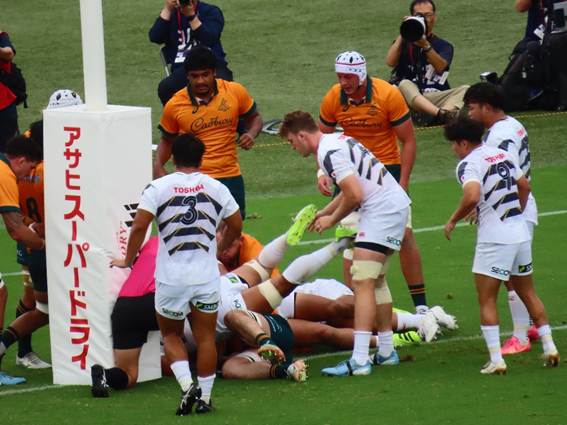
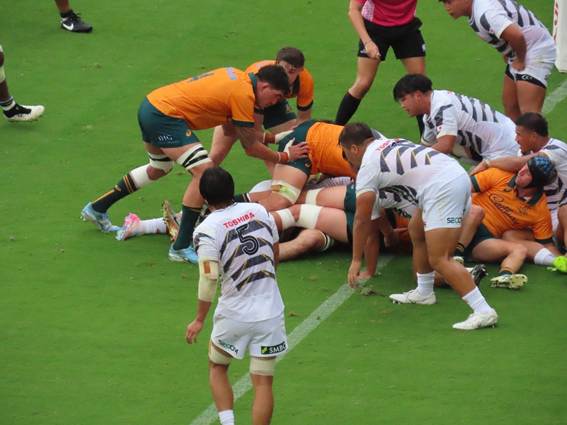
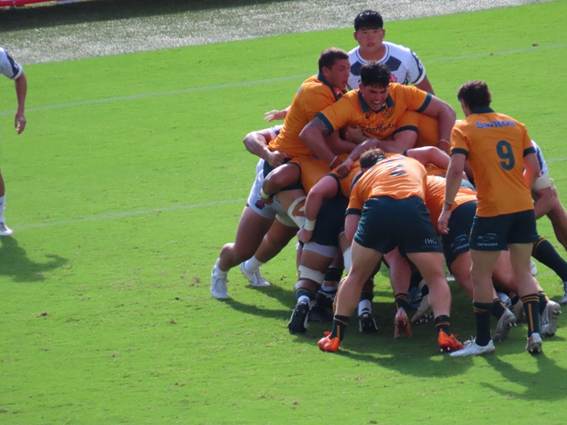
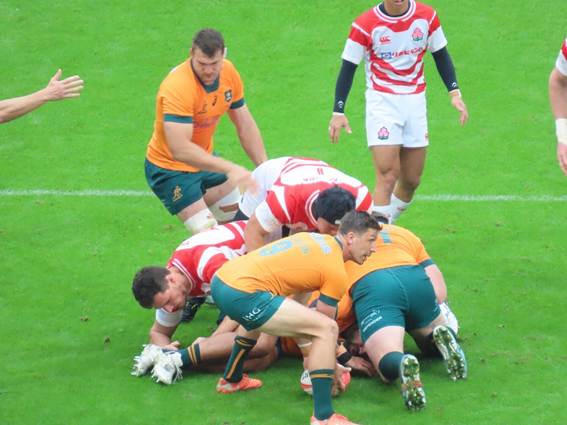
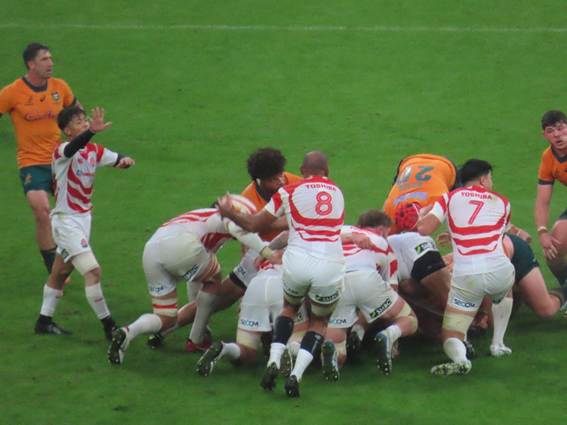
As if spurred by the Brave Blossoms’ earlier try, the Wallabies players’ fighting spirit ignited. Entering the opposition’s territory, the Wallabies forwards relentlessly drove forward through the scrum side.
The Brave Blossoms desperately defended their try line but committed an offside infringement. The Wallabies gained territory through a penalty kick and earned a lineout on the left side of the opposition’s try line. Securing the ball, the Wallabies formed a maul and surged forward, with FL TIZZANO scoring a try in the left center of the opposition’s in-goal area.
The conversion kick after the try was missed, bringing the score to 8-19.
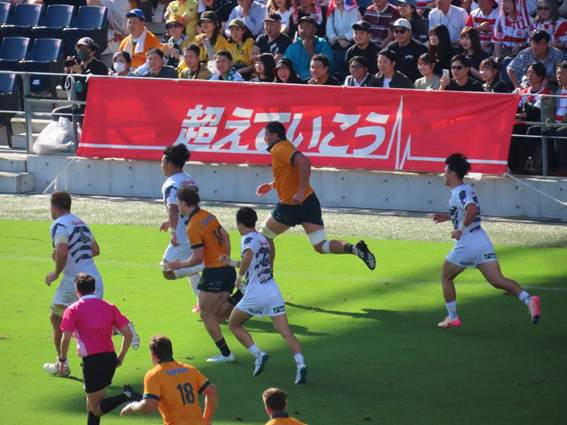
21 minutes into the second half:
During this period, both teams traded points, and the game became evenly matched.
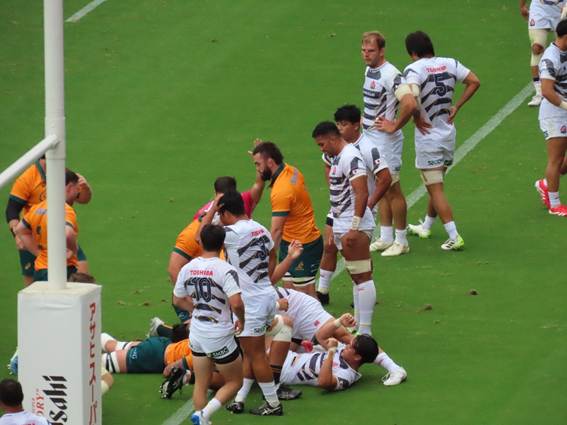
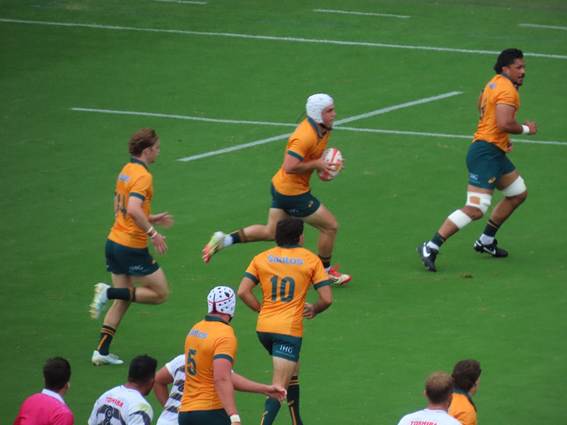
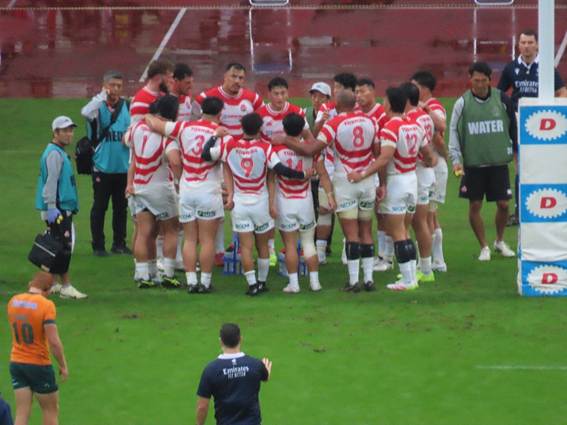
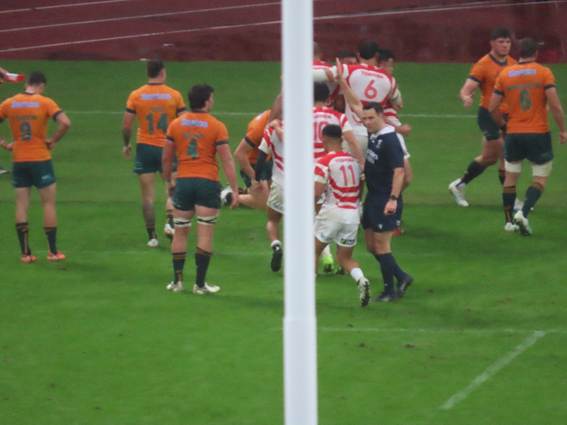
The Brave Blossoms continued their attack in the opposition’s territory from the restart kickoff, gradually closing in on the try line.
The Brave Blossoms gained the upper hand in the scrum, with scrum-half FUJIWARA driving forward to within 50 cm of the try line.
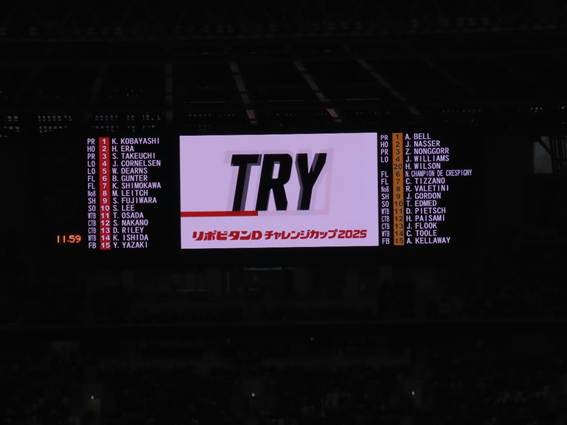
Flanker GUNTER followed up, breaking through the scrum and darting to the left center of the opposition’s in-goal area to score a try.
The conversion kick was successful, bringing the score to 15-1.
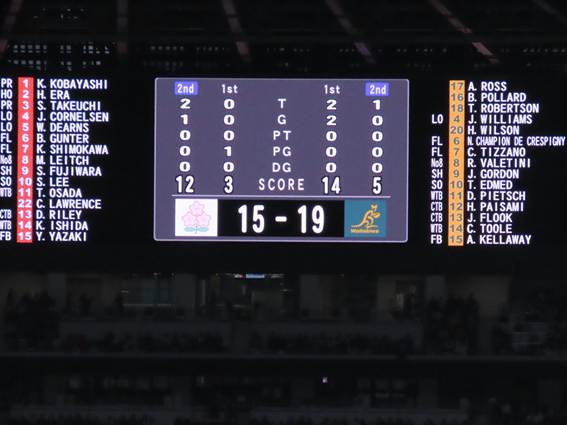
In the remaining minutes of the second half, the Brave Blossoms took control of the attack, launching consecutive drives deep into the opposition’s territory. However, they were unable to score, and the Brave Blossoms ultimately lost the match by a margin of 4 points, with the final score 15-19. Having created several chances in the second half, the Brave Blossoms were eager to cap off their final domestic Test match of the season with a victory.

Moving forward, the Brave Blossoms must improve their world ranking during their European tour to secure a favorable draw for RWC 2027. We look forward to the Brave Blossoms’ strong performance this season.
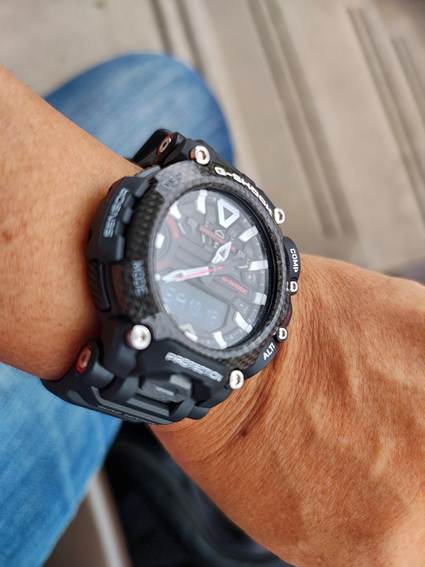
** My Watch Collection 2 **
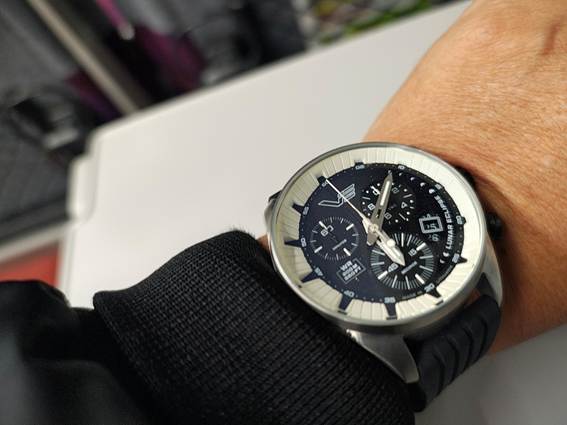
My companion for this match was the VOSTOK EUROPE LUNAR ECLIPSE.
I purchased it from an online watch specialty store. The purchase price was 90,000 yen.

The design of this watch really struck a chord with me. True to its name, Lunar Eclipse, it has a fantastical design.

Functionally, it features 20 ATM water resistance and a stopwatch function. Compared to CASIO, it’s not packed with features. However, the real strength of this watch, as I’ve mentioned before, is its design.

Regarding the manufacturer, VOSTOK existed in the former Soviet Union. After the collapse of the USSR, the manufacturer was reportedly dissolved. It was then reestablished in Lithuania under the name VOSTOK EUROPE. While the company itself moved to Lithuania, many watches produced here carry names clearly targeting the Russian market.

Recent VOSTOK products exhibit a strong sense of individuality in their design, ranging from pieces that follow the traditional Soviet-era style to those that evoke Lithuanian culture. I did replace one part on this watch. In its original state, the watch came with a leather strap. Considering potential use near water, I replaced it with an Italian-made urethane strap from MORELLATO. This strap has a high-quality feel, seems very durable, and above all, offers an exceptional wearing comfort.

**********************

Stop the war.
Peace to Ukraine
*************************