
(Written by Azul: November 1, 2025)
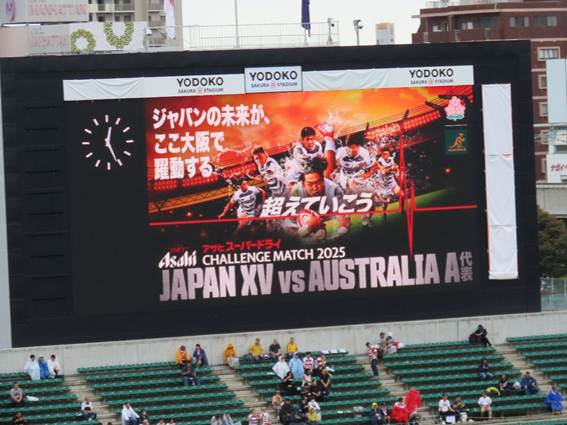
On October 18th,2025 , I traveled to Osaka for a friendly match between the Japan national rugby team and the Australia A team.
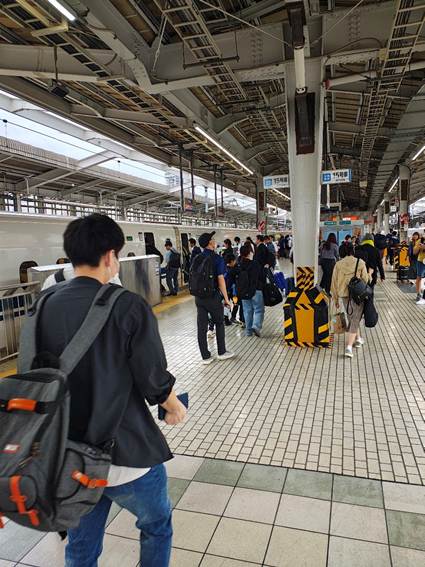
That day, I boarded the Shinkansen Nozomi 15 departing at 8:31 AM and arrived at Shin-Osaka Station at 10:39 AM. From Shin-Osaka, I took the Midosuji subway line and got off at Nagai Station. The subway ride took about 40 minutes.
From Nagai Station, it took less than 10 minutes to walk leisurely to the stadium.
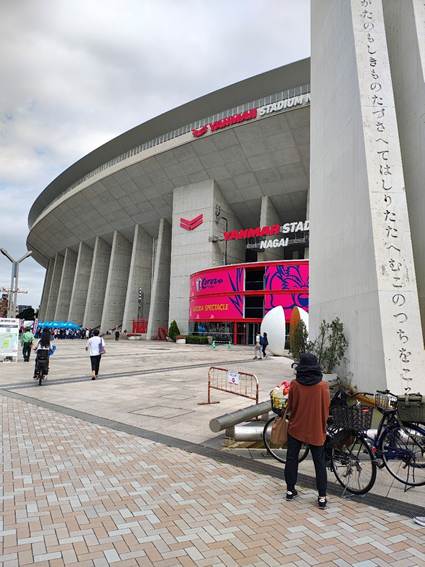
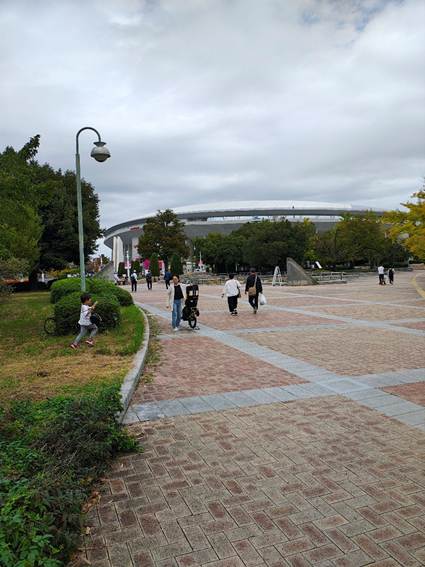
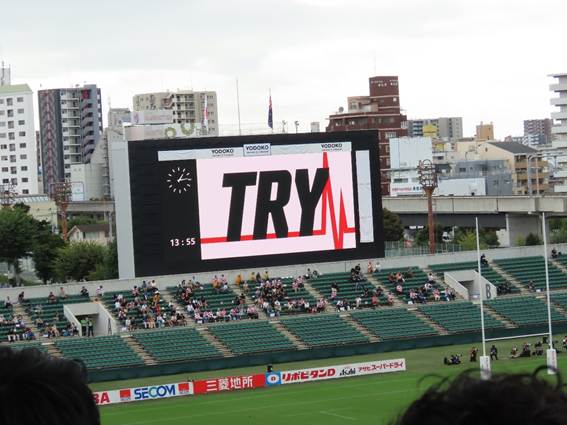
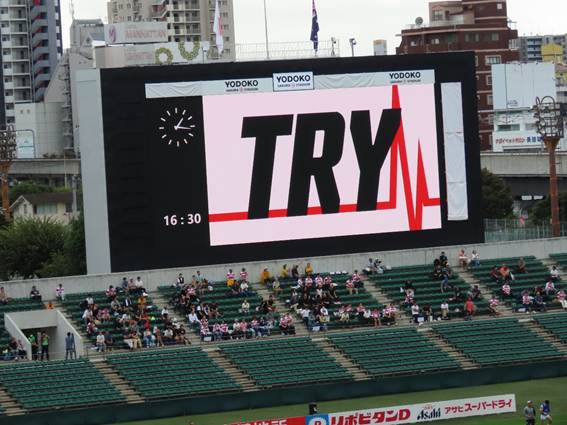
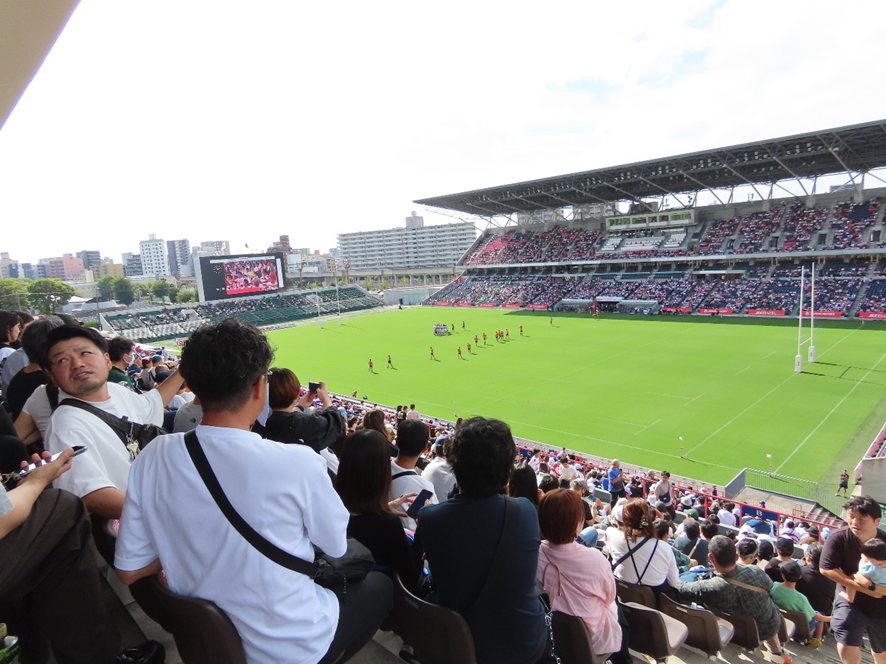
The photo above shows Nagai Athletic Stadium, located next to today’s match venue. And here is Yodoko Sakura Stadium, this day’s match venue.
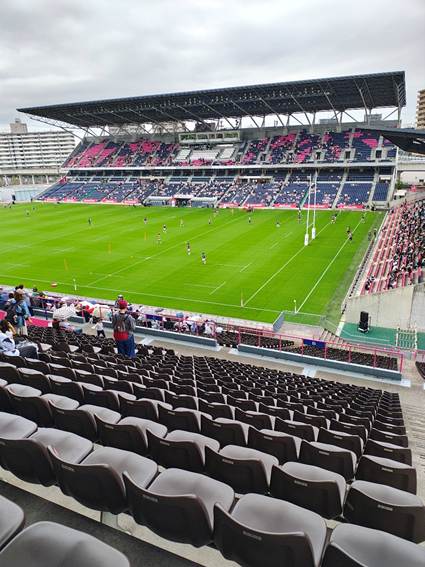
This stadium has a capacity of 24,644 spectators. It is the home stadium for Cerezo Osaka, a Japanese professional soccer team.
The weather that day was cloudy with a high of 26.3 degrees Celsius, making for quite humid and muggy conditions.
Attendance for the day was 10,105, showing decent popularity. Ideally, we’d want a full house, but Kansai fans are relatively discerning, so filling the stadium requires significant marketing effort.
Now, let’s introduce the 2 teams competing this day.
First, the Visitor Team: Australia A.
Australia A is a second-tier team, akin to the Wallabies, Australia’s national team. Since the Wallabies themselves are a powerhouse team boasting 2 RWC championships, this Australia A team is also quite strong. When we faced them 2 years ago, Japan fielded what was essentially the national team and still ended up with one win and two losses. This time, Japan XV is essentially a second-string team, so it would be interesting to see how much they can compete.
The starting lineup for the day was as follows.
| Australia A | ||||||
| No. | Name | height | weight | age | Club | Australia Caps |
| 1 | Isaac KAILEA | 190cm | 129kg | 25 | Wallatahs | 8 |
| 2 | Matt FAESSLER | 183cm | 105kg | 26 | Reds | 15 |
| 3 | Rhys VAN NEK | 177cm | 108kg | 26 | Brumbies | |
| 4 | Darcy SWAIN | 200cm | 113kg | 28 | Force | 17 |
| 5 | Josh CANHAM | 202cm | 119kg | 24 | Reds | 1 |
| 6 | Rory SCOTT | 189cm | 100kg | 25 | Brumbies | |
| 7 | Luke REIMER | 187cm | 102kg | 25 | Brumbies | 1 |
| 8 | Pete Sam | 185cm | 102kg | 33 | Brumbies | 33 |
| 9 | Teddy WILSON | 182cm | 84kg | 22 | Wallatahs | |
| 10 | Ben DONALDSON | 184cm | 84kg | 26 | Force | 7 |
| 11 | Ollie SAPSFORD | 191cm | 104kg | 30 | Brumbies | |
| 12 | Hamish STEWART | 183cm | 90kg | 27 | Force | 2 |
| 13 | Joey WALTON | 182cm | 94kg | 25 | Wallatahs | |
| 14 | Tim RYAN | 186cm | 88kg | 21 | Reds | |
| 15 | Mac GREALY | 180cm | 89kg | 23 | Force | |
** Player to Watch **
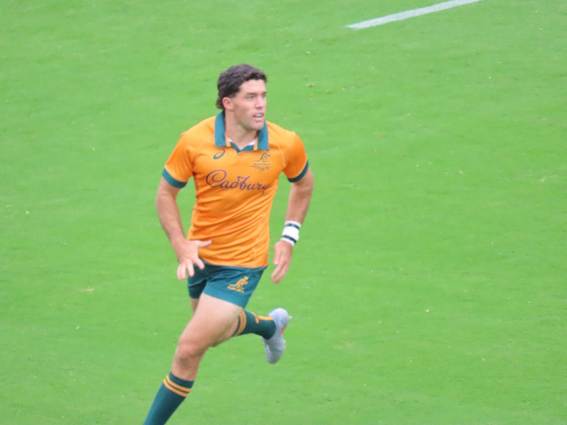
Ben DONALDSON. 184cm, 84kg, 26 years old. Position = SO, FB. Club = Western Force. Australia Caps = 7. He made his international debut in a 2022 Test match against Italy. He was subsequently selected for the 2023 Rugby World Cup in France, appearing in 4 matches and scoring 45 points. He was also selected for 2 matches against the British & Irish Lions this season.
He boasts powerful physicality that holds its own against opposing defenders in contact, and is also a skilled kicker with a high success rate on conversions from difficult angles. Japan XV must apply pressure to DONALDSON to prevent him from freely dictating the game.
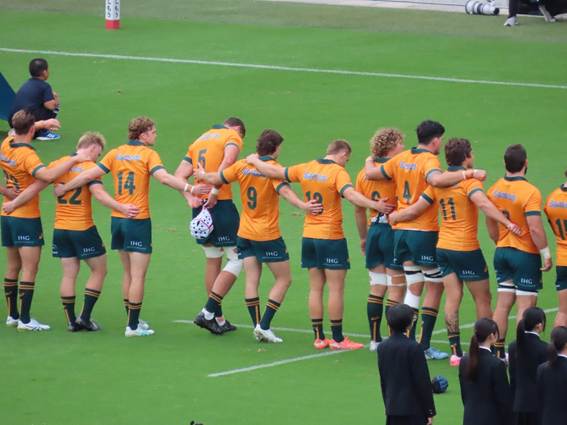
Next, an introduction to the Home Team, Japan XV.
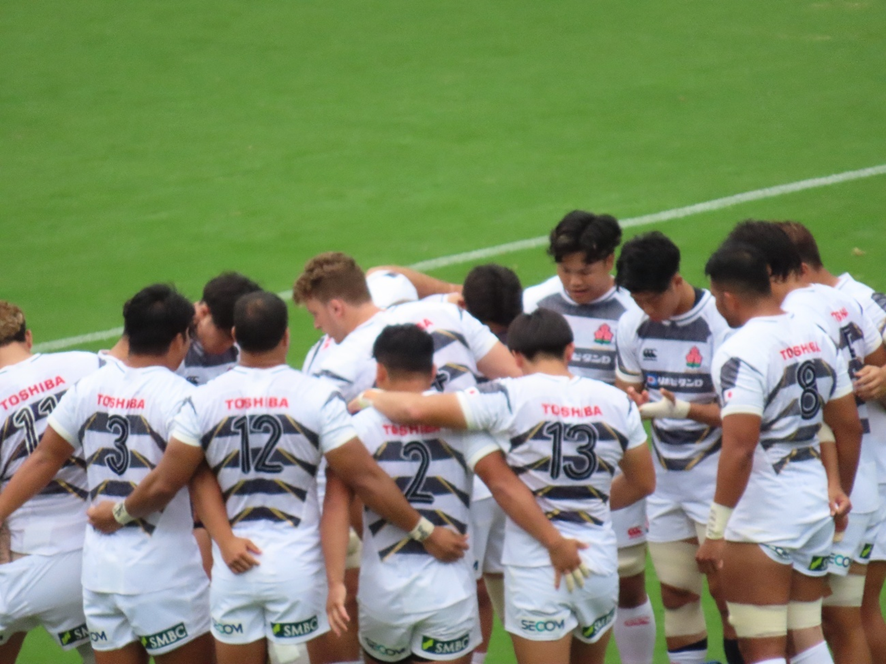
This Japan XV squad features young players selected from the national team candidate training camp. While the backs include experienced internationals with numerous caps, the forwards include several players who are only semi-regulars for their clubs, having just graduated from university. While they show promise for the future, it remains to be seen how much they can compete against the strong Australia A team. We hope the players will rise to the occasion to build momentum for the next match.
The starting lineup for the day was as follows.
| Japan XV | ||||||
| No. | Name | height | weight | age | Club | Japan Caps |
| 1 | Sho FURUHATA | 185cm | 123kg | 28 | Wild Knights | |
| 2 | Shodai HIRAO | 174cm | 105kg | 23 | Sungoliath | |
| 3 | Sanshiro KIHARA | 181cm | 110kg | 22 | Sungoliath | |
| 4 | David VAN ZEALAND | 196cm | 116kg | 25 | Spears | |
| 5 | Shu YAMAMOTO | 190m | 97kg | 26 | Black Rams | |
| 6 | Tyler PAUL | 195m | 112kg | 30 | Spears | |
| 7 | Akito OKUI | 178cm | 105kg | 24 | Verblitz | |
| 8 | Amanaki SAUMAKI | 189m | 110kg | 28 | Eagles | 5 |
| 9 | Shuntaro KITAMURA | 168cm | 70kg | 23 | Blue Revs | 1 |
| 10 | Itigo NAKAKUSU | 174cm | 84kg | 25 | Black Rams | 3 |
| 11 | Halatoa VAILEA | 187cm | 103kg | 26 | Spears | 2 |
| 12 | Siosaia FIFITA | 186cm | 100kg | 28 | Verblitz | 16 |
| 13 | Yuya HIROSE | 181cm | 92kg | 24 | Spears | 4 |
| 14 | Kazuma UEDA | 177cm | 87kg | 22 | Steelers | |
| 15 | Yoshitaka YAZAKI | 180cm | 85kg | 21 | Waseda Univ. | 5 |
** Player to Watch **

Itigo NAKAKUSU. 174cm, 84kg, 25 years old. Position = SO, FB. Club = RICOH Black Rams.
Graduated from Keio University. Japan National Team Caps = 3. He is a player who displays innate game-making sense. While his physicality still shows room for improvement, he possesses remarkable luck, having been selected for the Japan national team at just 23 years old. His growth as a player will contribute to the Japan national team’s advancement, so we hope he continues to play matches and gain experience.
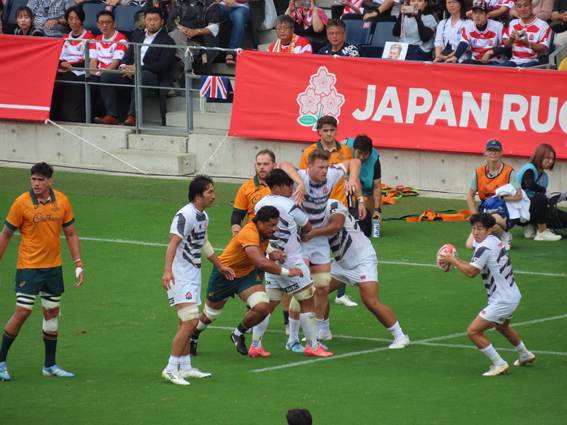
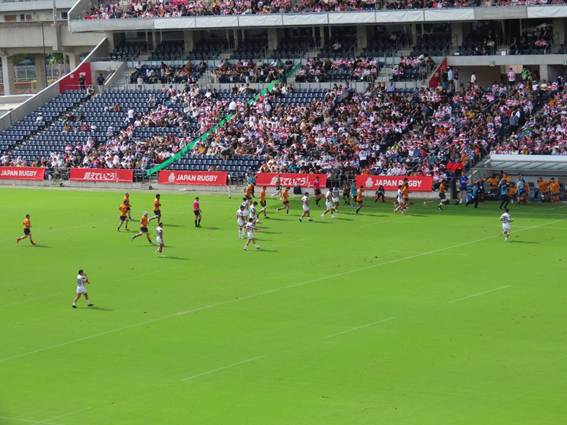
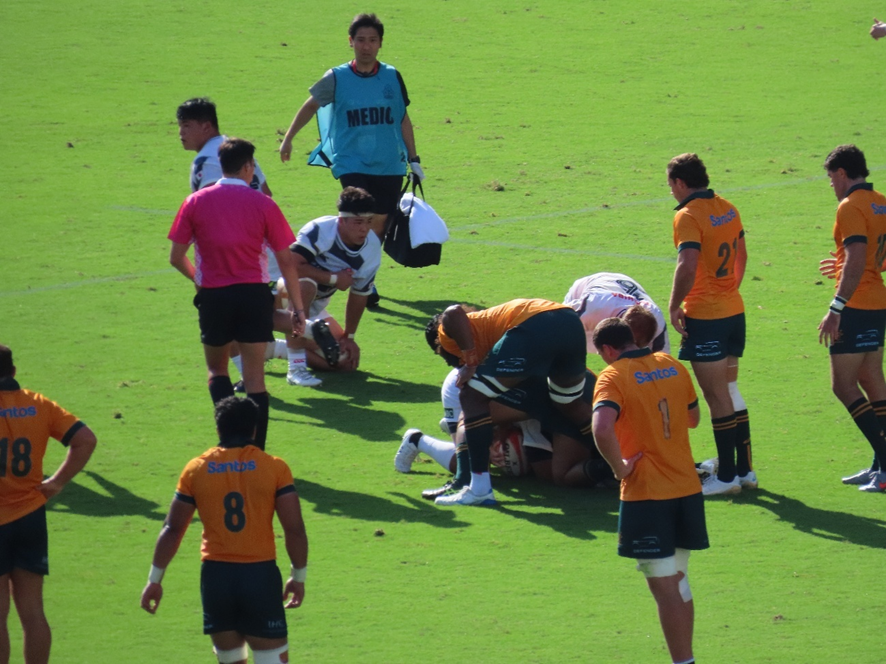
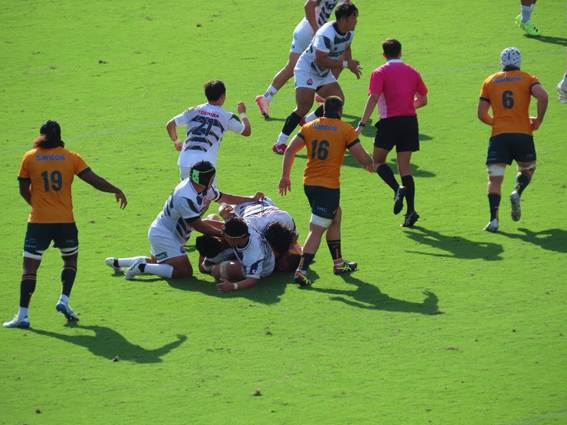
Now, the first half began.
The match started with Japan XV kicking off.
Japan XV’s movement immediately after kickoff was good. They won the ball in a scrum, launched a sustained attack, and advanced deep into the opposition’s 22-meter zone.
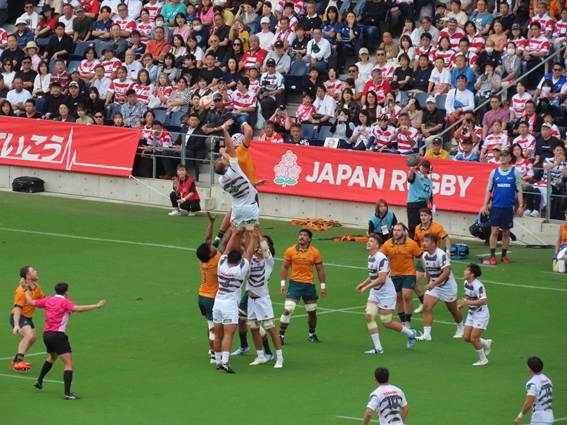
Japan XV gained possession for a lineout inside the opposition’s 22, but Australia A stole the ball. Australia A then counterattacked, driving deep into Japan XV’s territory and putting them under pressure.
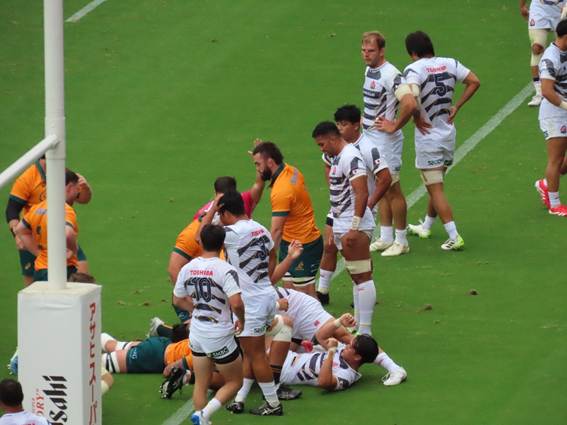
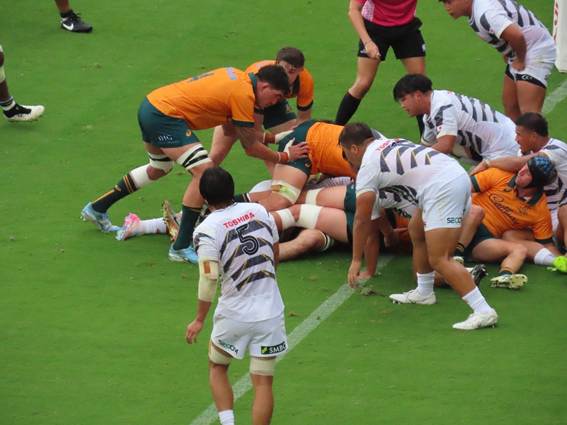
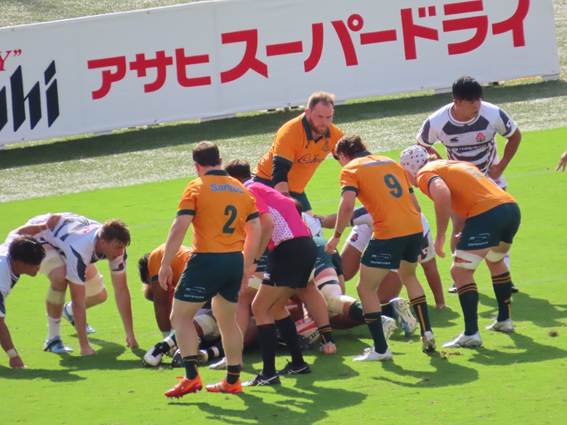
6 minutes into the first half:
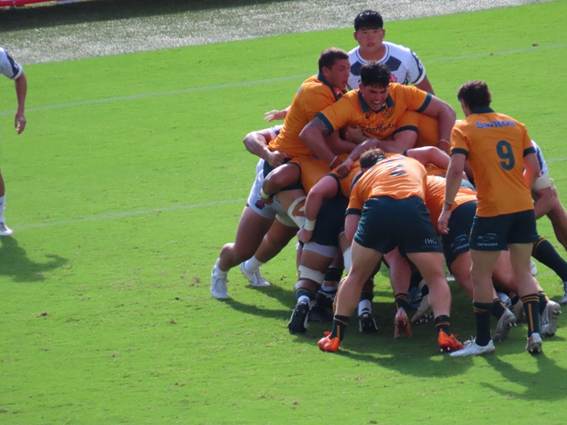
With the ball about 3m from the try line, the first scrum of the match was awarded.
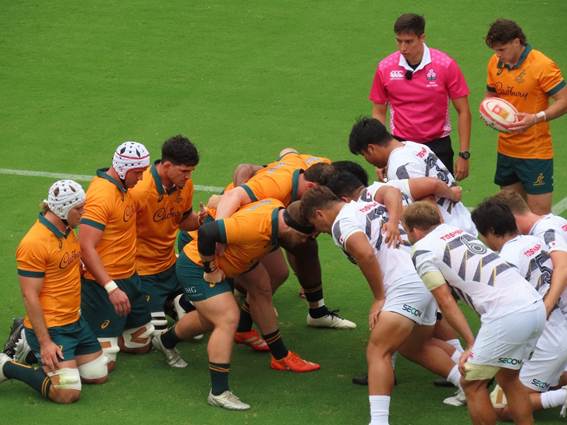
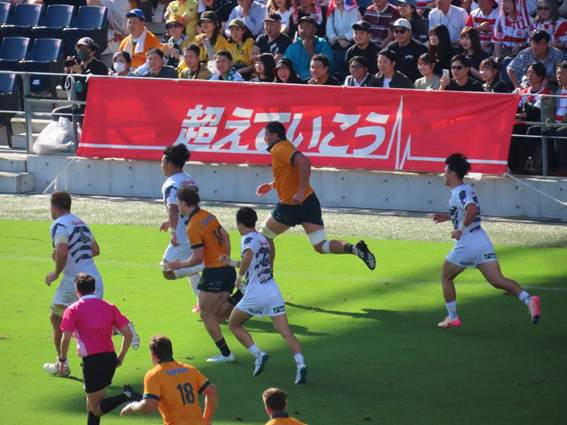
Australia A won the scrum, released the ball, and moved it left. Led by their forwards, they steadily advanced towards the try line. On the 3rd attack, Australia A’s lock, SWAIN, scored the opening try, touching down just inside the left goalpost of the opposition’s in-goal area.
The conversion kick was successful, bringing the score to 0-7.
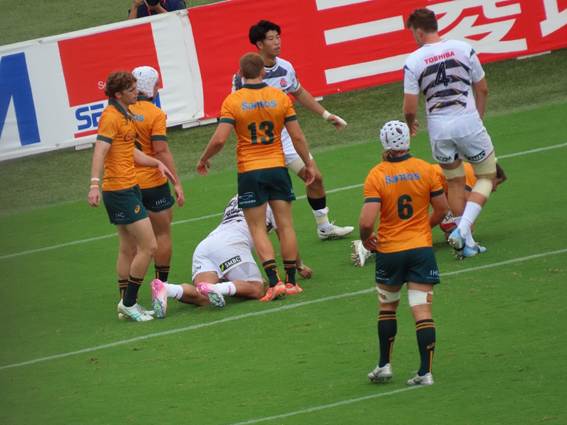
9 minutes into the first half:
From the restart kickoff, Japan XV drove deep into the opposition’s territory. After releasing the ball from a scrum, they spread play to the left. SO NAKAKUSU executed a superb short punt, creating a golden try opportunity. However, Australia A’s SH WILSON made an incredible recovery to prevent the try.
14 minutes into the first half:
During this period, Japan XV created several decisive scoring opportunities, but Australia A’s solid defense prevented them from crossing the try line.
Australia A then regained possession. Following a sustained attack, the ball was spread to the left and reached FB GREALY. He used his speed to break through the line and, tangled up with defenders, scored a try in the left corner of the in-goal area.
The conversion kick after the try was missed, leaving the score at 0-12.
17 minutes into the first half:
From the restart kickoff, Japan XV entered the opposition’s territory, and the backs launched a series of attacks. WTB UEDA approached the try line, attempted a short punt, and tried to secure it, but Australia A’s FB GREALY snatched it and launched a counterattack from near his own try line.
Australia A players followed up, passing the ball in succession. Finally, lock SWAIN scored his second try of the day in the left center of the opposition’s try zone.
The conversion kick was successful, bringing the score to 0-19.
20 minutes into the first half:
From the restart kickoff, Australia A secured possession. They linked up with short passes through the scrum, successfully breaking the line twice. Finally, WTB RYAN scored a try in the center-right of the opposition’s in-goal area.
The conversion kick after the try was also successful, bringing the score to 0-26.
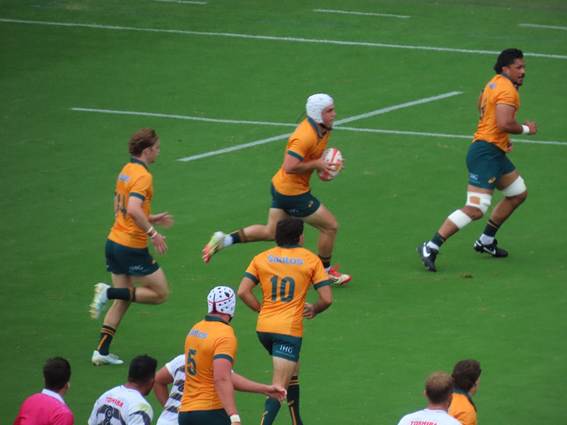
22 minutes into the first half:
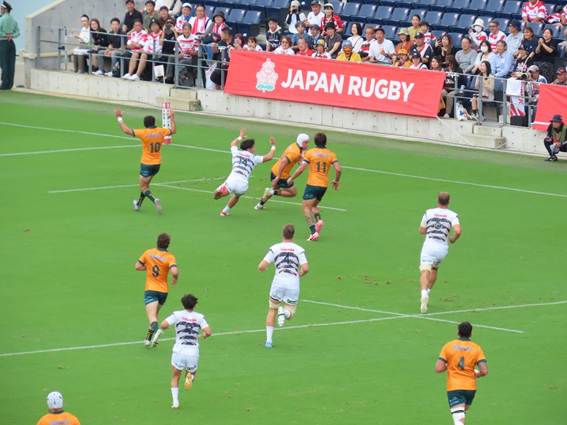
From the restart kickoff, Japan XV moved the ball from near the center of the field to the left. FB YAZAKI, joining the attack from the line, used his trademark speed to break through the line, evading two defenders, and scored a try in the left center of the opposition’s in-goal area.
The conversion kick after the try was successful, bringing the score to 7-26. Japan XV finally scored their first points of the match.
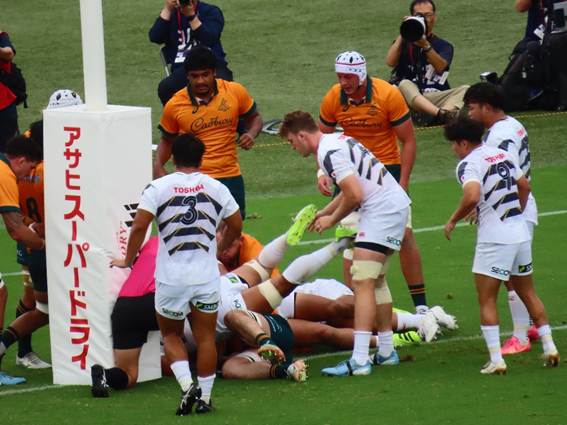
28 minutes into the first half:
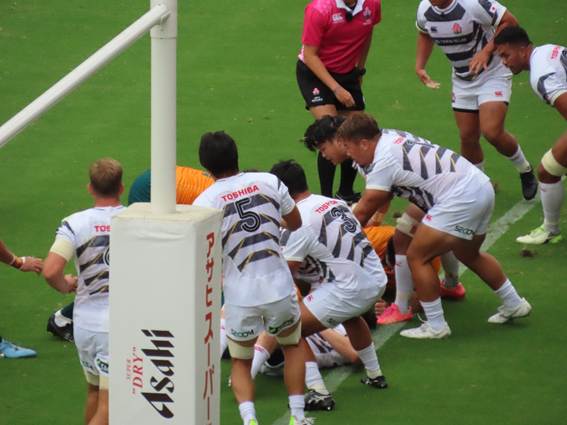
From the restart kickoff, Australia A gained advantage in set plays after entering the opposition’s territory, advancing beyond the 22-meter line. From there, Australia A’s forwards repeatedly attacked the flanks, forming a maul near the opposition try line. Finally, scrum-half WILSON drove through the maul’s side to score a try.
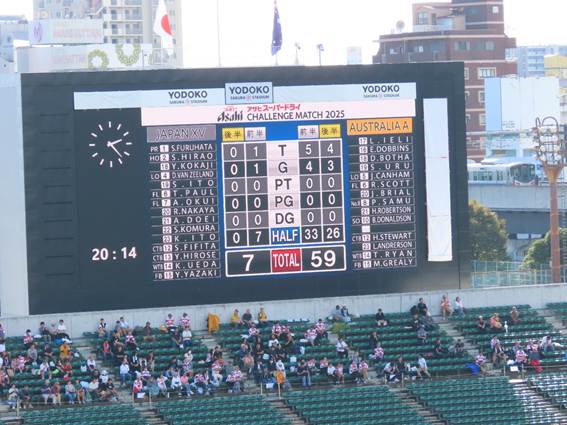
The conversion kick after the try was successful, bringing the score to 7-33.
The first half ended with this score.
Japan XV showed individual breakthroughs, but their team coordination showed cracks. They couldn’t score, and defensively, they failed to break Australia A’s passing connections.
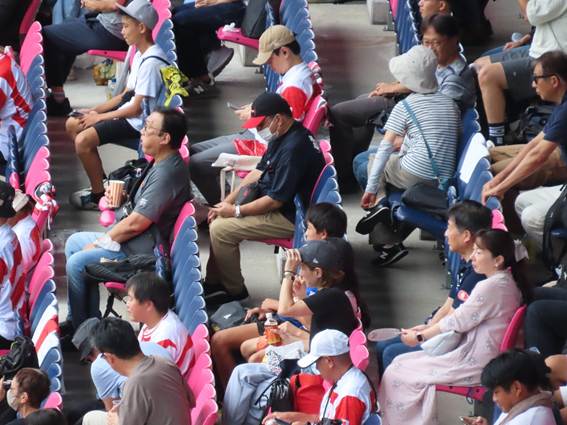
This marked the 15-minute halftime break.
Near my seat, rugby entertainer SHINYA mingled with fans. He was quite popular.

Could Japan XV overcome this deficit in the second half?
And so, the second half began.
2 minutes into the second half:
From the kickoff, Australia A broke the line from their own lineout and surged towards the try line. Japan XV defended desperately here, but ultimately conceded another try to Australia A. The try was scored by FL RAIMER.
The conversion kick after the try was successful, bringing the score to 7-40.
6 minutes into the second half:
Although only 5 minutes into the second half, Japan XV’s defense was already beginning to collapse. They could no longer halt Australia A’s advances, allowing the ball to be passed repeatedly and points to pile up. Australia A linked passes from their own half, advanced down the left flank, and finally formed a maul to drive forward. Hooker FAESLER scored a try in the left center of the opposition’s in-goal area.
The conversion kick after the try was also successful, bringing the score to 7-47.
7 minutes into the second half:
Japan XV failed to regain possession from the restart kickoff after the try. From here, Australia A launched a counterattack deep in their own territory. Australia A attacked up the right side, rapidly advancing to near the opposition’s 22-meter line.
After securing the ball from the lineout, they spread the play to the left and scored a try with ease. The try was scored by prop VAN NEK. This try came in under 2 minutes from the restart kickoff.
The conversion kick after the try was also successful, bringing the score to 7-54.
16 minutes into the second half:
Japan XV substituted their scrum-half and fly-half.
Both teams engaged in a deep kicking battle, turning the match into a war of attrition.
Australia A players, their legs tangled, fought hard to drive forward. Finally, center WALTON scored a try in the left corner of the in-goal area.
The conversion kick after the try was missed, bringing the score to 7-59.
However, a TMO video review was conducted, and Australia A’s try was disallowed due to a foul committed during the play. The score was adjusted to 7-54.
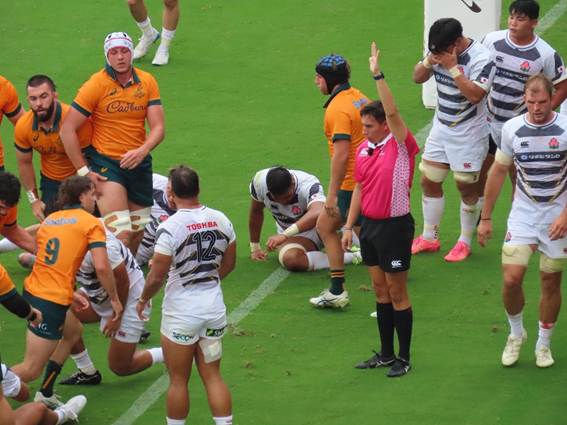
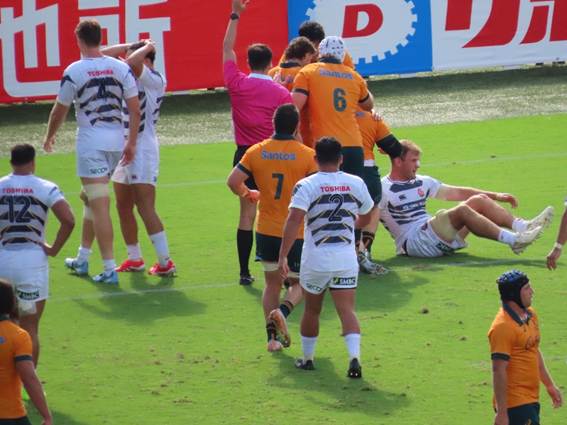
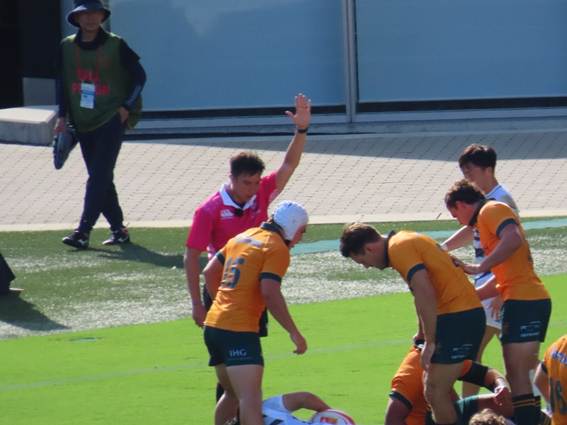
18 minutes into the second half:
During this period, Australia A’s WTB SAPSFORD was penalized for a high tackle, shown a red card, and sent off. Australia A faced the disadvantage of playing the remainder of the match with 14 men.
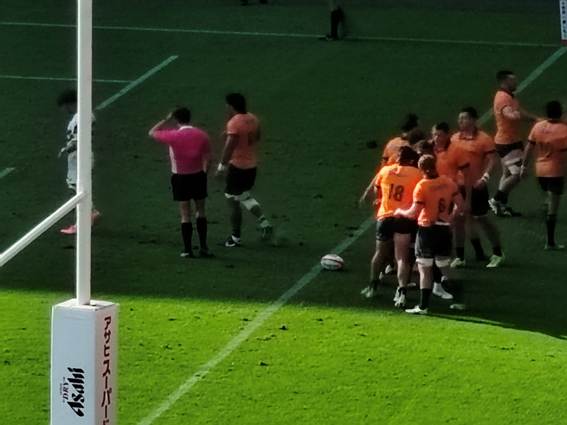
However, Australia A won a scrum deep in the opposition’s territory, and Japan XV was penalized. Australia A opted for a penalty kick, driving deep into the opposition’s territory to gain a lineout on their own ball near the try line. Securing the ball, Australia A formed a maul and advanced. From there, they spread the ball wide, and substitute scrum-half ROBERTSON scored a try in the right corner of the opposition’s in-goal area.
The conversion kick after the try was missed, bringing the score to 7-59.
23 minutes into the second half:
By this stage, despite being a man down, Australia A dominated set pieces. Japan XV was struggling to properly halt their attacks.
Japan XV could stop opponents trying to break through the scrum side, but they couldn’t disrupt the attack by intercepting the offload passes that followed.
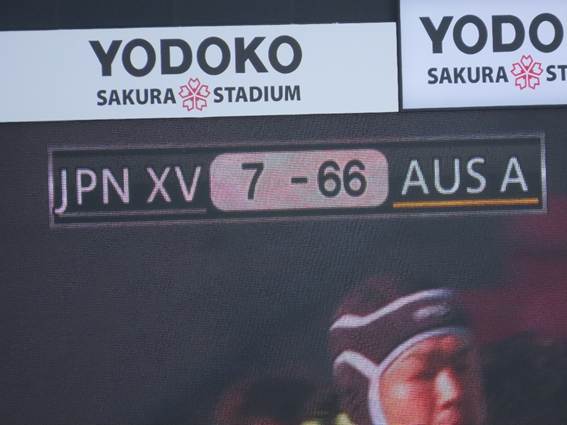
Australia A accelerated their wave attacks once entering the opposition’s territory. SO DONALDSON broke through the line, advancing deep into the opposition’s try zone. From there, the ball was passed to substitute prop IELI, who scored a try in the right center of the opposition’s in-goal area.
The conversion kick after the try was also successful, bringing the score to 7-66.
In the 30th minute of the second half, Australia A’s CTB STEWART was temporarily sent off for 10 minutes due to repeated fouls. With 2 players down, Australia A’s offensive momentum inevitably slowed. Japan XV spent more time attacking in the opposition’s territory, but their lack of finishing power in front of the try line became evident.

37 minutes into the second half:
Despite being 2 players down, Australia A continued their attack, driving forward with each play. They moved the ball from the right edge to the left edge inside the opposition’s 22-meter line. Finally, WTB RYAN scored a try in the left corner of the opposition’s in-goal area.
The conversion kick after the try was missed, bringing the score to 7-74.
The match ended with this score.
In terms of the match content, it was a crushing defeat for Japan XV. Without FB YAZAKI’s try, it would have been a humiliating shutout loss. Continuing to play matches like this risks not being scheduled for next season, leaving a lasting negative impact for the future.
This means the Japanese national team will need to put up a strong fight in next week’s Test match against Australia.
** My Watch Collection **
Starting this time, I’ll be introducing the wristwatch I wear to the match venue.
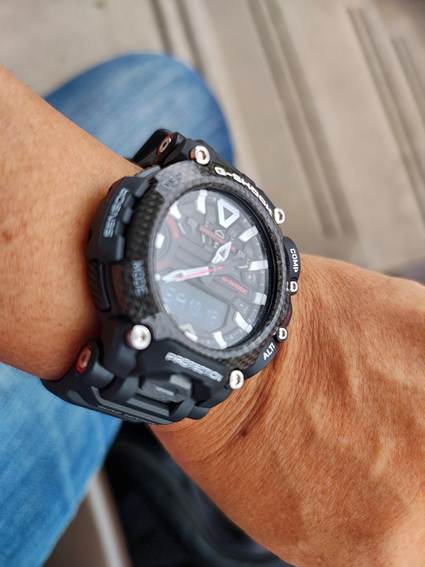
My companion for this journey is the
CASIO G-SHOCK Gravity Master GR-B200.
CASIO heavily promotes its best-selling G-SHOCK watches, known as Master of G, broadly categorized into 3 types:
1) Master of G, Land
2) Master of G, Sea
3) Master of G, Air
The G-SHOCK Master of G models were created to meet the demands of professionals working in the harsh environments of land, sea, and air.
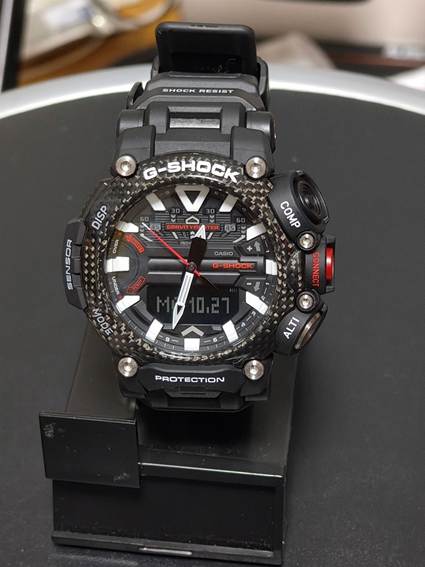
This time, I wore the Master of G, Air GR-B200. The price was 39,800 yen when purchased new. Looking at the front, a distinctive feature is the carbon fiber insert in the bezel surrounding the watch, emphasizing both design and its lightweight yet high rigidity.
As a fundamental G-SHOCK feature, it boasts 20-bar water resistance, allowing you to swim with it. Time adjustment uses Bluetooth to sync with your smartphone, ensuring accuracy down to the second. One disappointment was that the watch’s battery isn’t solar-powered. Therefore, regular battery replacement is necessary (every 2-3 years).
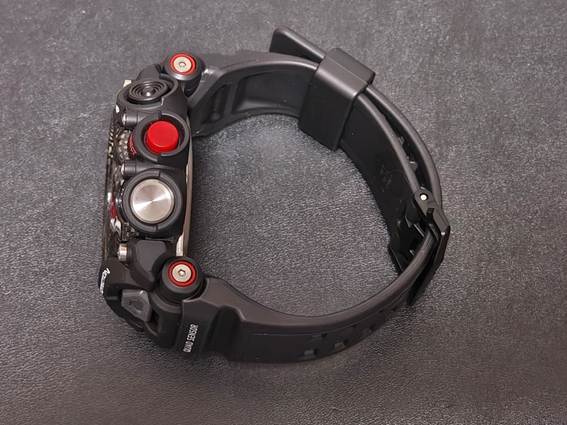
A distinctive design feature of this watch is that, when viewed from the side, the operation buttons are modeled after a helicopter’s control stick. This side design makes a strong impression, so it will likely divide users. I personally liked this design, but since it wasn’t adopted in subsequent models, it might have struggled in sales.
Regardless of this specific model, the reassuring points when using G-SHOCK are:
1) It displays accurate time (as long as paired with a smartphone).
2) It rarely breaks, even if dropped.
3) It resists water ingress. While not a Divers Watch and unsuitable for diving, it won’t leak during activities like swimming.
These features make G-SHOCK invaluable for filming competitions.
**********************

Stop the war.
Peace to Ukraine
*************************