(Written by AZUL: September 21, 2026)
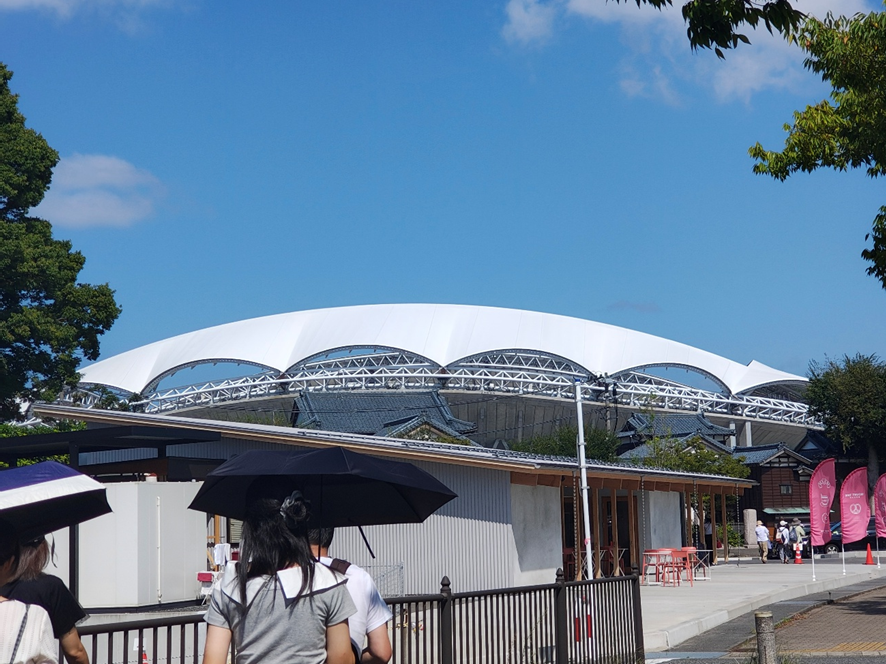
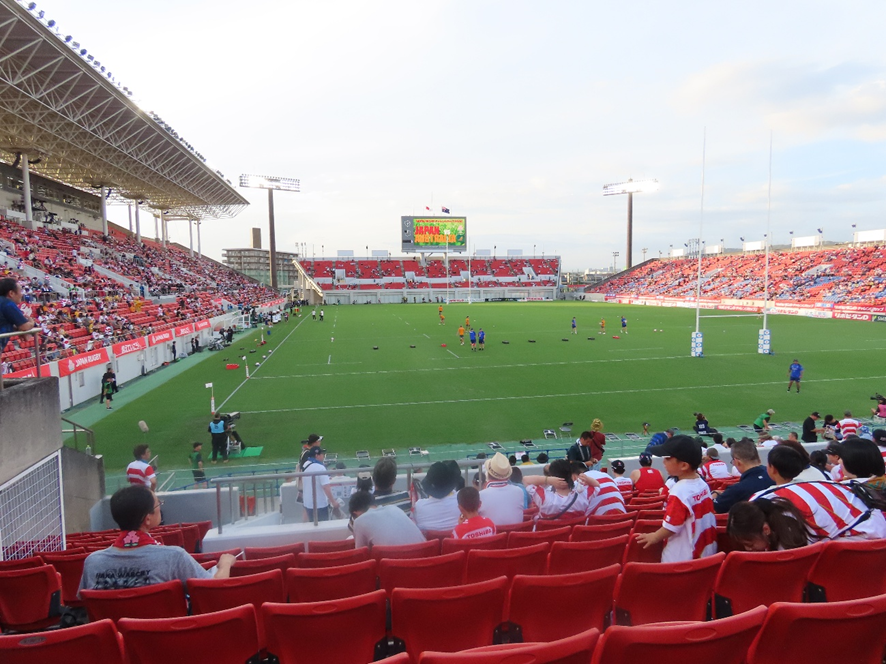
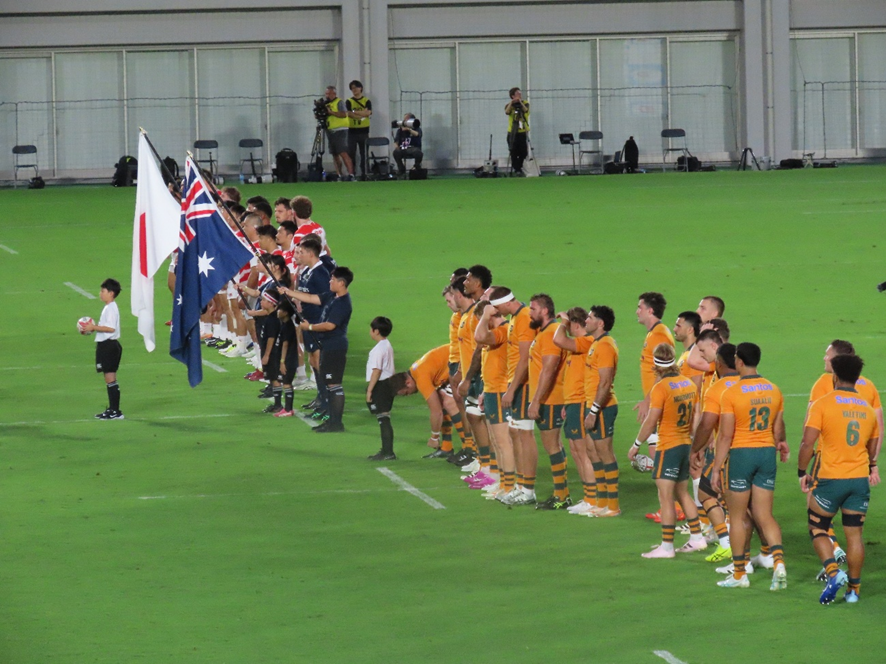
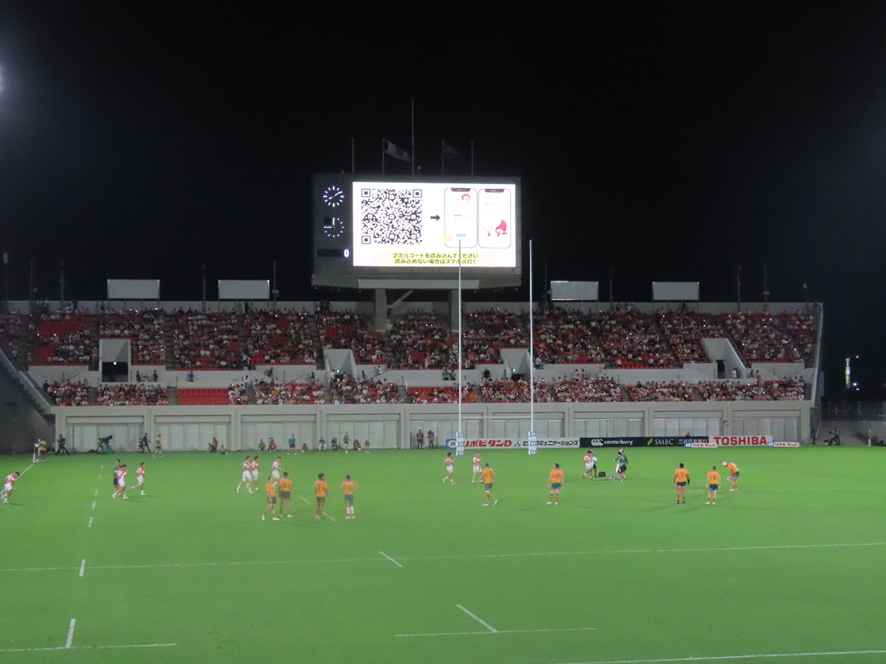
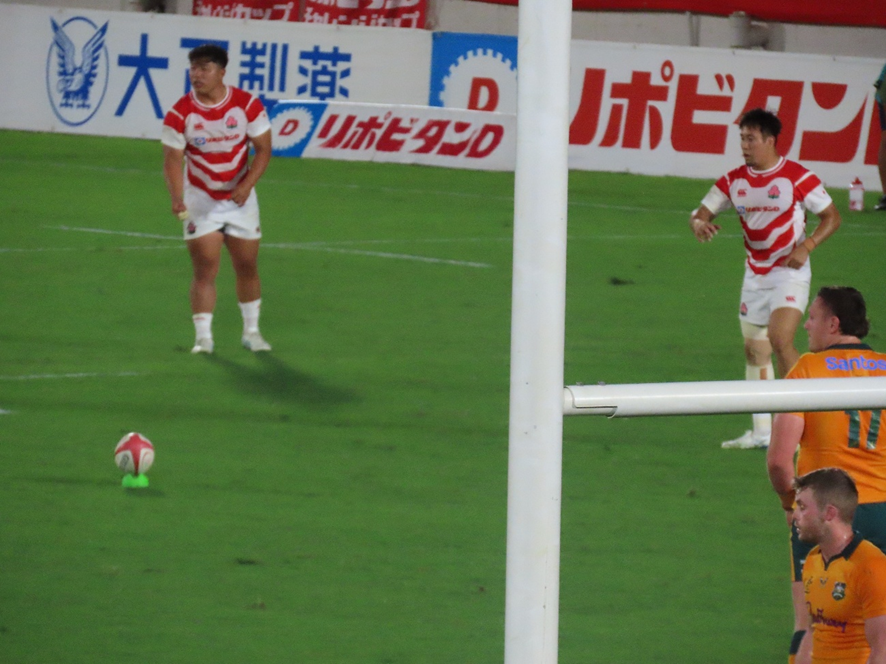
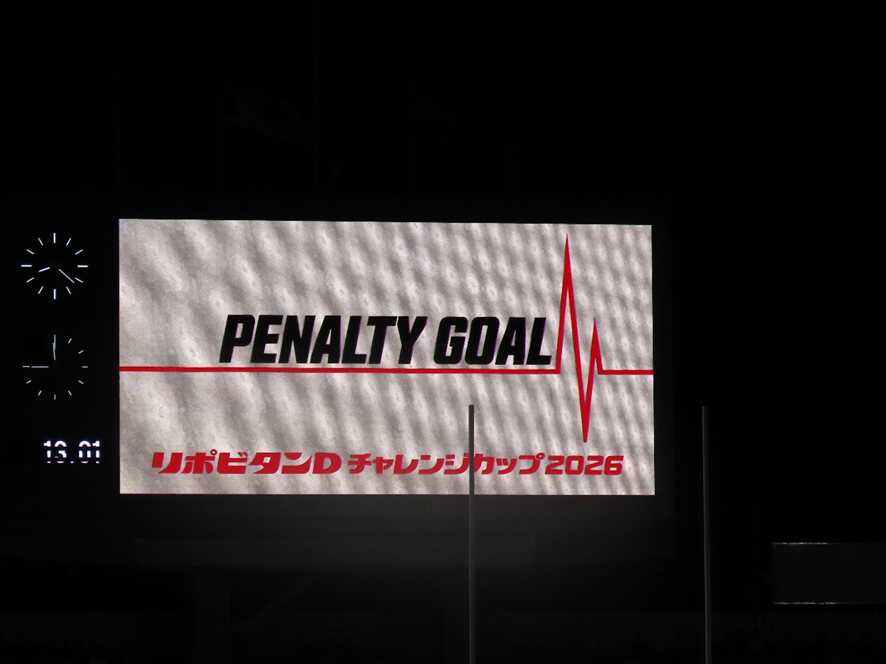
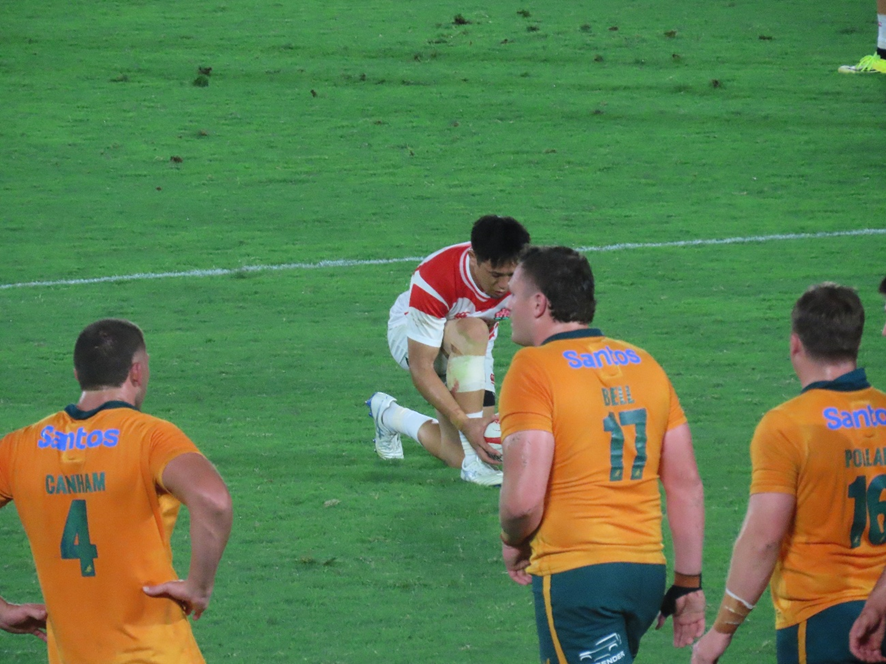
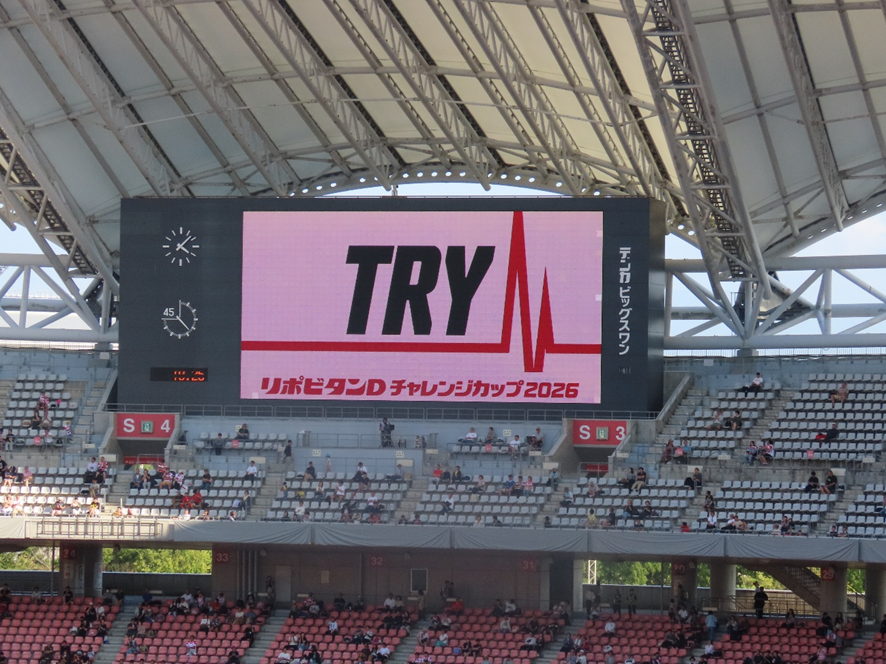
September 5, 2026. A test match between the Japan national rugby team and the Canadian national team was held at Denka Big One Stadium in Niigata Prefecture.
This marked the first time in 18 years that an international rugby test match had been held in Niigata Prefecture. Additionally, 2026 marked the 100th anniversary of the founding of the Japan Rugby Football Union.
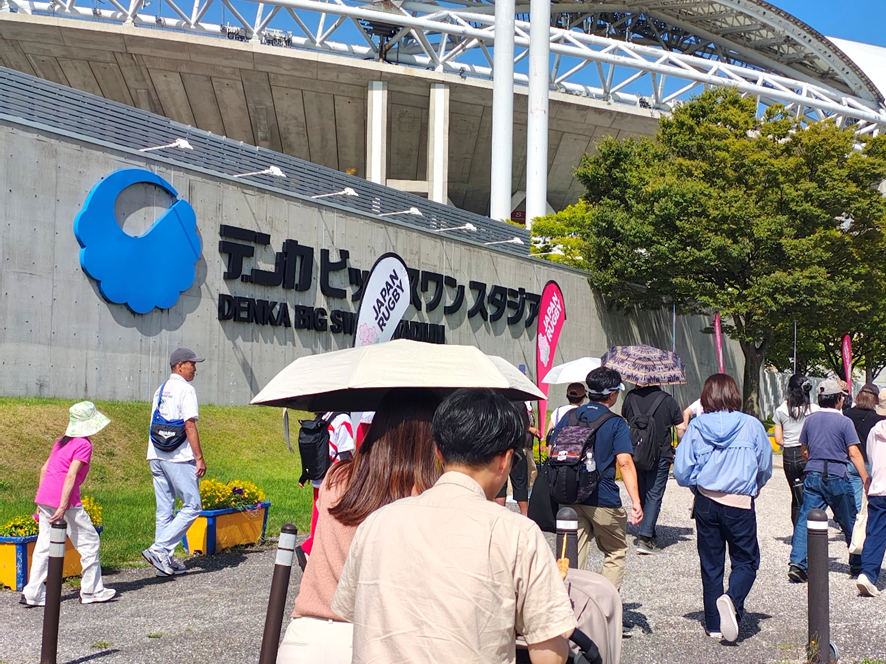
Denka Big Swan Stadium in Niigata Prefecture is about 300 km one way from my home. This time, I drove there.
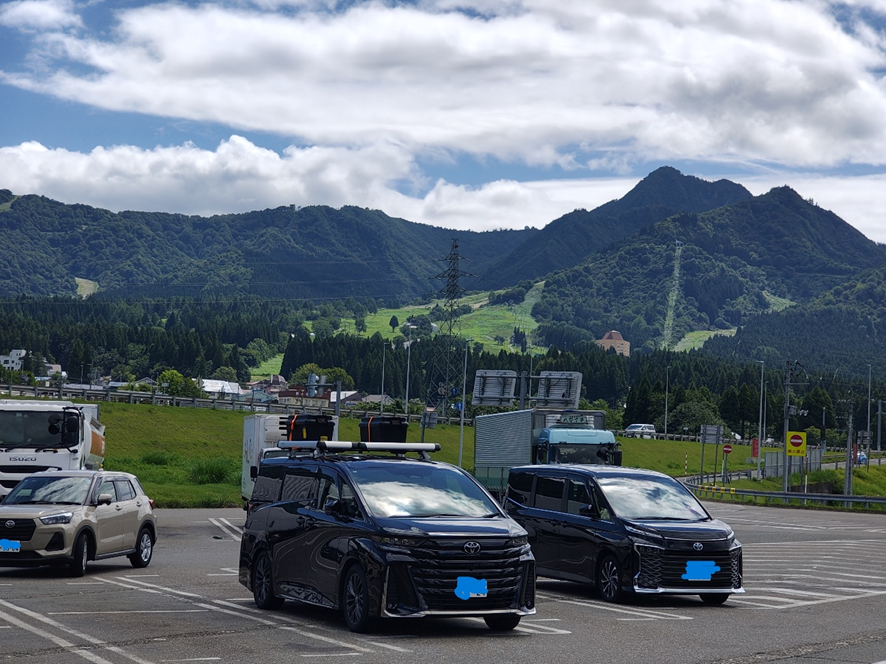
The trip took about 6 hours one way. When I left Hachioji City in Tokyo, it was drizzling, and the temperature was 20 degrees Celsius—chilly enough to feel a bit cold—but in Niigata City, the temperature exceeded 30 degrees Celsius, and it felt like the height of summer.
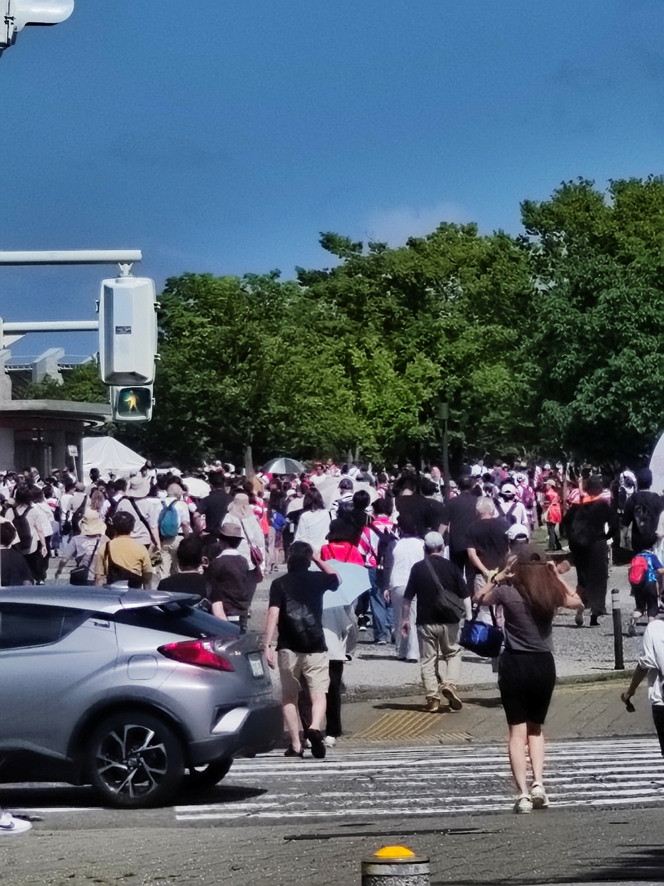
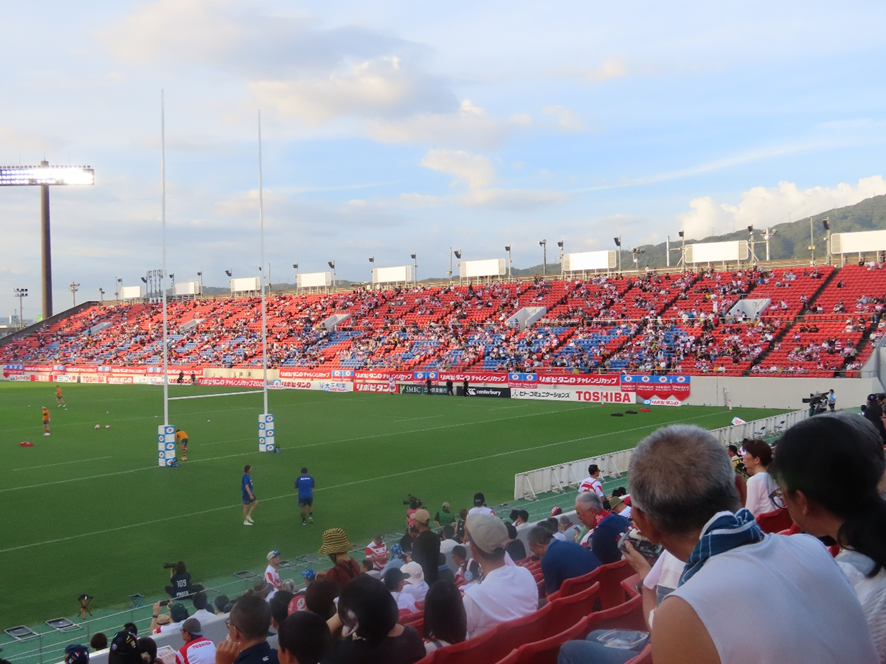
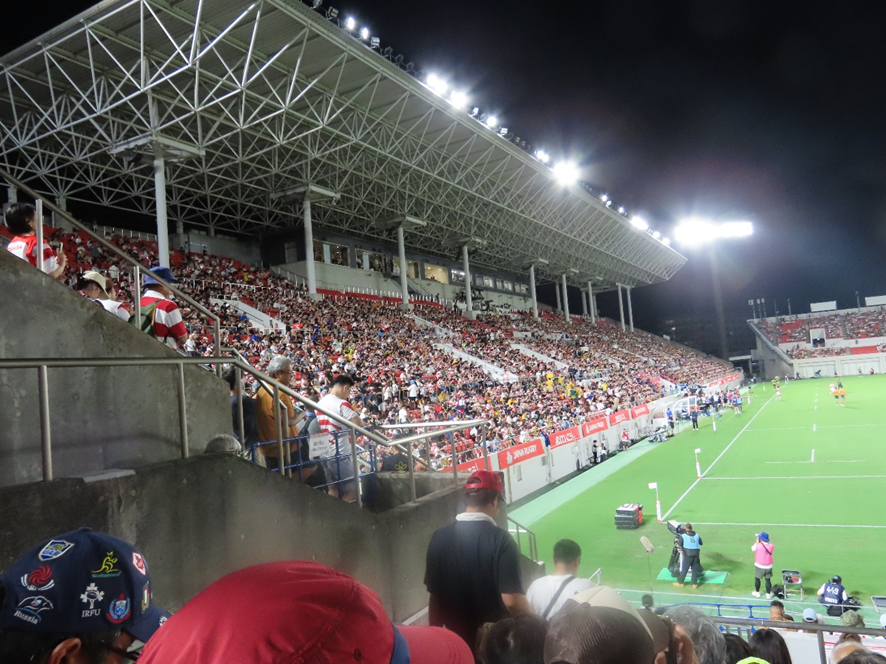
Niigata Big Swan Stadium was built in time for the 2002 FIFA World Cup held in Japan. While the exterior is beautiful, a quarter-century has passed since its construction, and the facilities were showing their age.
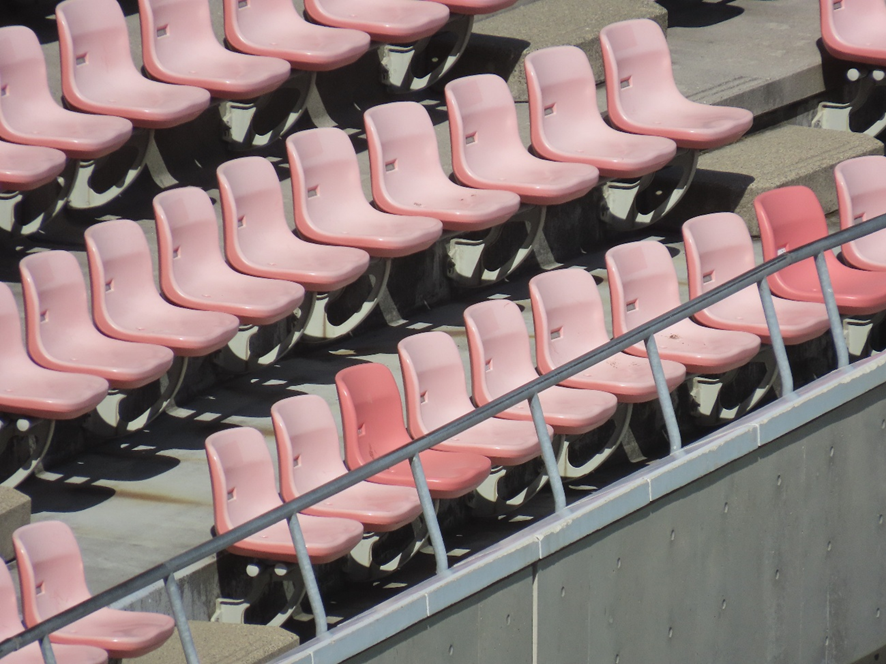
First, there was wear and tear on the seats. The dark orange seats were likely replaced due to damage or other issues.
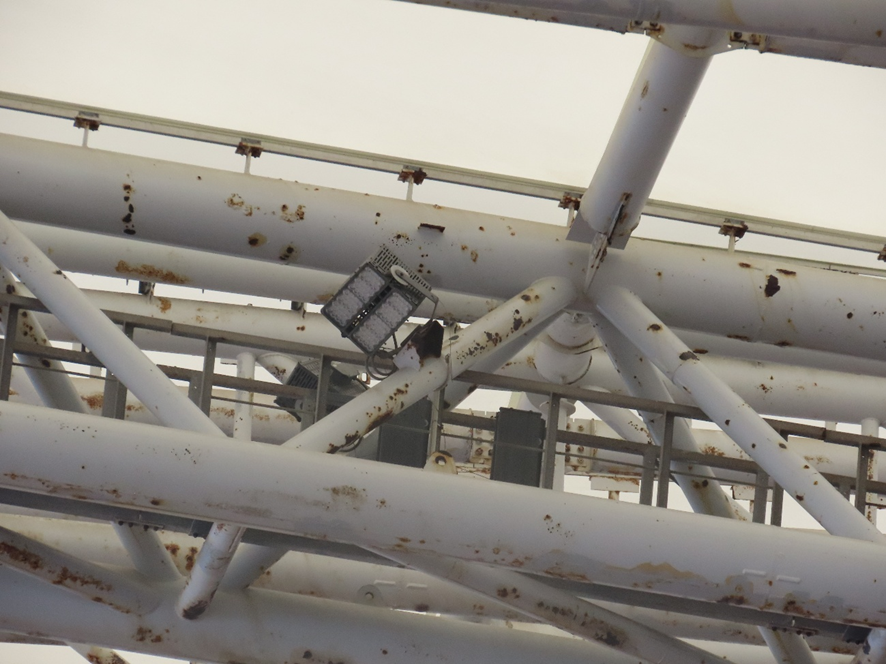
Next, I noticed rust on the roof pillars. Since Big Swan Stadium is located near the ocean, it is exposed to sea breezes, making it prone to rust.
The stadiums built across the country for the 2002 FIFA World Cup cannot be maintained unless the local governments where they are located make a concerted effort to operate them. This stadium is primarily used as the home stadium by Alvilex Niigata, a team in the J.League. I hope it will continue to contribute to the community by hosting many events in the future.
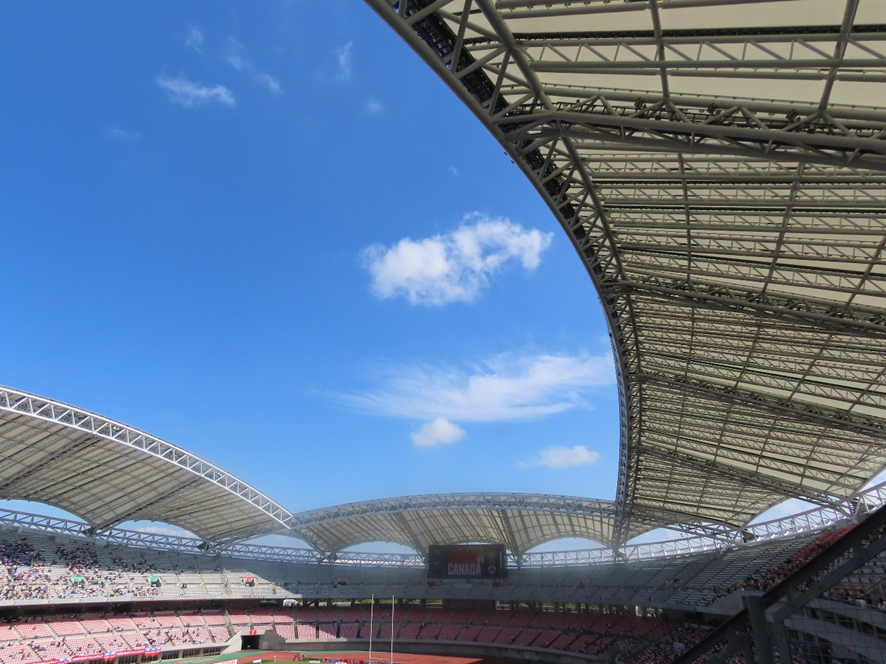
The results and upcoming schedule for the Japan national rugby team’s Test Matches, which began in June, are as follows.
| Japan Rugby Test Match 2026 | ||||
| Date | Opponent | match venue | Result | |
| 1 | 6/27 | Maori All Blacks | Nagoya, Japan | 31-38● |
| 2 | 7/4 | Italy | Tokyo, Japan | 27-10○ |
| 3 | 7/11 | Ireland | New Castle, Australia | 20-36● |
| 4 | 7/18 | France | Tokyo, Japan | 15-42● |
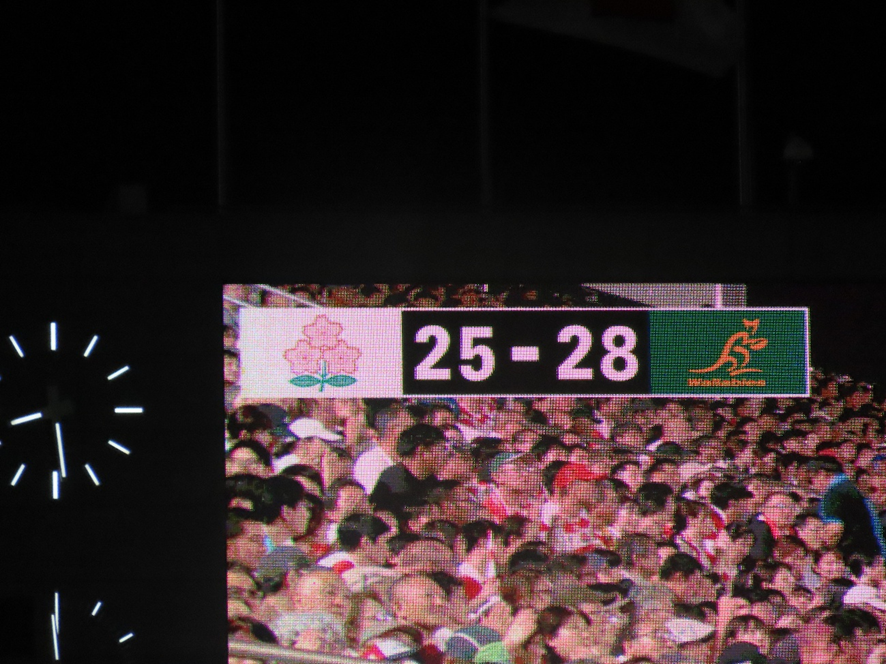
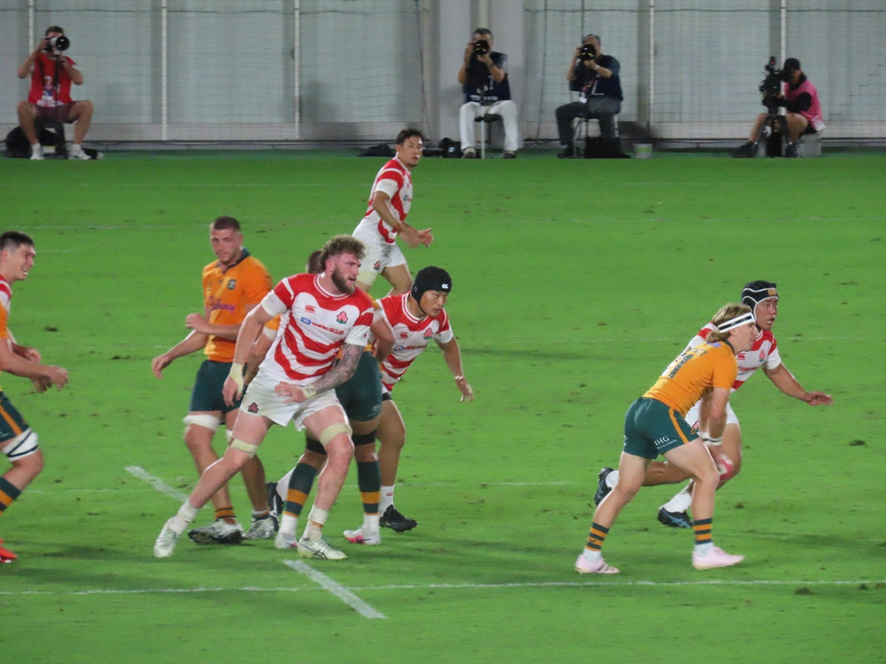
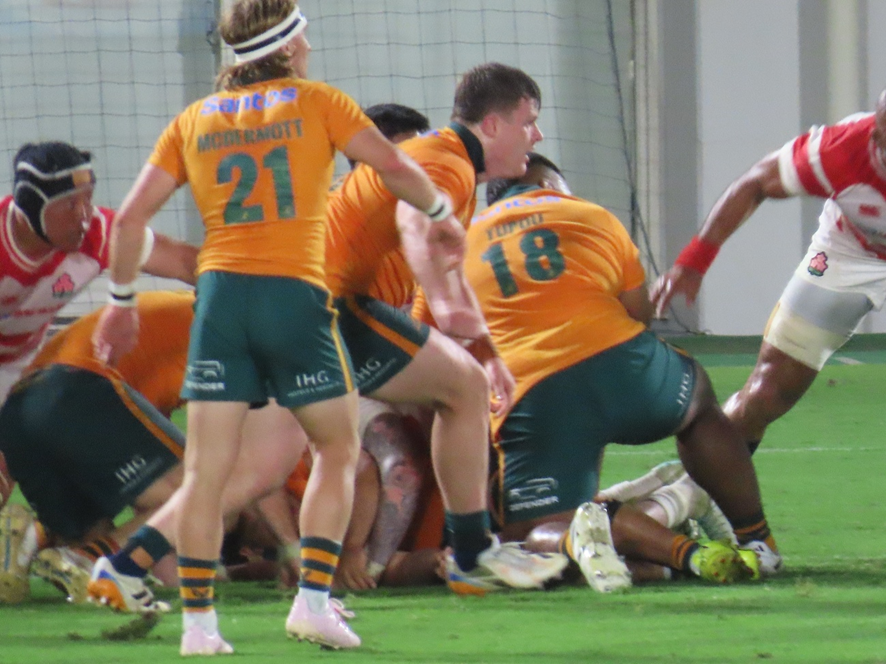
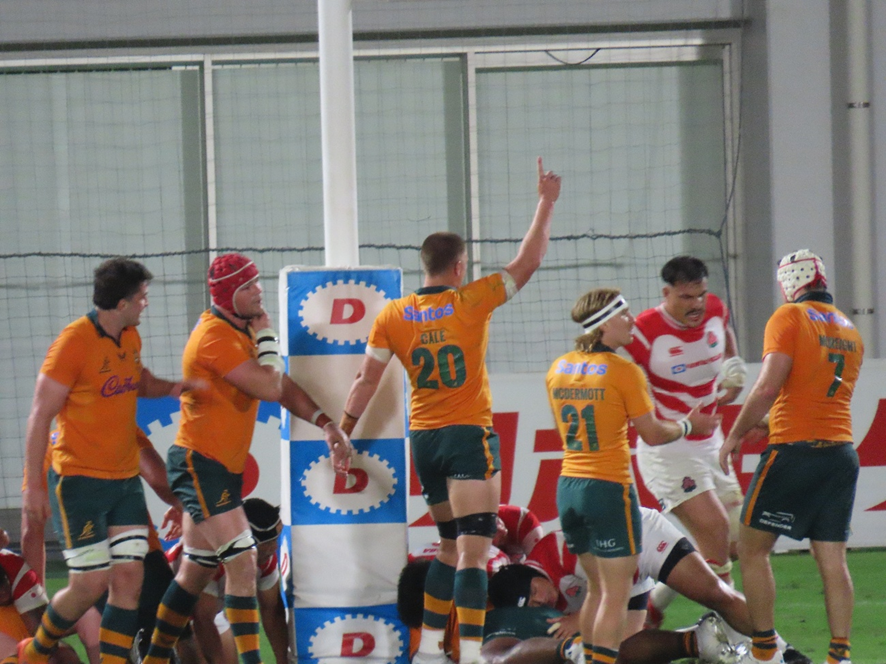
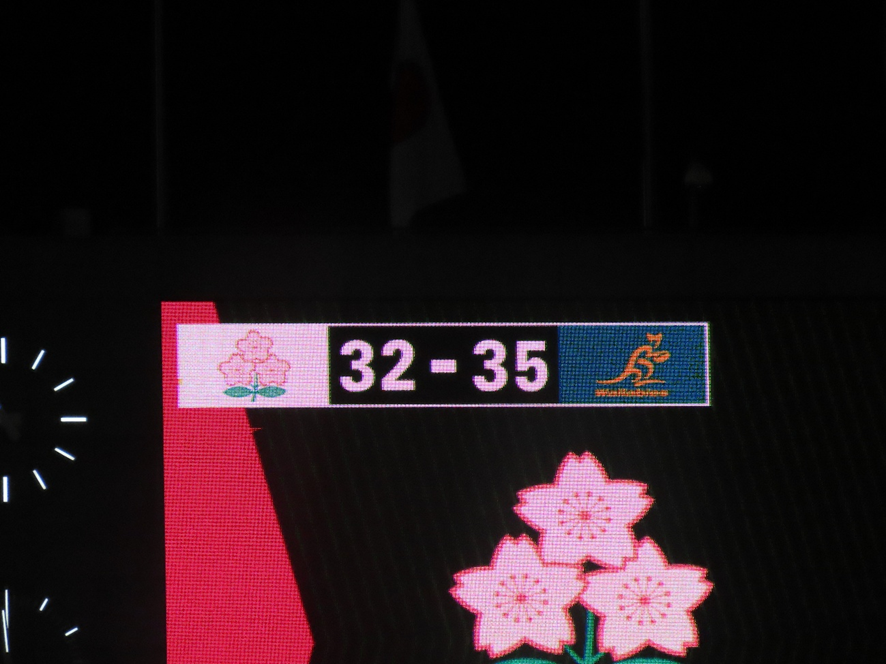
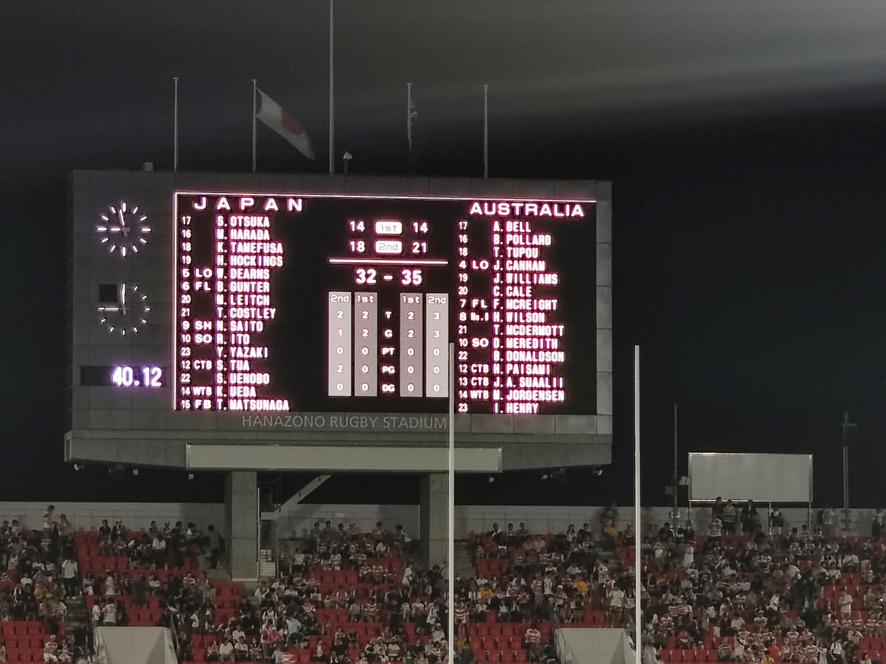
| 5 | 8/8 | Australia | Osaka, Japan | 32-35● |
| 6 | 8/15 | Australia | Queensland, Australia | 17-56● |
| 7 | 9/5 | Canada | Niigata, Japan | |
| 8 | 9/12 | (PNC Semi-Final) | Osaka, Japan | |
| 5 | 9/19 | (PNC Final or 3rd Place Match) | Tokyo, Japan | |
| 6 | 10/24 | Fiji | Tokyo, Japan | |
| 7 | 11/8 | Wales | Cardiff, Wales | |
| 8 | 11/15 | England | Twickenham, England | |
| 9 | 11/22 | Scotland | Murrayfield, Scotland | |
| 10 | 11/29 | (Nations Championship) | Twickenham, England | |
The record so far stands at 1 win and 5 losses. Since the opponents were teams ranked higher than Japan, it was expected that there would be many losses, but Fans are eagerly anticipating seeing the Japanese national team secure a victory.
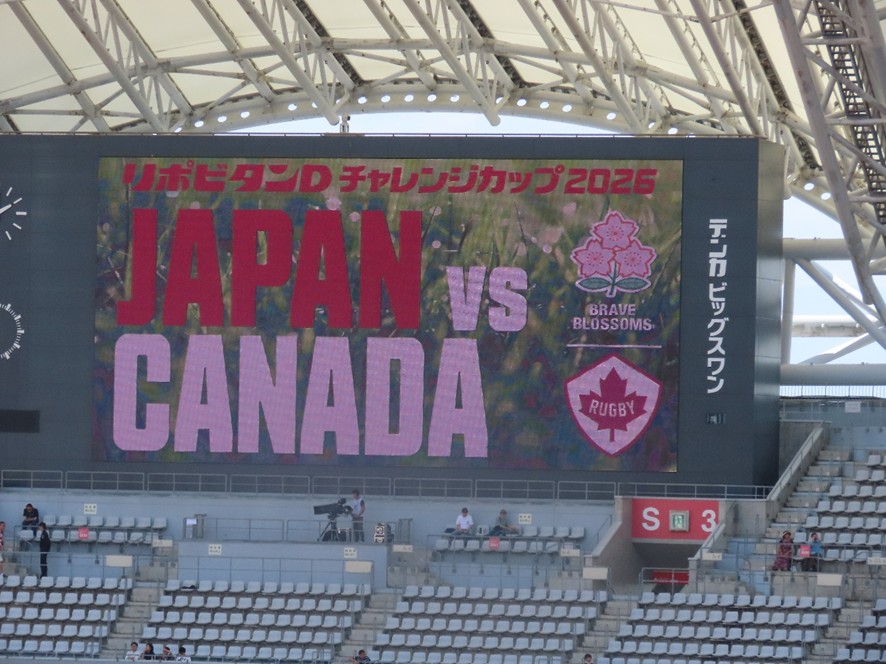
Now, here is the latest information on the two teams facing off today.
First, let’s take a look at the visiting team, the Canadian national rugby team, the Maple Leafs.
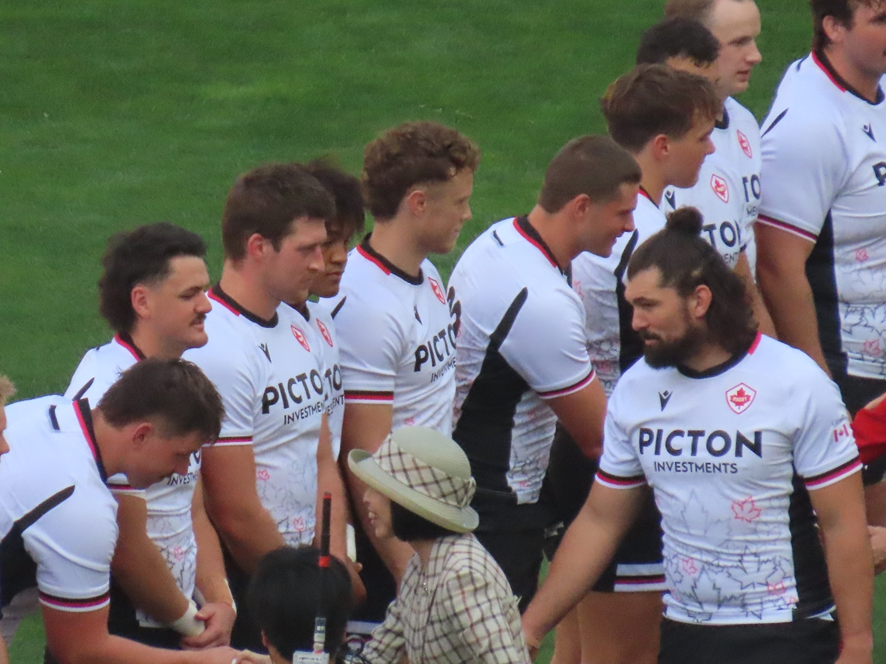
They are ranked 24th in the world. The team’s nickname is the Maple Leafs. They have competed in every Rugby World Cup from the inaugural tournament in 1987 through the 9th edition in 2019. At the 1991 Rugby World Cup, they advanced to the quarterfinals. They were eliminated in the qualifiers for the 2023 Rugby World Cup, ending their streak of consecutive appearances. They have secured their spot in the 2027 Rugby World Cup by winning their qualifying matches.
Canada does not have a professional league domestically; many players compete in professional leagues in the United States, and many others play for amateur clubs.
While Canada’s national sevens and women’s teams have achieved success on the international stage, the men’s 15-a-side national team has not had any notable achievements in recent years. For the current Canadian national team, the Pacific Nations Cup serves as a valuable opportunity to strengthen their skills. We look forward to some great matches.
The starting lineup for this day’s match was as follows.
| Maple Leafs | ||||||
| No. | Name | height | weight | age | Club | Canada Caps |
| 1 | Sam MILLER | 188cm | 113kg | 24 | SL Benfica | 1 |
| 2 | Foster DEWITT | 186cm | 113kg | 30 | Penarol Rugby Uruguay | 6 |
| 3 | Kyle STEEVES | 183cm | 122kg | 26 | James Bay AA | 5 |
| 4 | Daragh DOYLE | 199cm | 114kg | 20 | Clontaf Rugby Club | 1 |
| 5 | Izzak KELLY | 199cm | 125kg | 26 | SL Benfica | 9 |
| 6 | Mason FLESCH | 196cm | 109kg | 26 | Chicago Hounds | 17 |
| 7 | Sion PARRY | 180cm | 90kg | 27 | Ebbw Vale | 13 |
| 8 | Lucas Rumball | 189cm | 105kg | 31 | Chicago Hounds | 69 |
| 9 | Jesse KILGOUR | 170cm | 74kg | 21 | Aurora Barbarians | 1 |
| 10 | Spencer JONES | 185cm | 98kg | 29 | Juta Worriors | 13 |
| 11 | Liam JAMES | 188cm | 95kg | 20 | UBC Thunderbirds | 0 |
| 12 | Ben LESAGE | 184cm | 95kg | 30 | New England Free Jacks | 37 |
| 13 | Isaac OLSON | 191cm | 103kg | 26 | Canberra Royals RUFC | 5 |
| 14 | Kyle TREMBLAY | 188cm | 96kg | 27 | Westshore RFC | 1 |
| 15 | Takoda MCMULLIN | 183cm | 94kg | 24 | UBC Thunderbirds | 5 |
** Player to Watch **
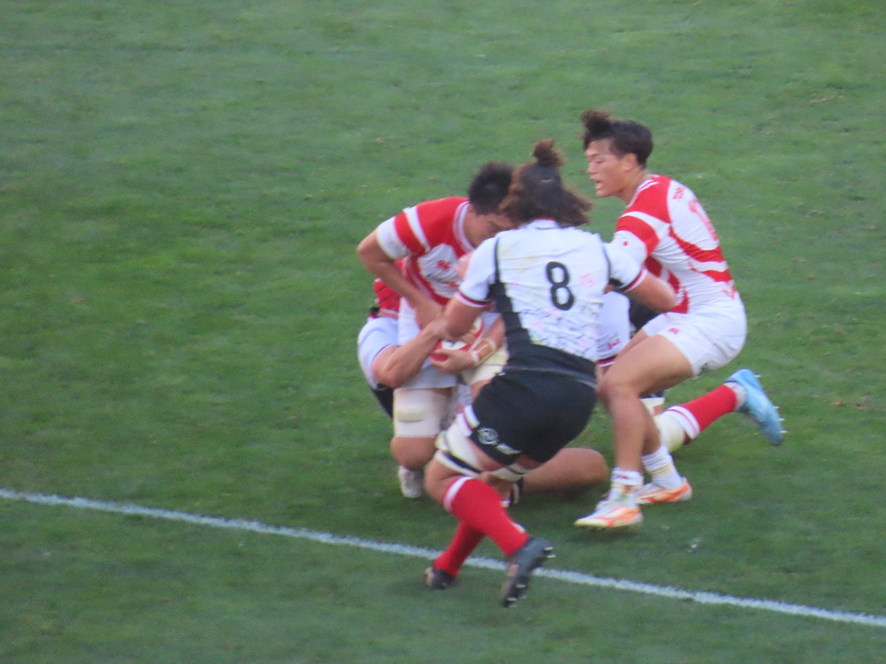
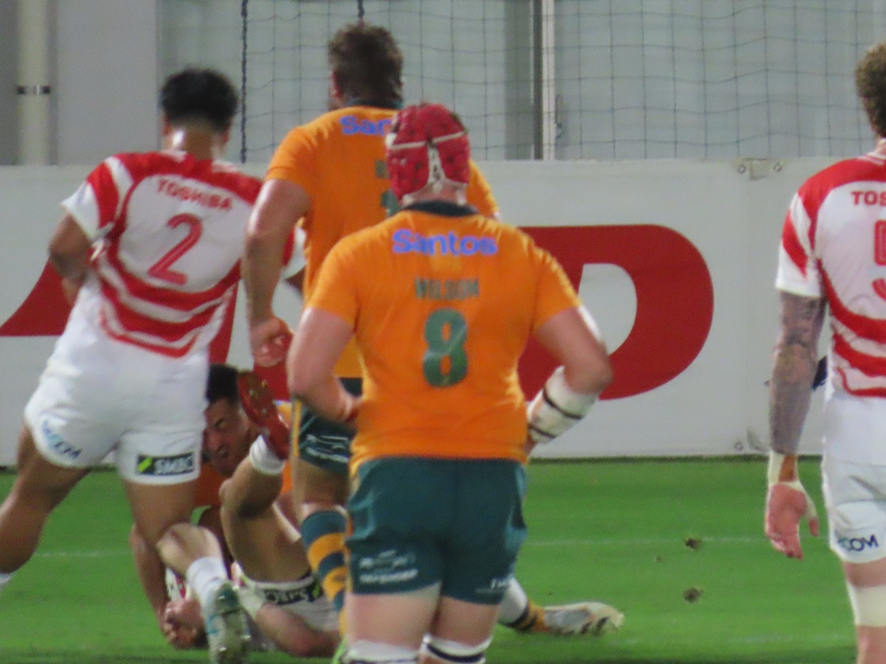
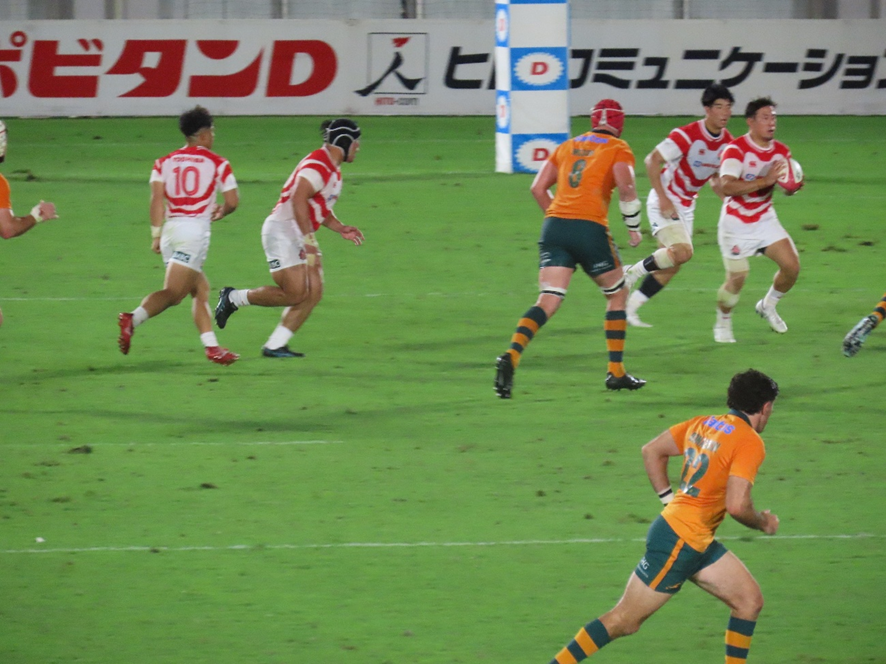
(The player wearing No. 8 is RUMBALL.)
Lucas RUMBALL. 189 cm, 105 kg, 31 years old. Position: FL, No. 8. Canada national team caps: 31. Club: Chicago Hounds. He has served as captain of the Canadian national team for 36 matches. With his exceptional leadership and formidable physical strength, he serves as the team’s emotional backbone and drives the squad forward.
He made his debut with the Canadian national team in 2016 and competed in the 2019 Rugby World Cup. The Canadian team’s unity, centered around RUMBALL, will be their greatest strength.
Next, here is the latest information on the home team, the Japan national rugby team, the Brave Blossoms.
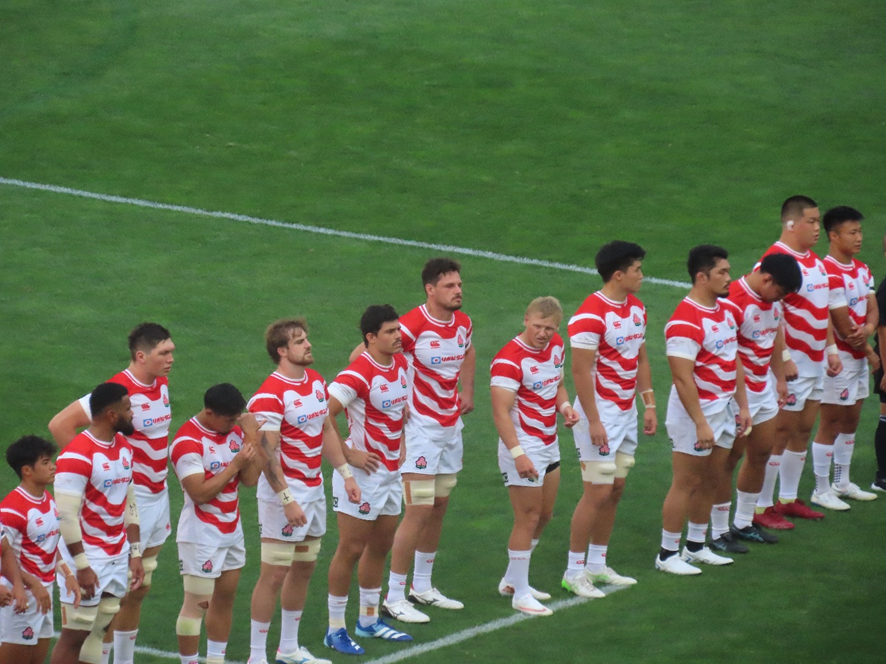
They are ranked 12th in the world. Under Head Coach Eddie Jones, they have been working to strengthen the new team since 2024, but with the 2027 Rugby World Cup just a year away, they are eager for concrete results in the form of victories. To achieve this, they need to either defeat higher-ranked teams or put on high-level performances against them. Since the Canadian national team is ranked lower than Japan in the world rankings, we hope they can end their losing streak in test matches here.
In terms of performance, Japan needs to improve its handling of high balls—a known weakness—as well as the scoring ability of the backline.
The starting lineup for this match was as follows.
| Brave Blossoms | ||||||
| No. | Name | height | weight | age | Club | Japan Caps |
| 1 | Takato OKABE | 180cm | 105kg | 31 | Eagles | 9 |
| 2 | Mamoru HARADA | 175cm | 101kg | 27 | Brave Lupas | 12 |
| 3 | Shuhei TAKEUTI | 183cm | 115kg | 28 | Sungoliath | 25 |
| 4 | Jack CORNELSEN | 195cm | 110kg | 31 | Wildknights | 31 |
| 5 | Harry HOCKINGS | 208cm | 124kg | 27 | Sungoliath | 3 |
| 6 | Ben GUNTER | 195m | 120kg | 28 | Wildknights | 20 |
| 7 | Kanji SHIMOKAWA | 188m | 105kg | 27 | Sungoliath | 24 |
| 8 | Faulua MAKISI | 187cm | 112kg | 29 | Spears | 24 |
| 9 | Naoto SAITO | 165cm | 73kg | 28 | Stade Toulousain | 31 |
| 10 | Ryunosuke ITO | 172cm | 77kg | 21 | Meiji University | 3 |
| 11 | Haruto KIDA | 176cm | 90kg | 27 | Spears | 2 |
| 12 | Yuya HIROSE | 181cm | 92kg | 25 | Spears | 5 |
| 13 | Dylan RILEY | 187cm | 102kg | 29 | Wildknights | 41 |
| 14 | Inoke BURUA | 178cm | 95kg | 27 | Steelers | 1 |
| 15 | Takuro MATSUNAGA | 172cm | 82kg | 27 | Brave Lupas | 8 |
** Player to Watch **
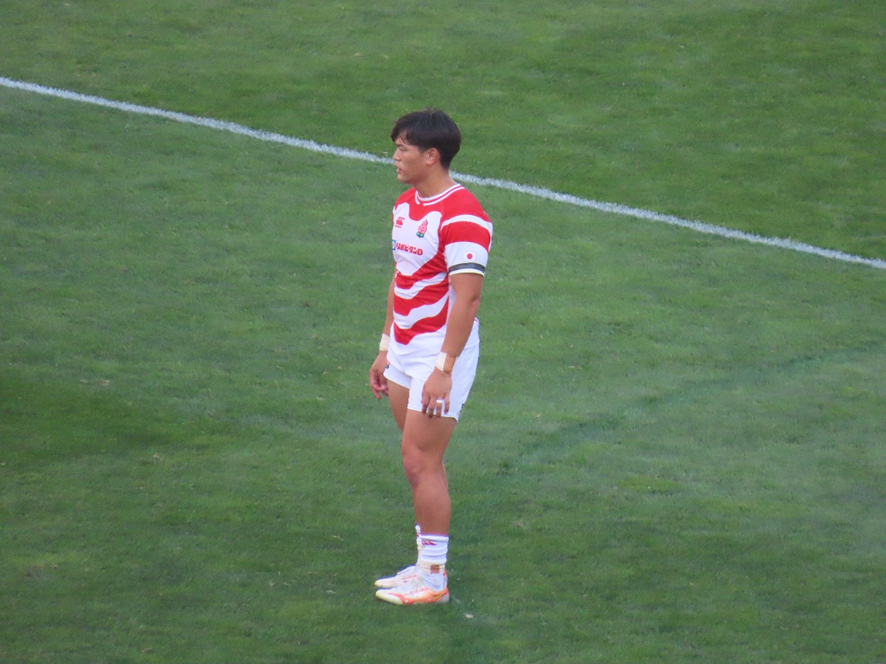
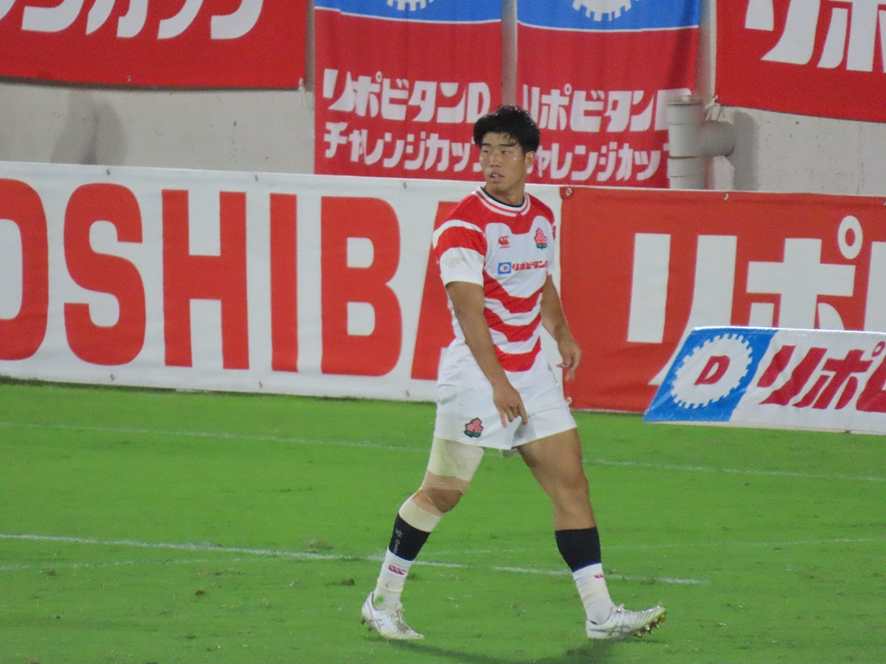
Yuya HIROSE. 181 cm, 92 kg, 25 years old. Position: CTB. Japan national team caps: 5. Graduate of Meiji University. Club: KUBOTA Spears. Aside from Riley, the Japan national team has struggled to establish a consistent center. Hirose has been putting in strong performances in League One matches since around last season, earning him a spot on the national team roster. Hirose’s strengths include his ability to execute precise kicks in attack, as well as his capability to serve as a place-kicker.
His challenge is to take his ability to break through the defense and his contact skills as a center to the next level, bringing them up to a standard that will hold up in international competition. However, because it’s a physically demanding position, injuries are a constant risk, making it difficult to increase his playing time. We hope to see him grow even further by the time the 2027 Rugby World Cup rolls around.
Now, let’s begin the first half.
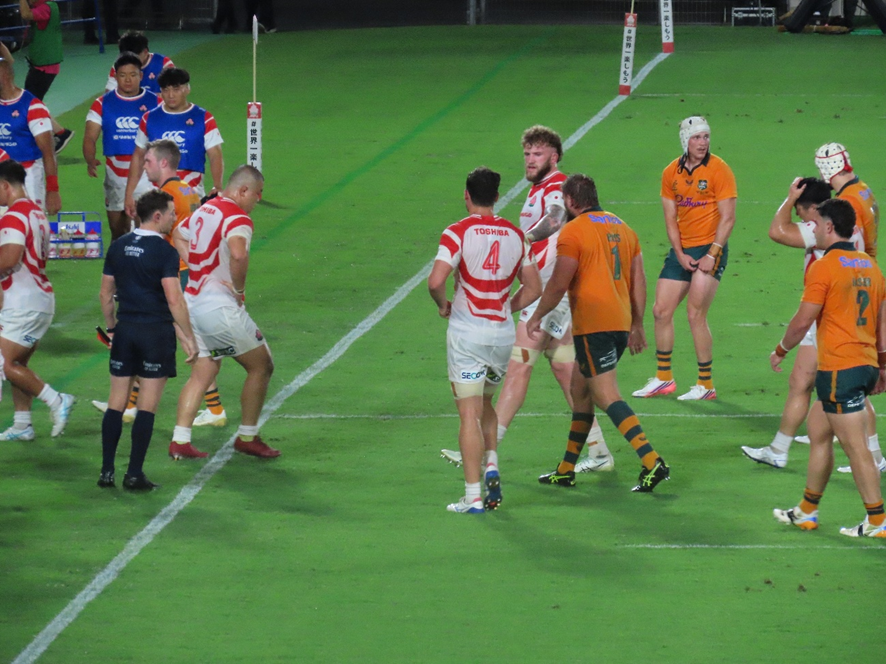
The match kicked off with a kickoff by the Maple Leafs.
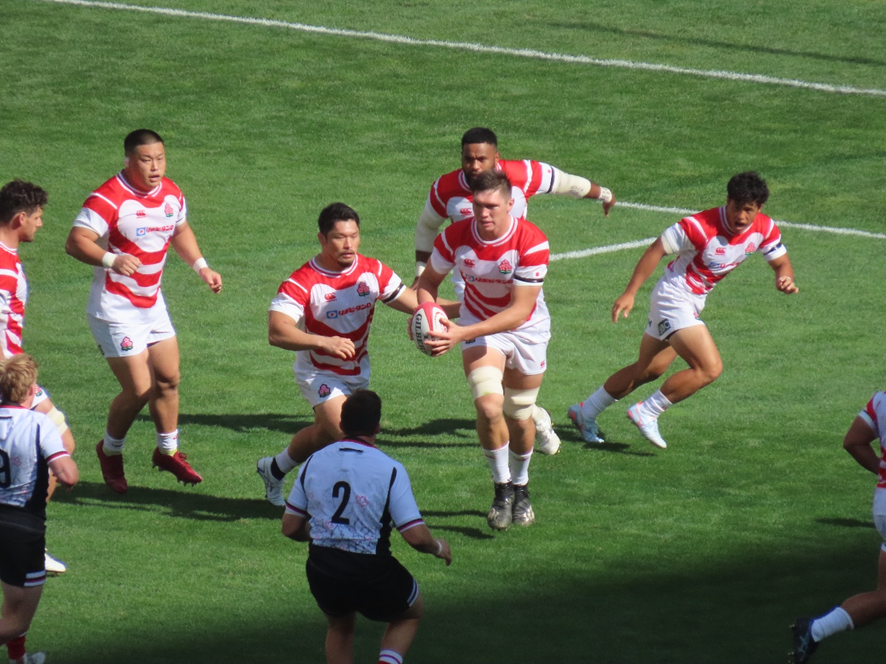
5 minutes into the first half:
Early in the match, the Brave Blossoms had 2 clear scoring opportunities near the try line but failed to score due to handling errors.
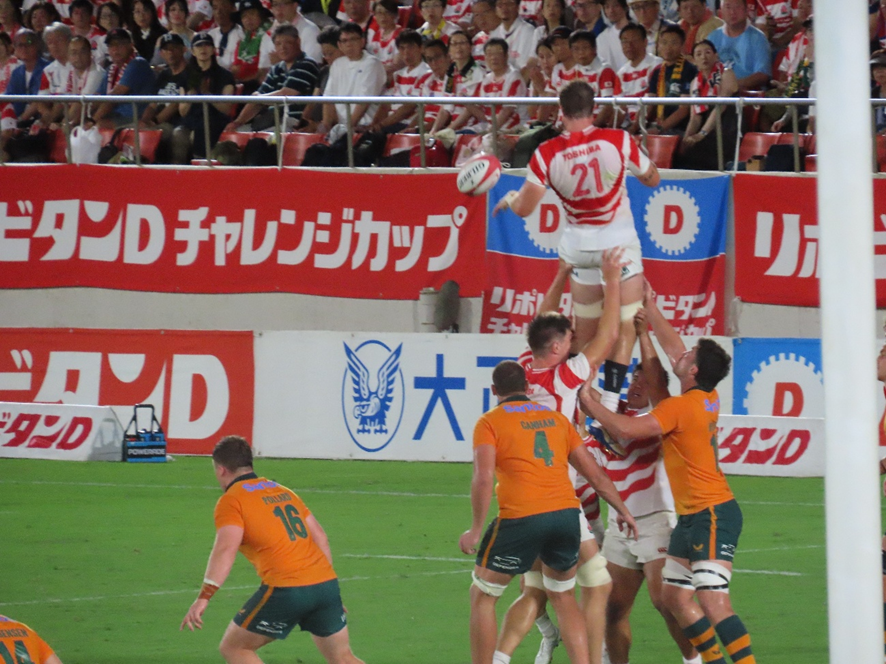
The Maple Leafs also struggled with set pieces, failing twice on lineouts and losing the scrum, resulting in inconsistent set-piece play. Following a foul here, the Brave Blossoms earned a penalty kick and secured a lineout inside the opponent’s 22-meter line.
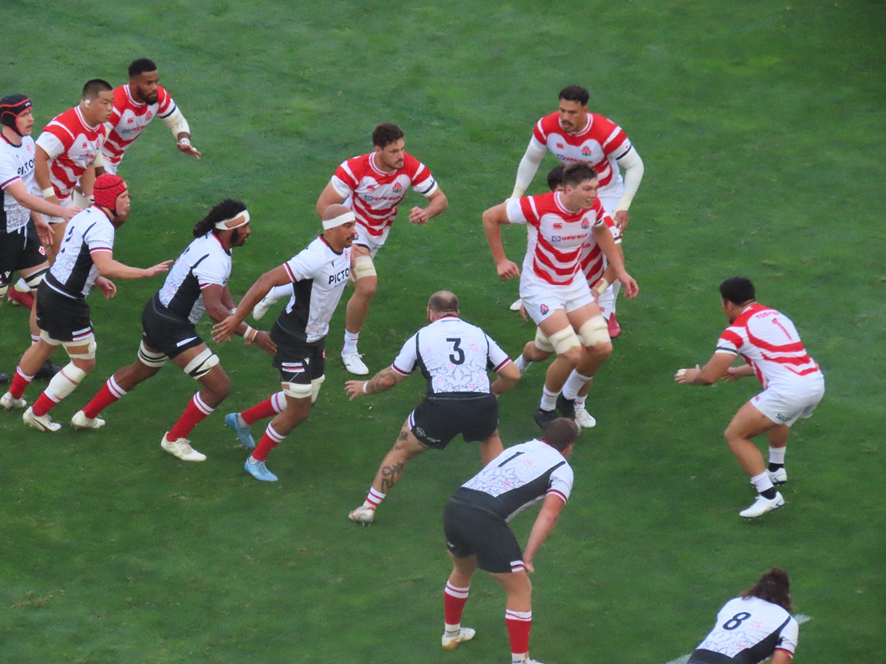
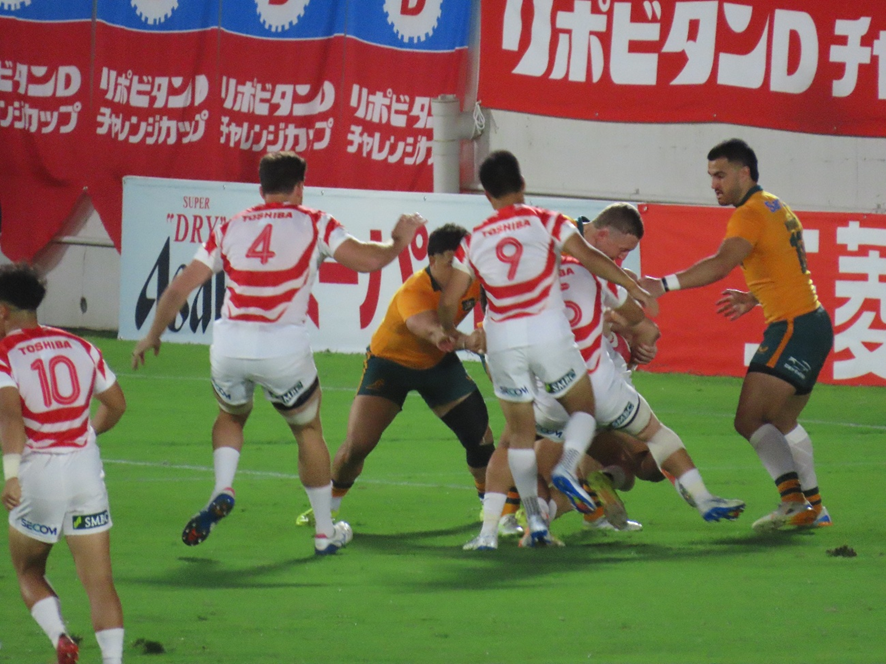
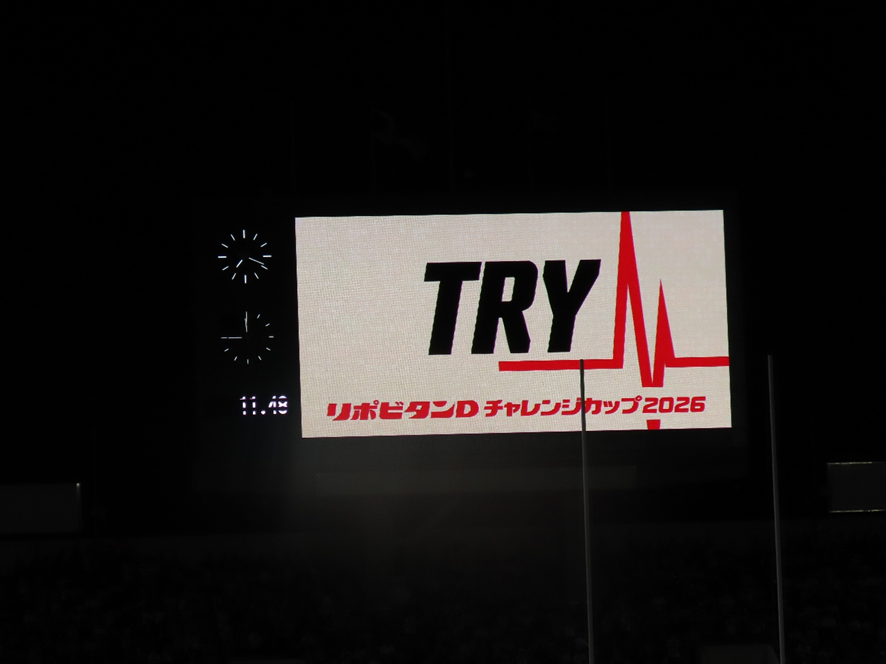
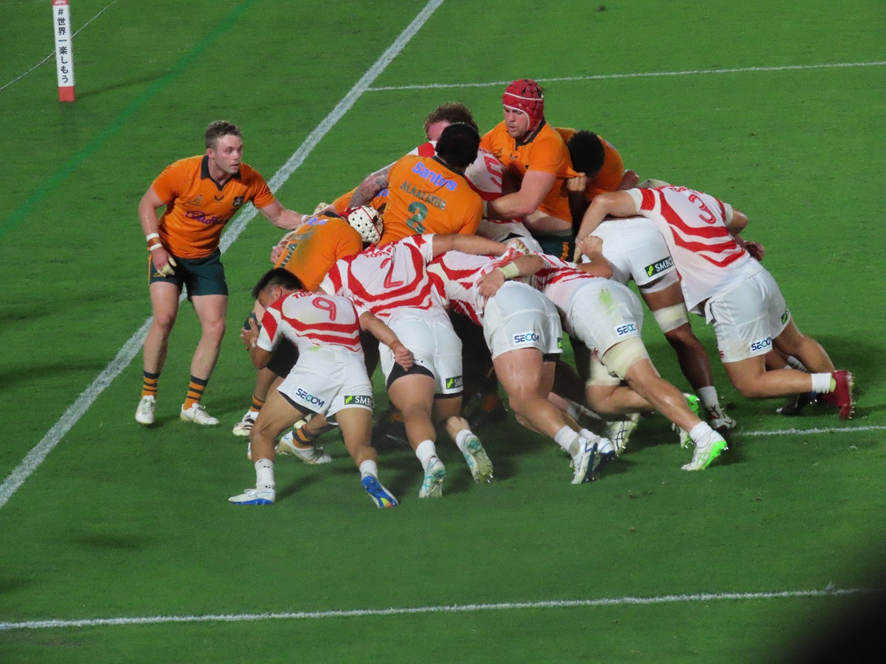
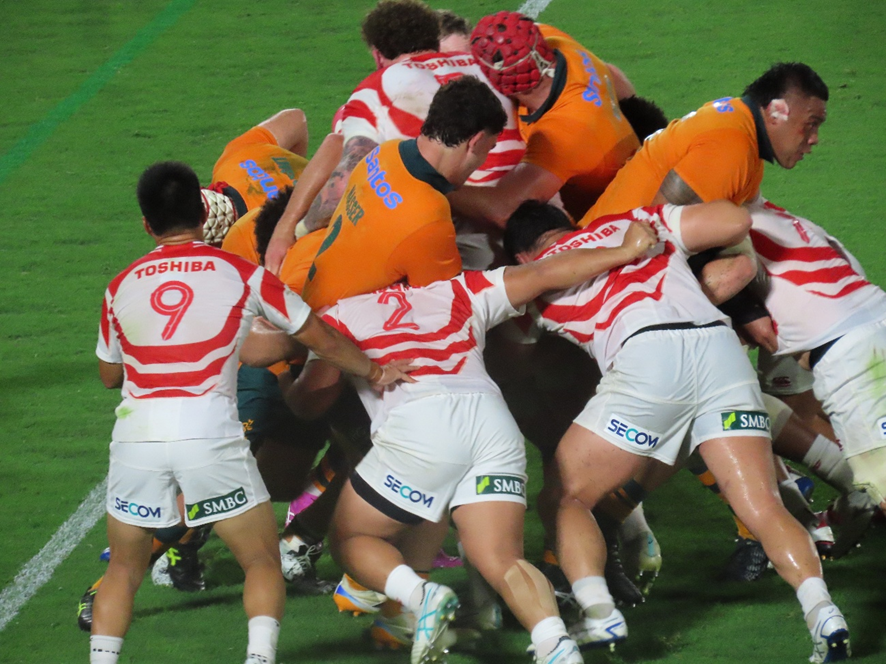
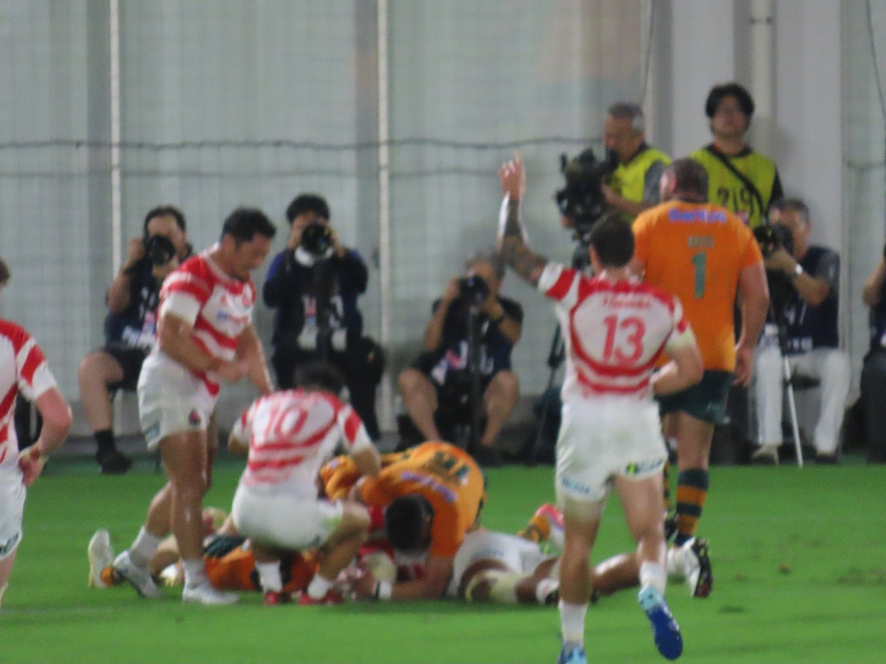
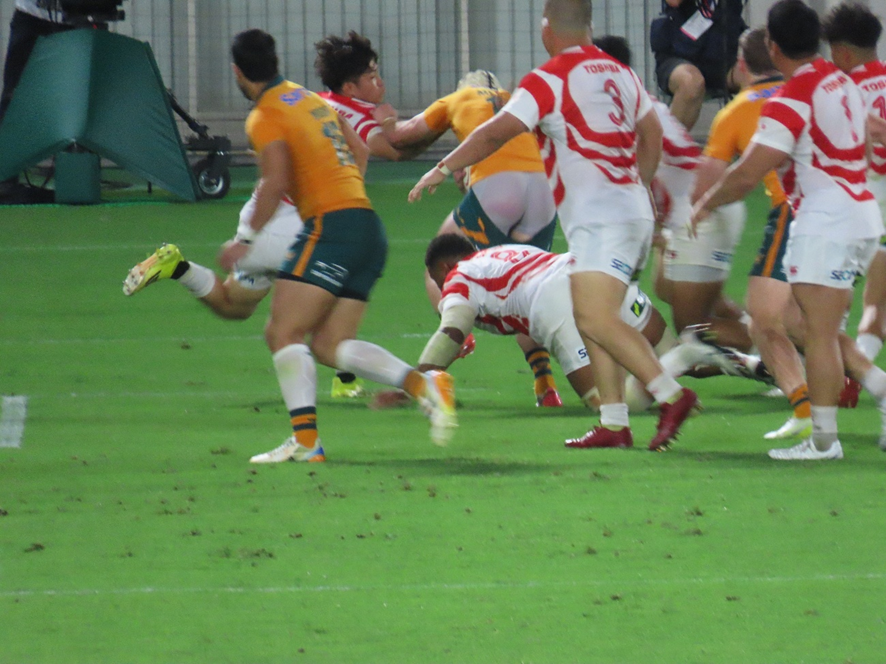
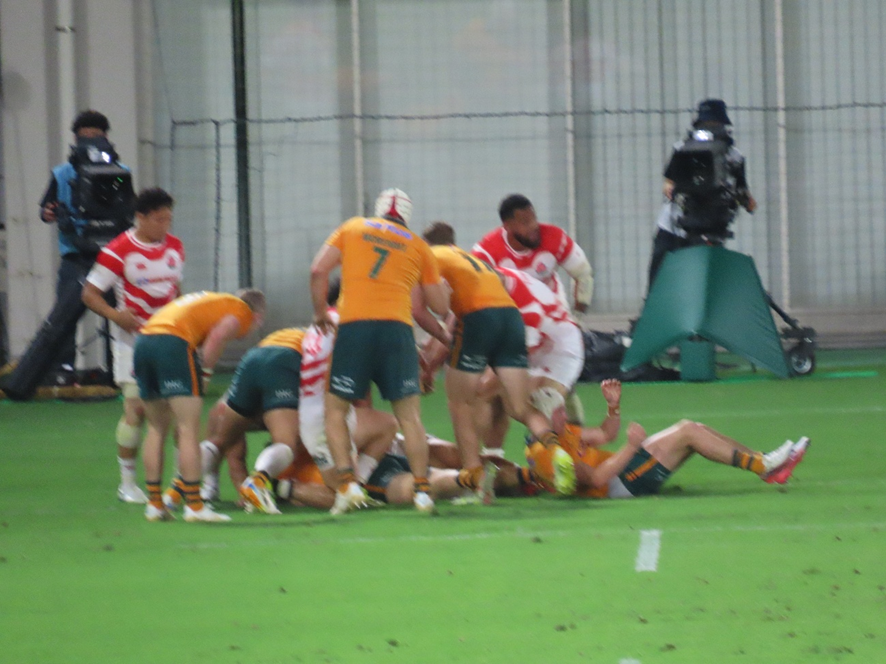
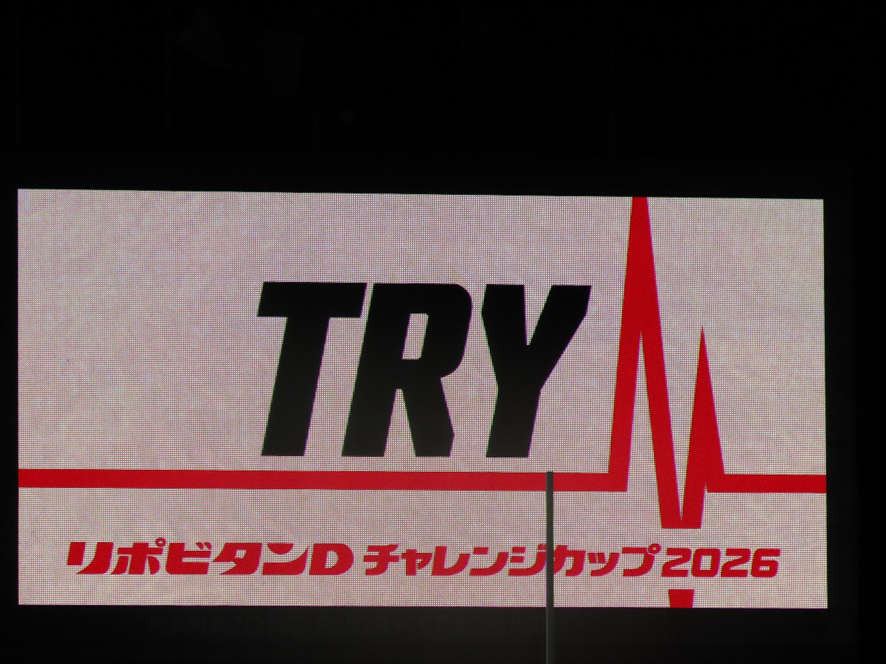
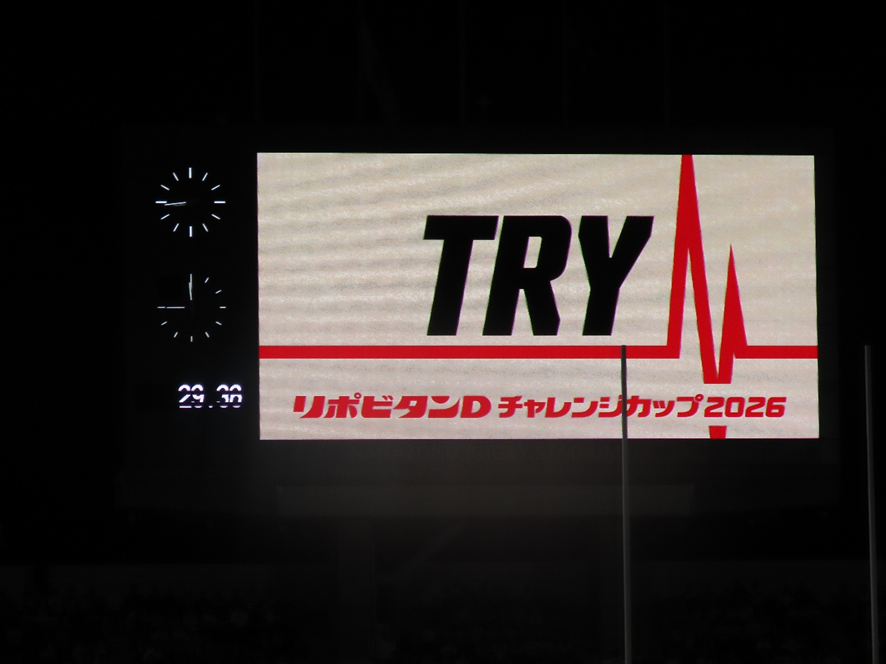
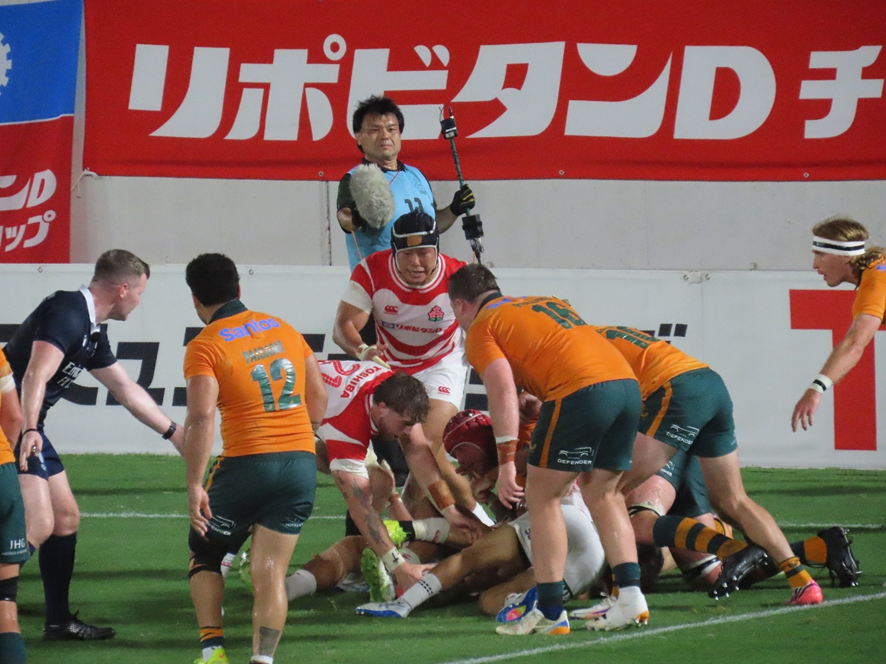
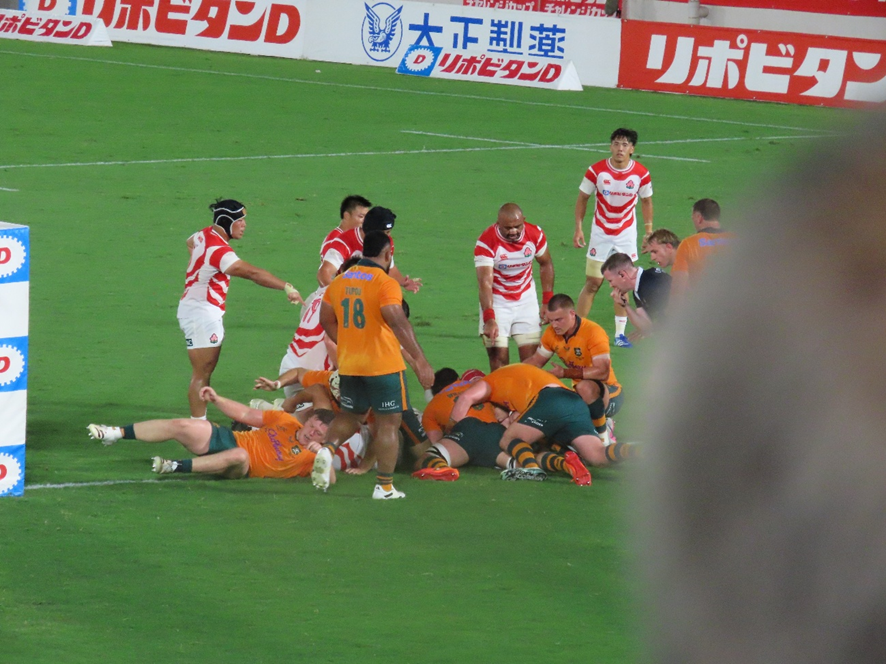
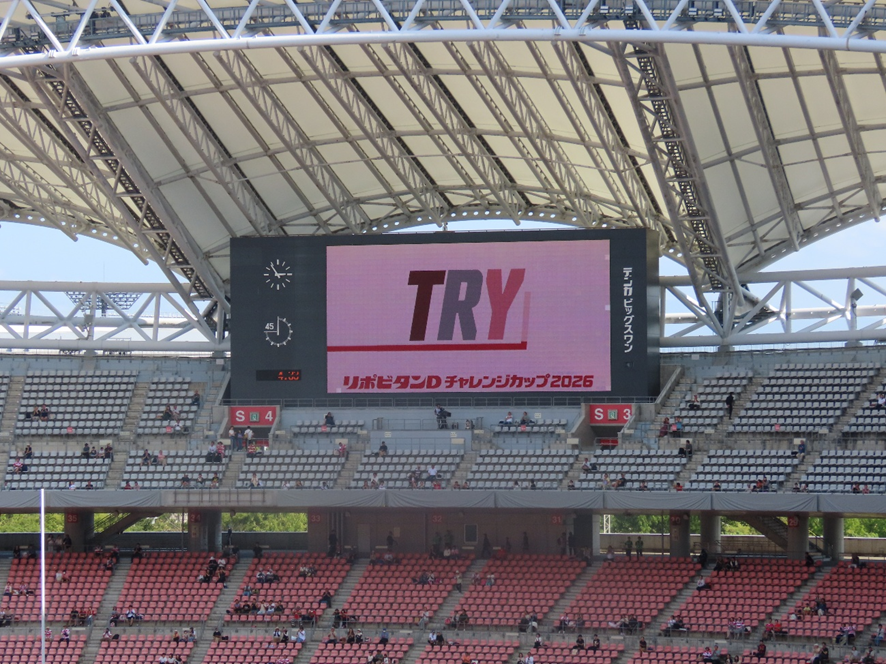
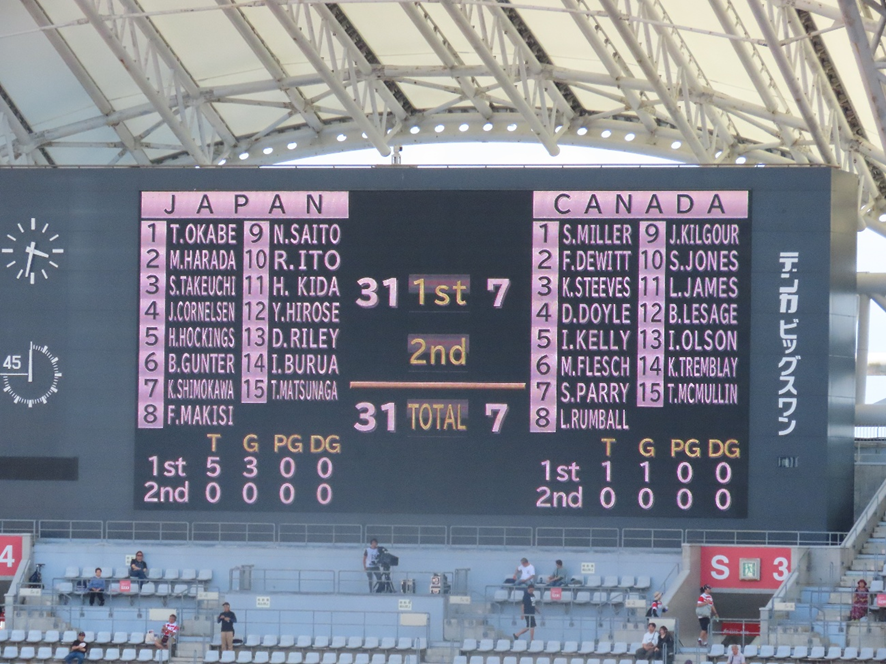
Once they secured the ball, the Brave Blossoms formed a maul to drive forward and scored a try in the left-center of the opponent’s in-goal area. The try was scored by prop OKABE.
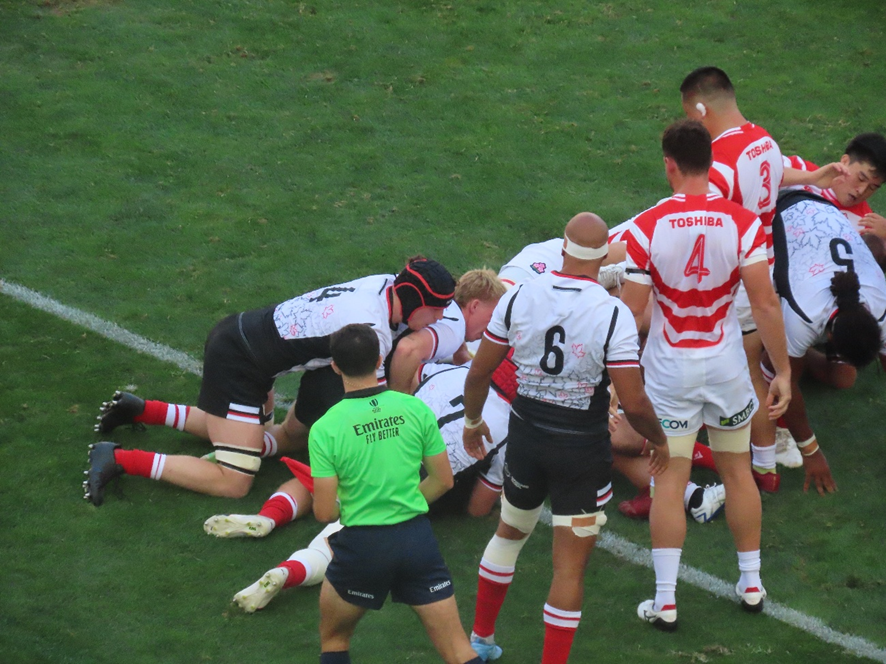
Reportedly, following their heavy defeat against Australia in their previous match, the Brave Blossoms had been intensively practicing their forward momentum through mauls, and the results of that training were on full display here.
Although they missed the conversion kick after the try, the Brave Blossoms succeeded in taking the lead, bringing the score to 5-0.
15 minutes into the first half:
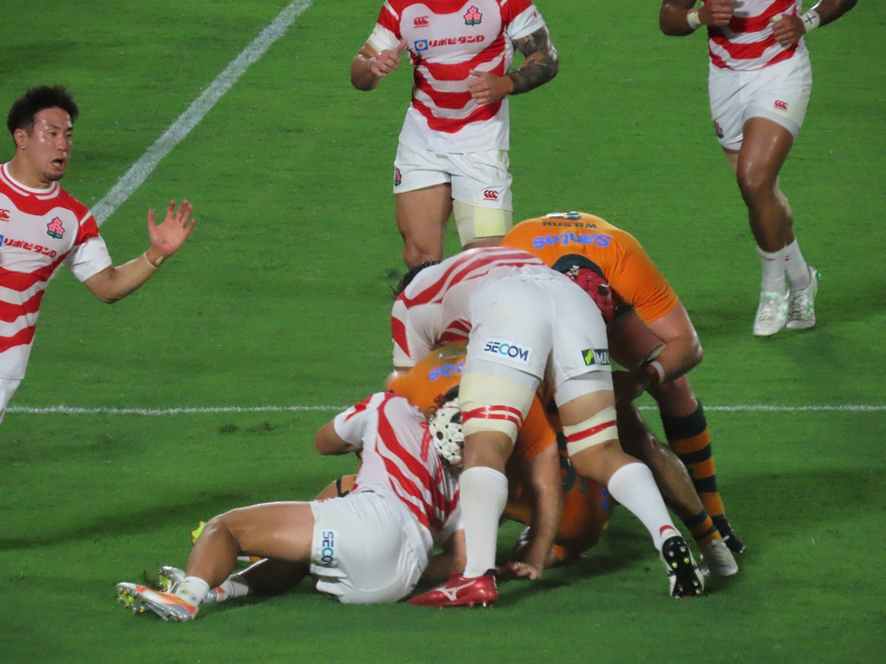
The Maple Leafs struggled with set pieces and were frequently penalized in the scrum. As a result, the Brave Blossoms earned several penalty kick opportunities. Once again, deep in the opponent’s territory, they scored a try from their own lineout, advancing through a maul and slotting the ball in just to the left of the opponent’s goalposts.
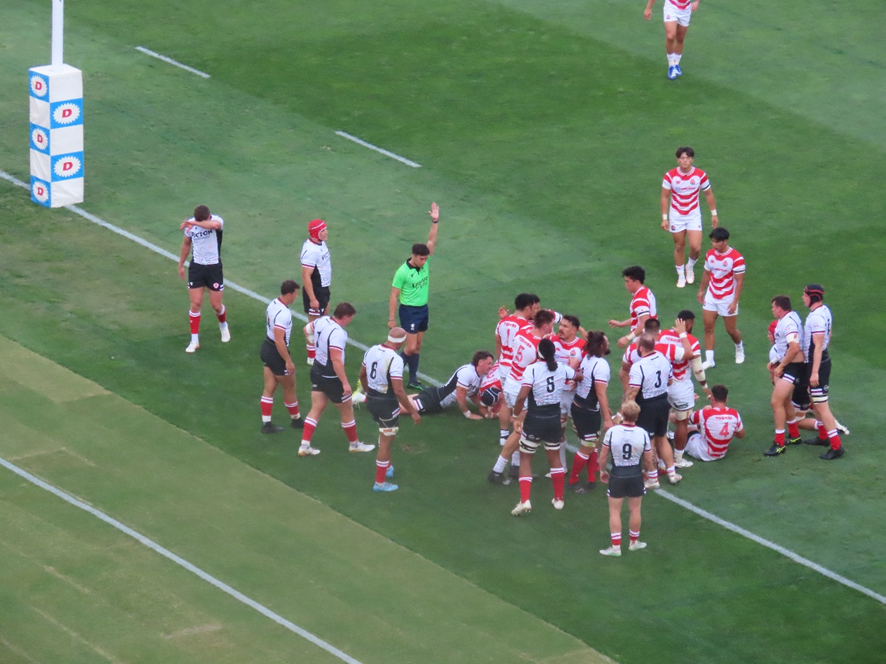
The conversion kick after the try was successful, bringing the score to 12-0.
19 minutes into the first half:
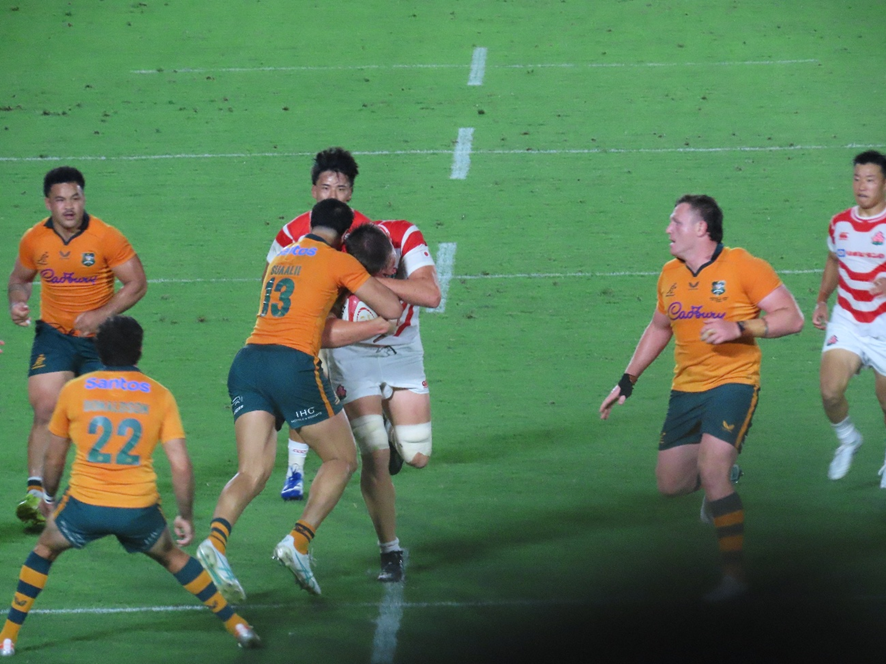
During this period, the powerful tackles by the Brave Blossoms’ third-row forwards stood out, making it difficult for the Maple Leafs to gain ground.
However, amid this pressure, fullback McMulin slipped past the Brave Blossoms’ defensive line, broke through behind the defense, and ran straight to the try line, scoring a try directly beneath the opponent’s goalposts.
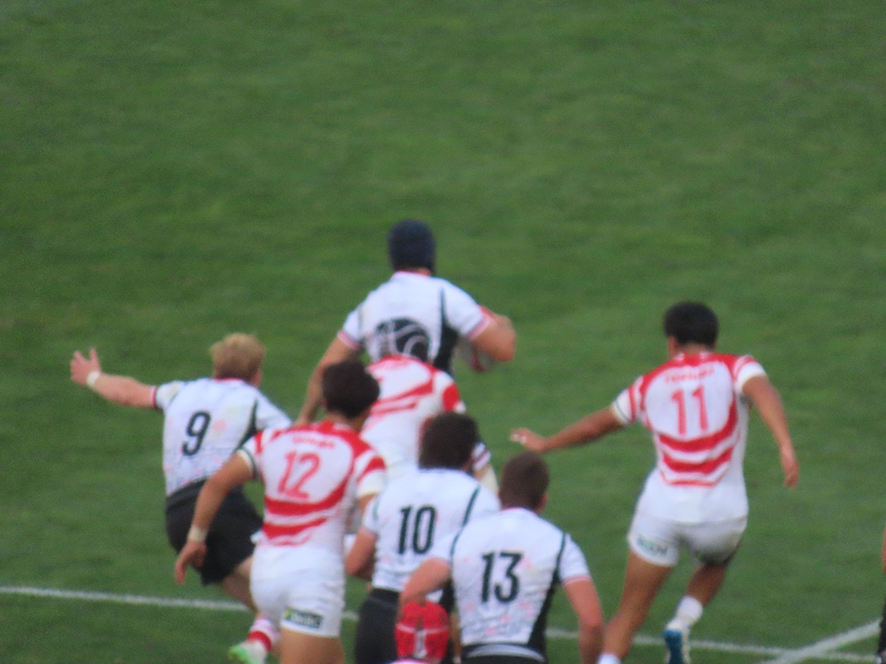
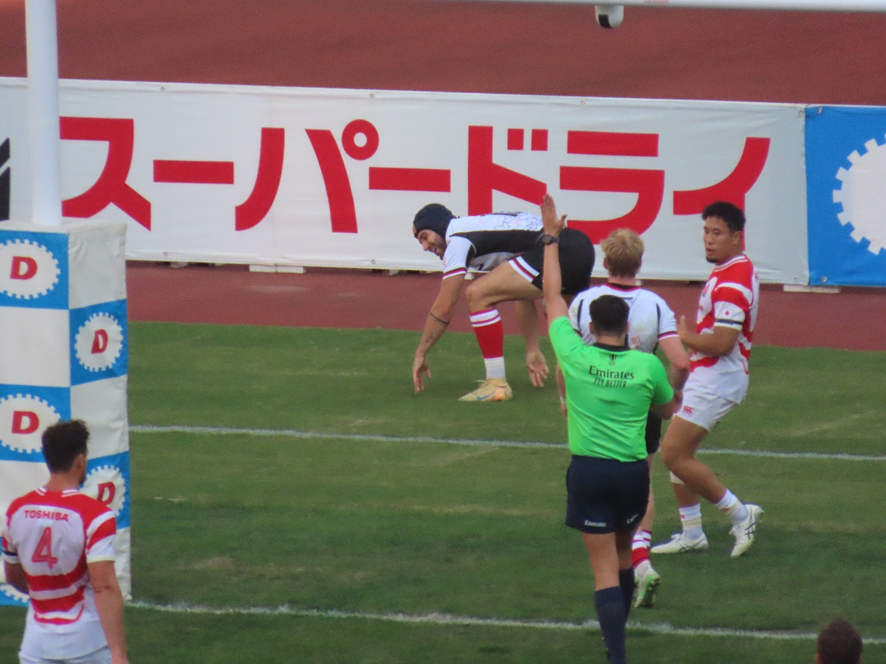
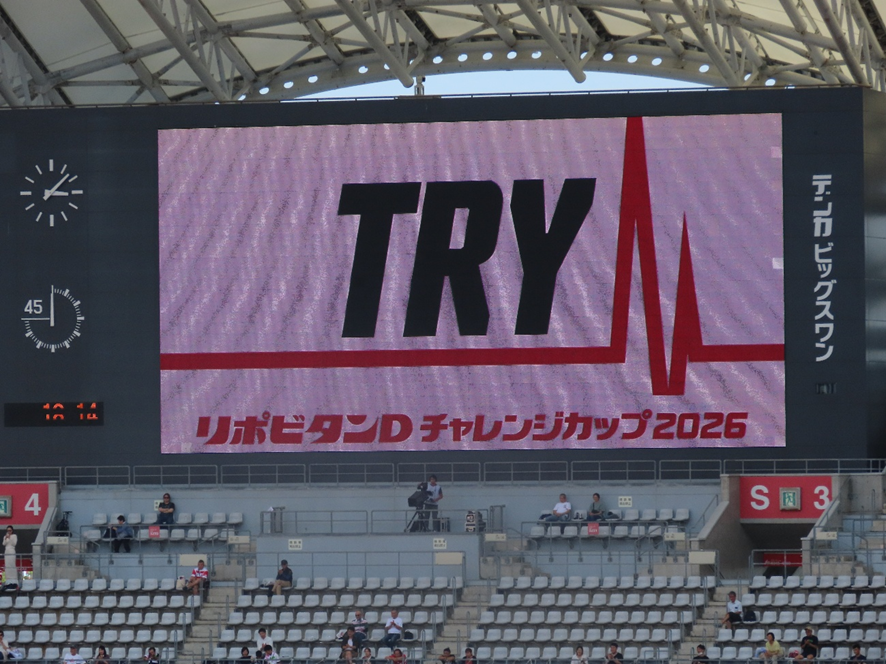
The conversion kick after the try was also successful, bringing the score to 12–7.
With this game-saving try, the Maple Leafs turned the momentum back in their favor.
22 minutes into the first half:
However, on the kickoff following the restart, the Maple Leafs committed a foul, granting the Brave Blossoms a penalty kick. From the lineout, they formed a maul and scored a try—their third of the day following the same pattern. The try was scored by flanker GUNTER.
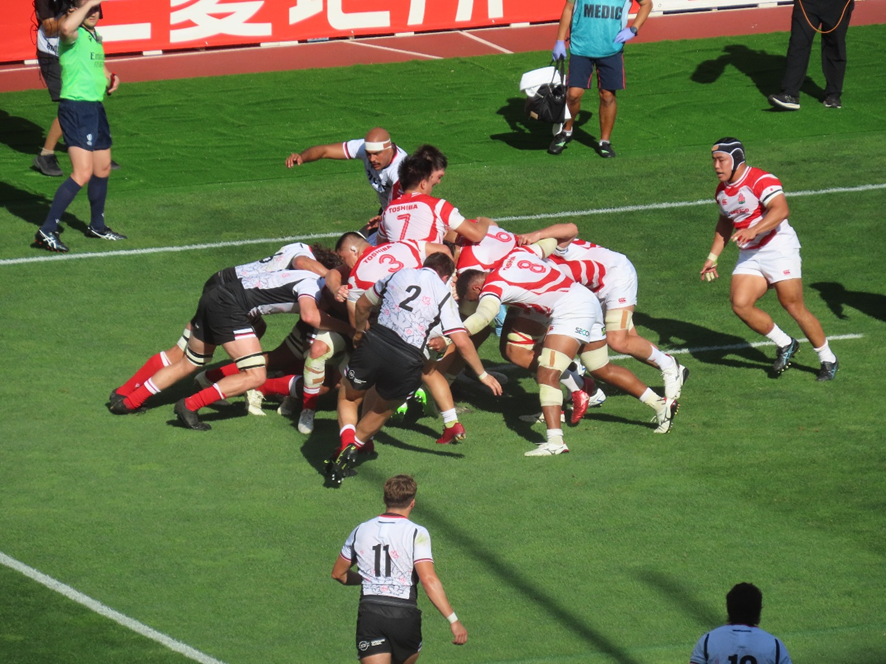
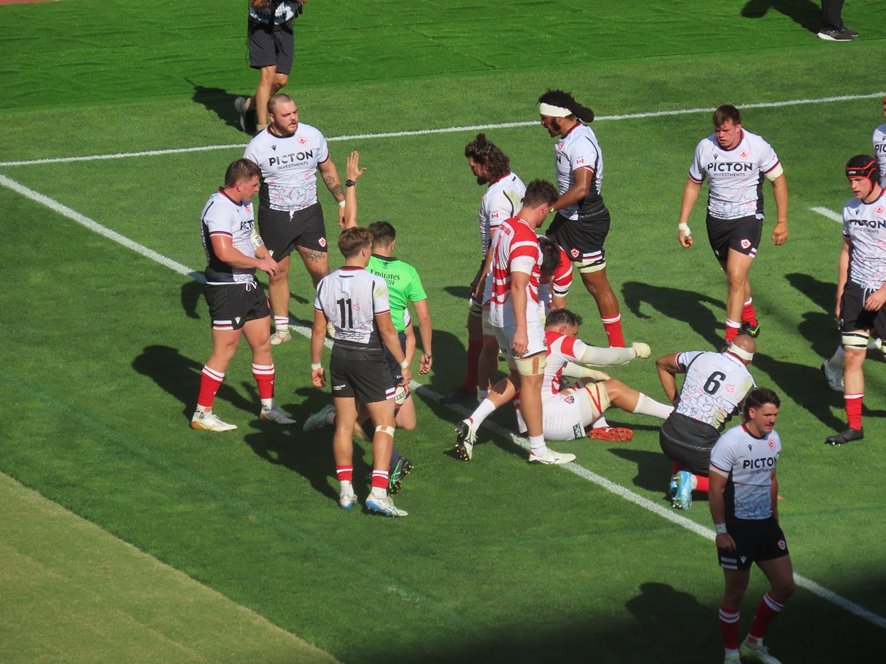
Although the conversion kick after the try was missed, the score became 17–7.
27 minutes into the first half:
The Brave Blossoms dominated the Maple Leafs in the FW battle throughout the first half. Once again, capitalizing on a penalty kick earned from an opponent’s foul, they advanced deep into enemy territory. From a maul, they quickly spread the play; the ball was passed from wing BURUA to center HIROSE, who scored a try just to the right of the opponent’s goalposts.
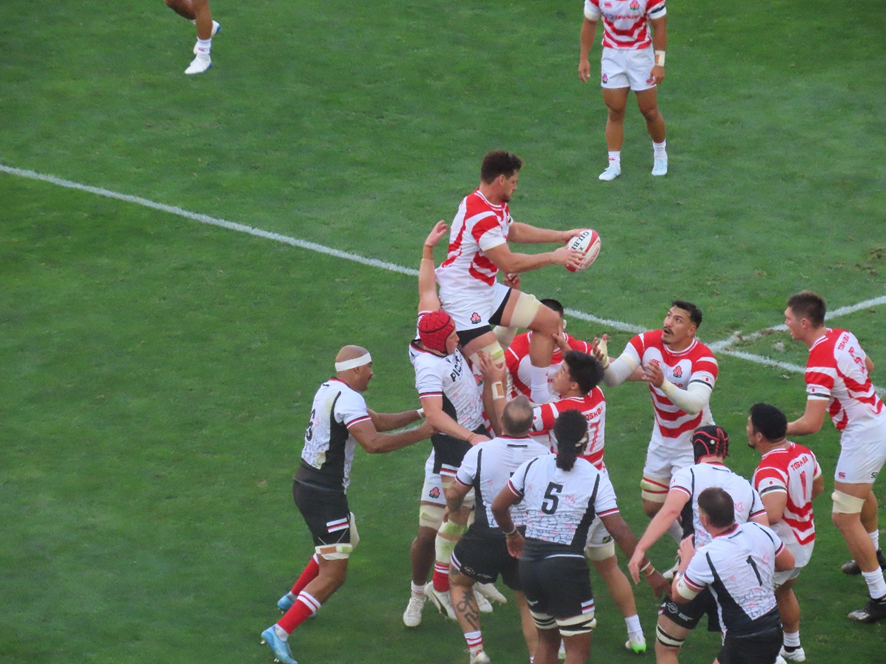
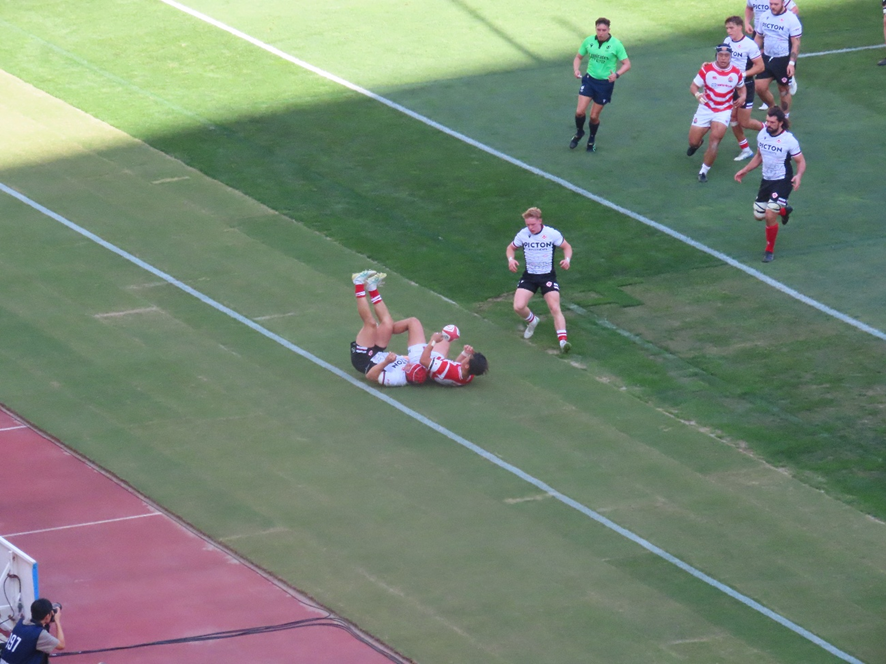
The conversion kick after the try was also successful, bringing the score to 24–7.
42 minutes into the first half:
As the first half drew to a close, the Maple Leafs opted for an attacking strategy that avoided set pieces as much as possible. Specifically, once they gained possession, they refrained from kicking the ball out of bounds and instead focused on stringing together passes to sustain their attack.
As a result, both teams ended up showcasing the “ultra-fast rugby” style that is the Brave Blossoms’ trademark.
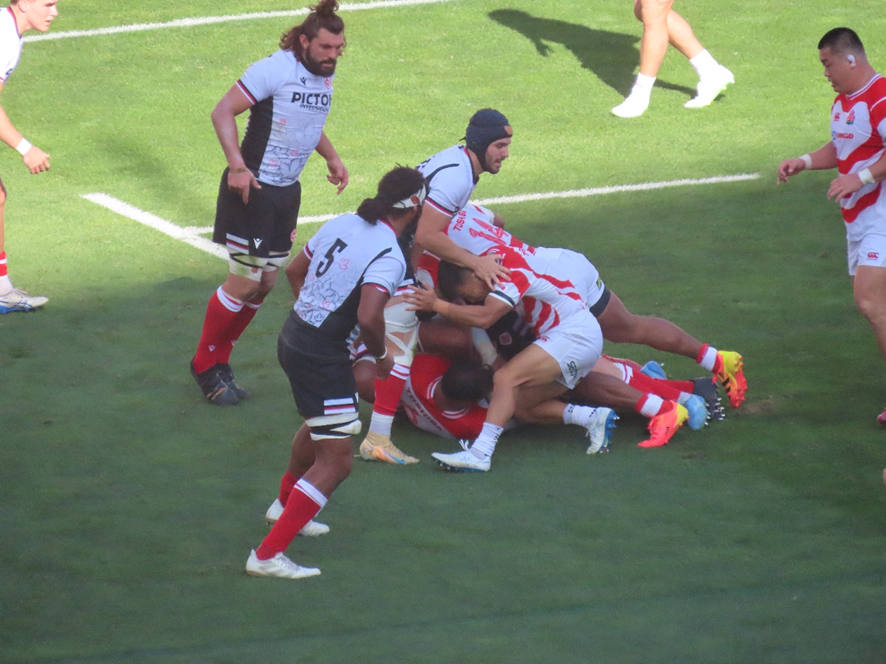
It was a whirlwind sequence of plays, but once the Brave Blossoms regained possession, they moved the ball down the field, pushing deep into enemy territory, and finally, flanker SHIMOKAWA scored a try in the right corner of the opponent’s in-goal area.
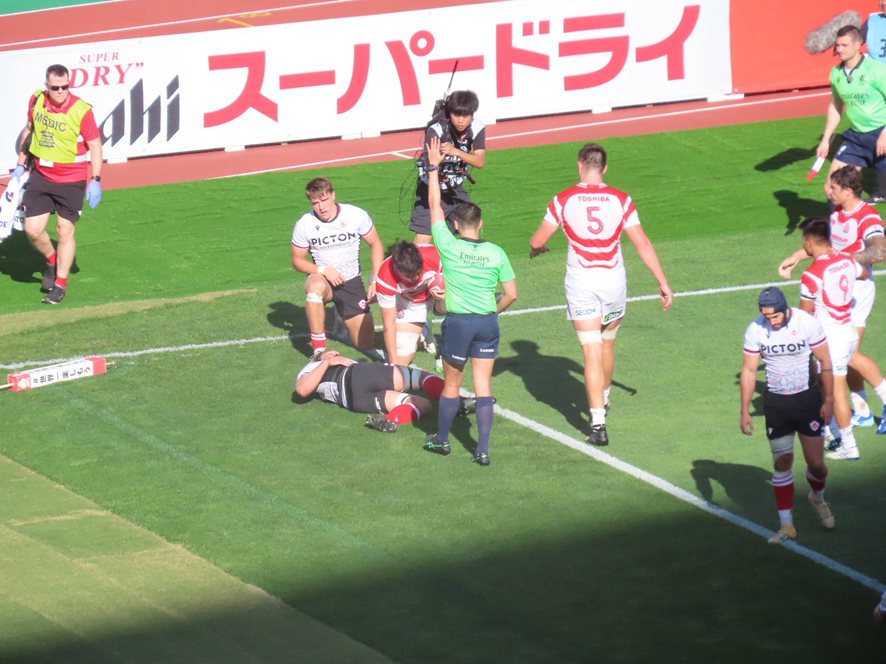
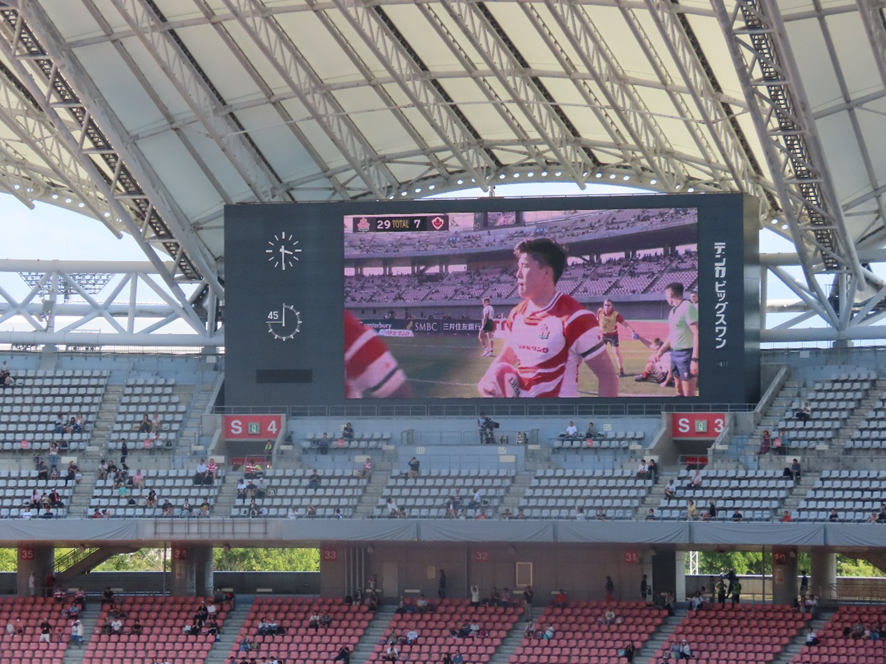
The conversion kick after the try was also successful, bringing the score to 31–7.
The first half ended with this score.
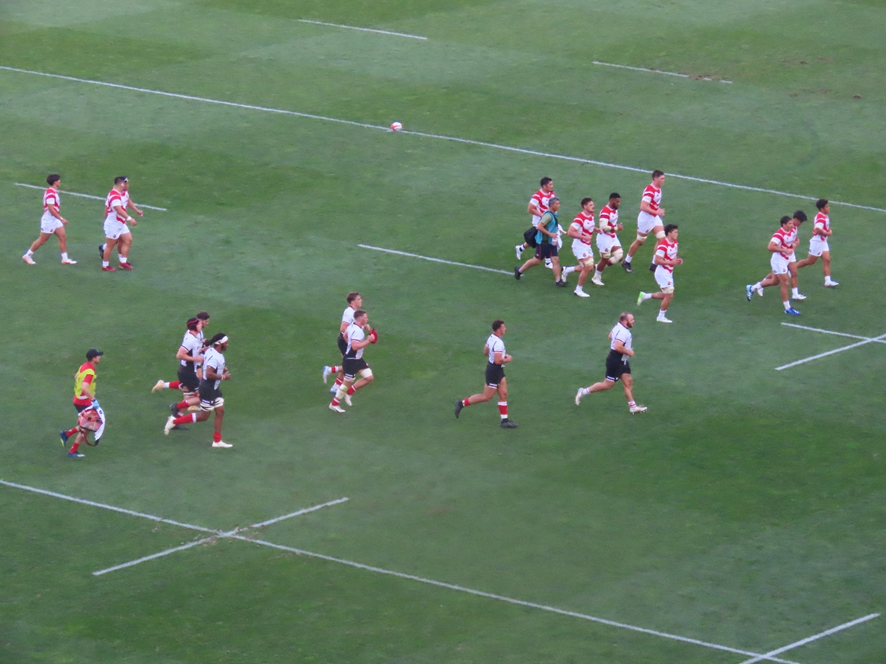
In this match, as expected given both teams’ world rankings, the Brave Blossoms dominated the scoreboard. However, looking at the scoring patterns for the day, nearly all of the Brave Blossoms’ points came from ball possession by their FWs. On the other hand, the Brave Blossoms were largely unable to break down the opponent’s defense and score through their backs’ play. In particular, there were many handling errors between the center and the wing.
How the Maple Leafs structure their game plan for the second half will determine how exciting the match becomes. Will the Maple Leafs be able to turn the tide of the game?
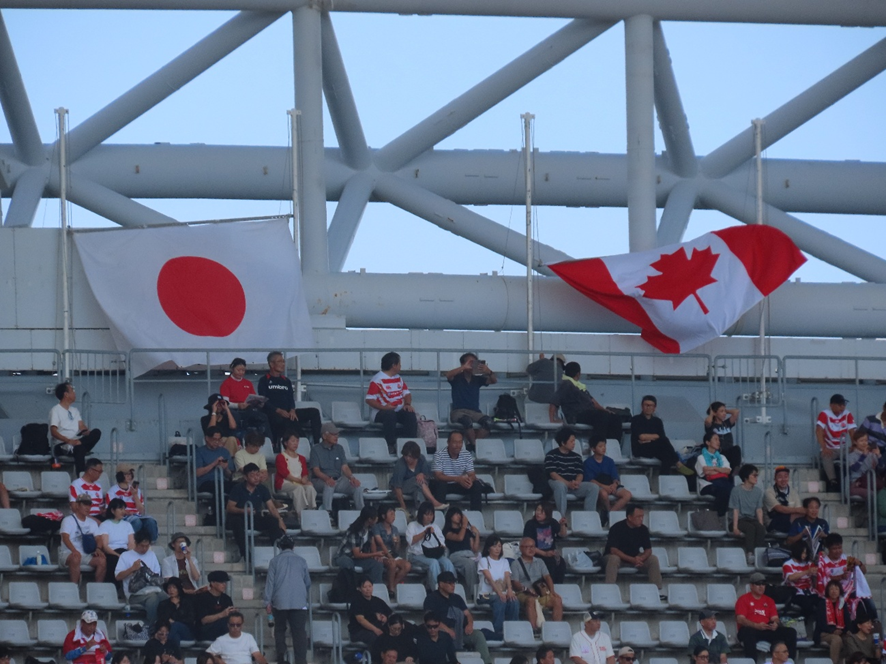
And now, the second half began.
The second half started with a kickoff by the Brave Blossoms.
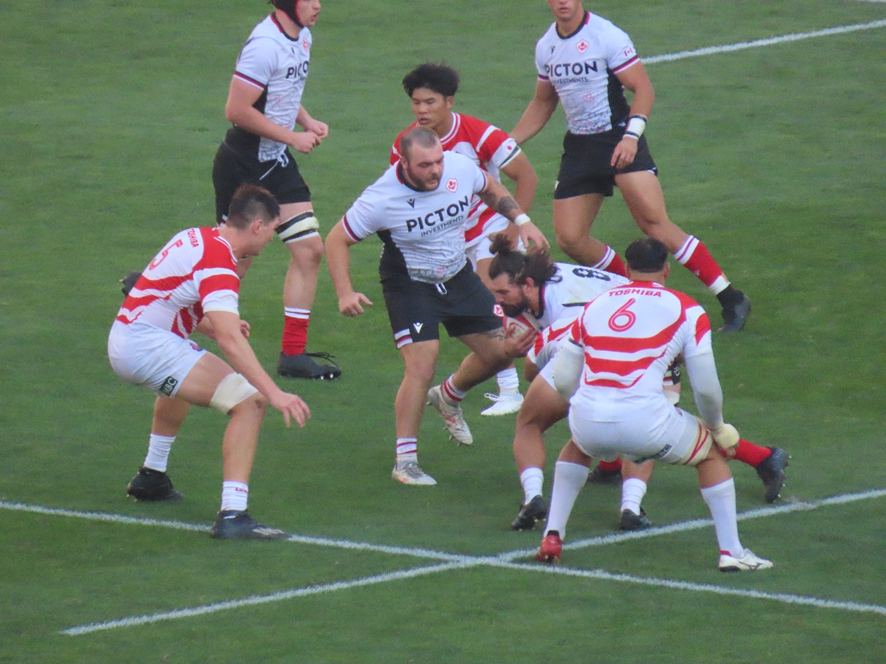
1 minute into the second half:
The Maple Leafs caught the ball after it was kicked deep into their own territory on the kickoff, spread it to their backline, and attempted a counterattack, but a handling error caused them to drop the ball forward. The Brave Blossoms picked it up, moved the ball forward, and scored a try in the left corner of the goalposts. The try was scored by hooker HARADA.
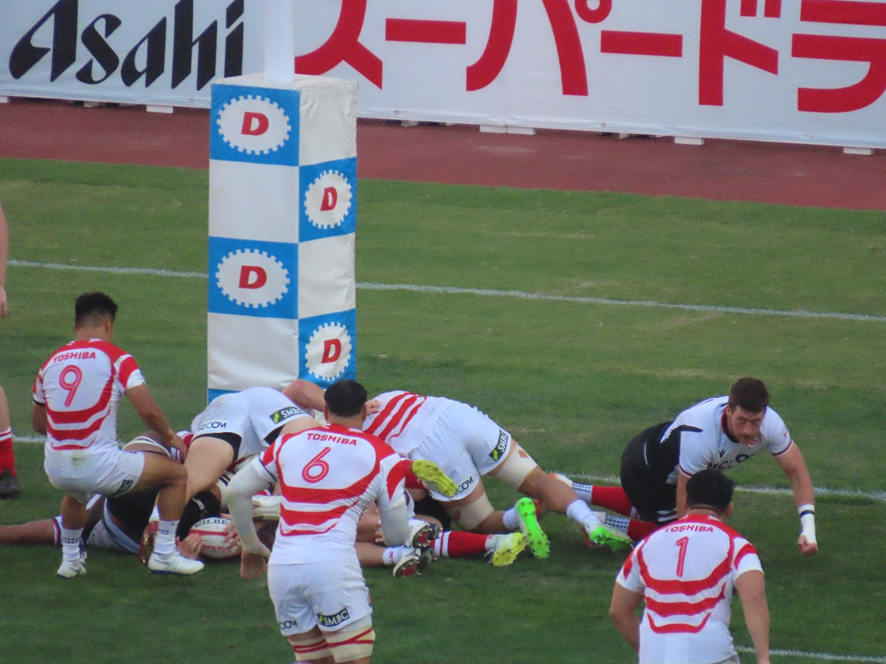
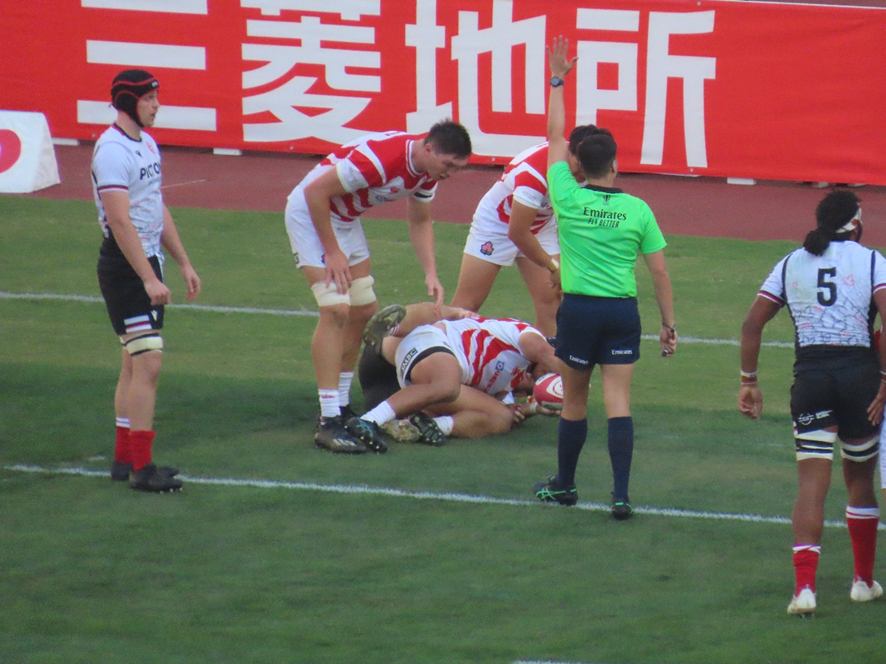
The Maple Leafs were completely unable to defend and conceded the first score of the second half to the Brave Blossoms without a fight.
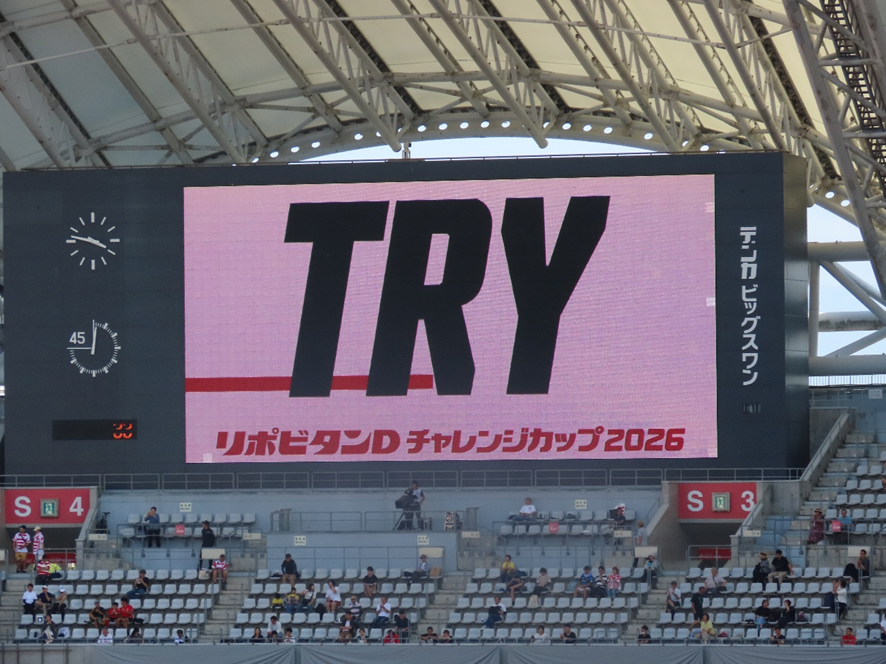
The conversion kick following the try was also successful, bringing the score to 38–7.
18 minutes into the second half:
The Maple Leafs’ strategy in the second half, just as it had been toward the end of the first half, was to maintain continuous attack while avoiding set pieces as much as possible.
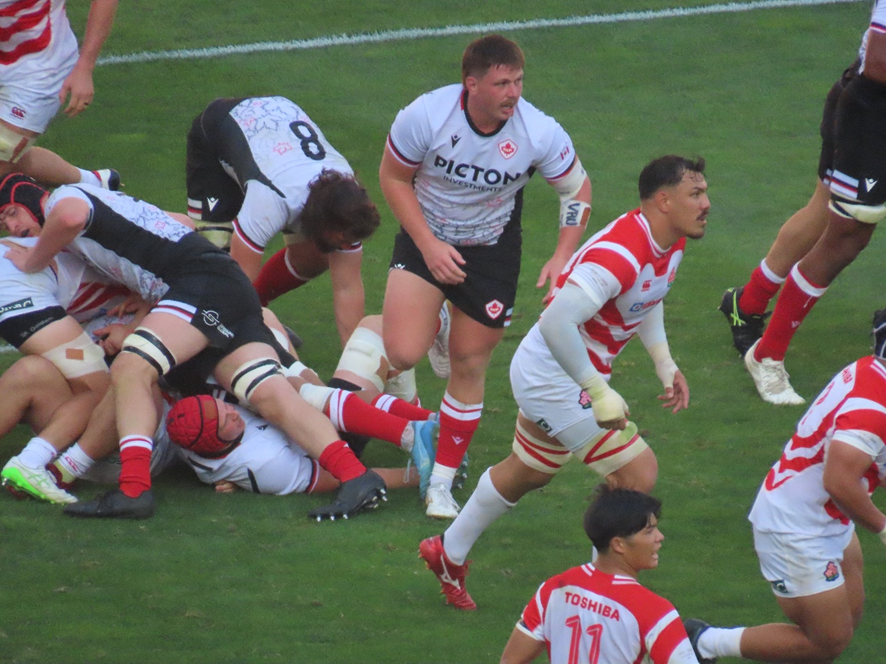
Since both teams continued to attack by moving the ball rather than relying heavily on kicks, the physical toll was intense. During a sustained attack, the Maple Leafs committed a foul, handing possession to the Brave Blossoms. The Brave Blossoms opted for a penalty kick and advanced deep into the opponent’s territory, near the try line.
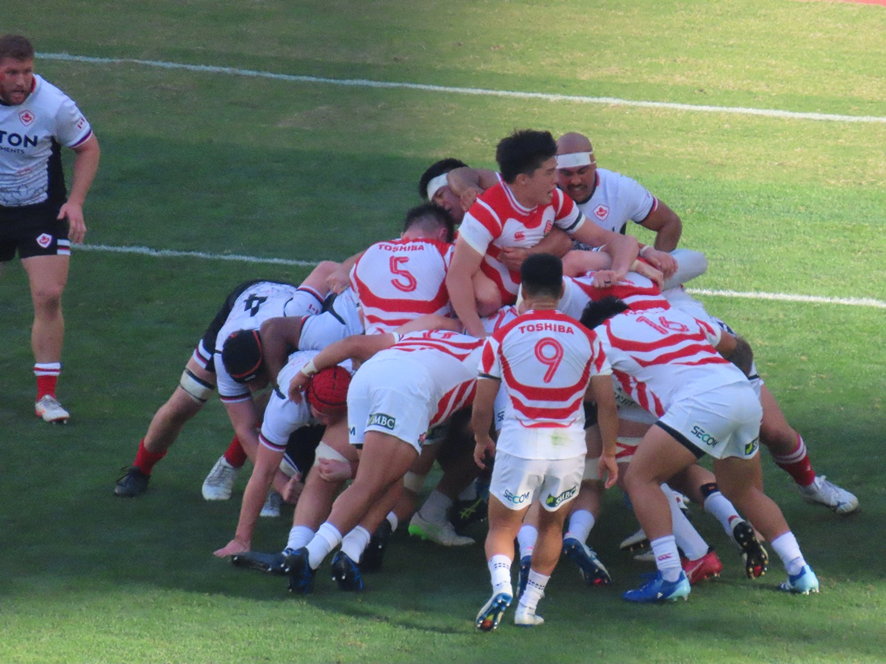
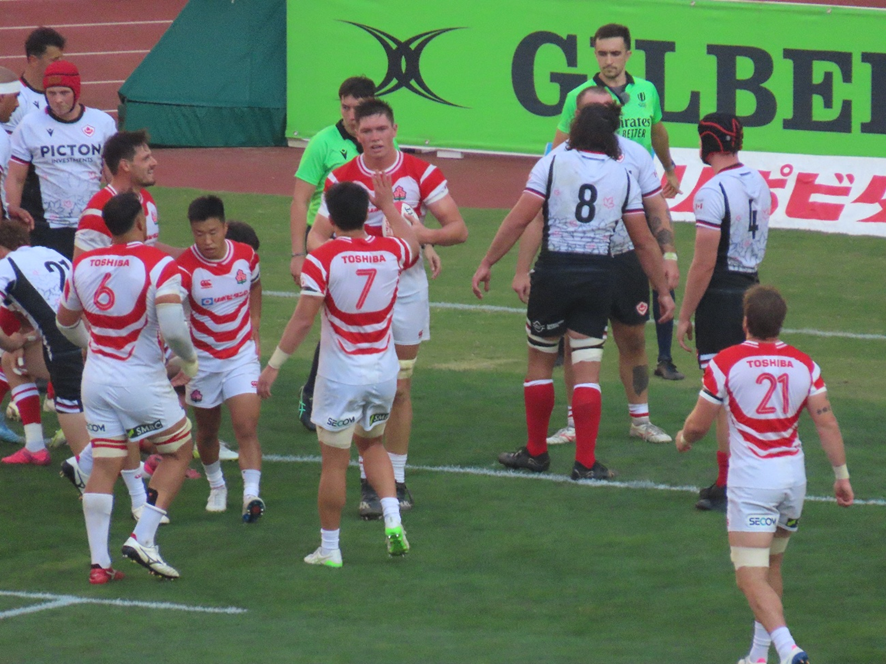
At this point, Brave Blossoms’ lock HOCKINGS caught a loose ball from a lineout and scored a try in the left-center of the opponent’s in-goal area.
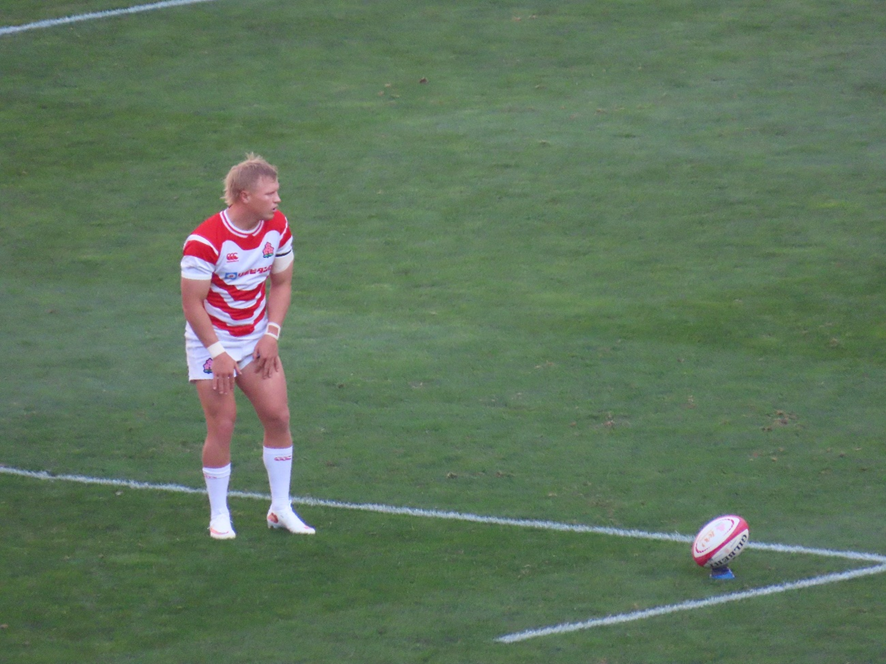
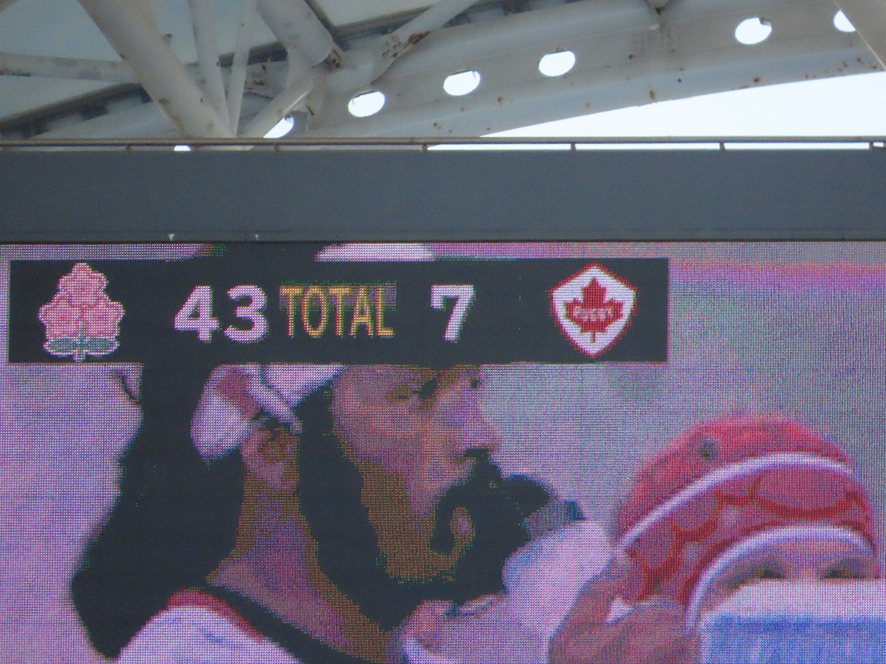
Substitute fullback GREENE attempted the conversion kick after the try but missed. The score stood at 43–7.
20 minutes into the second half:
Following the restart kickoff, the Maple Leafs entered the opponent’s half and moved the ball quickly, with center LESAGE scoring a try in the right corner of the opponent’s in-goal area.
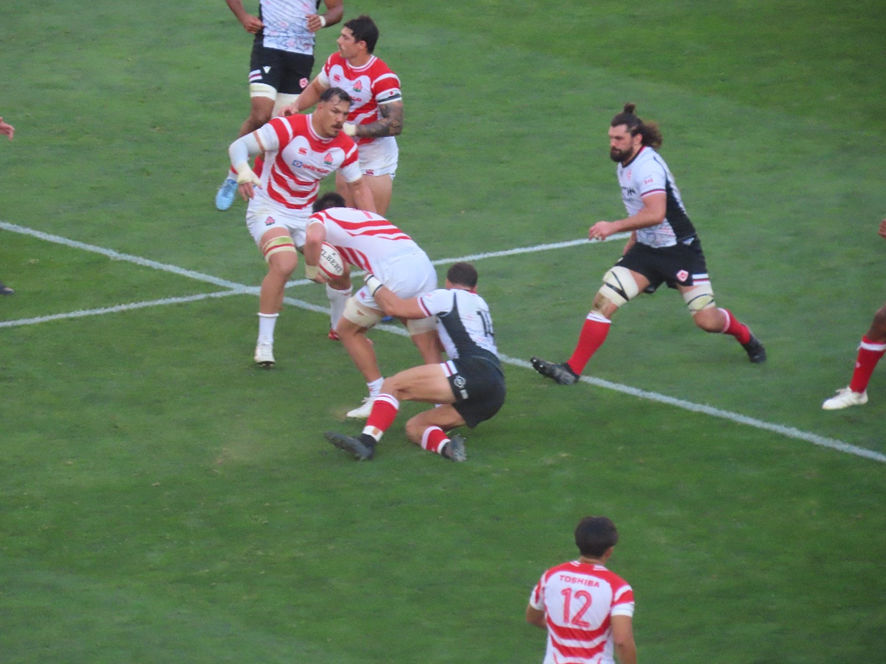
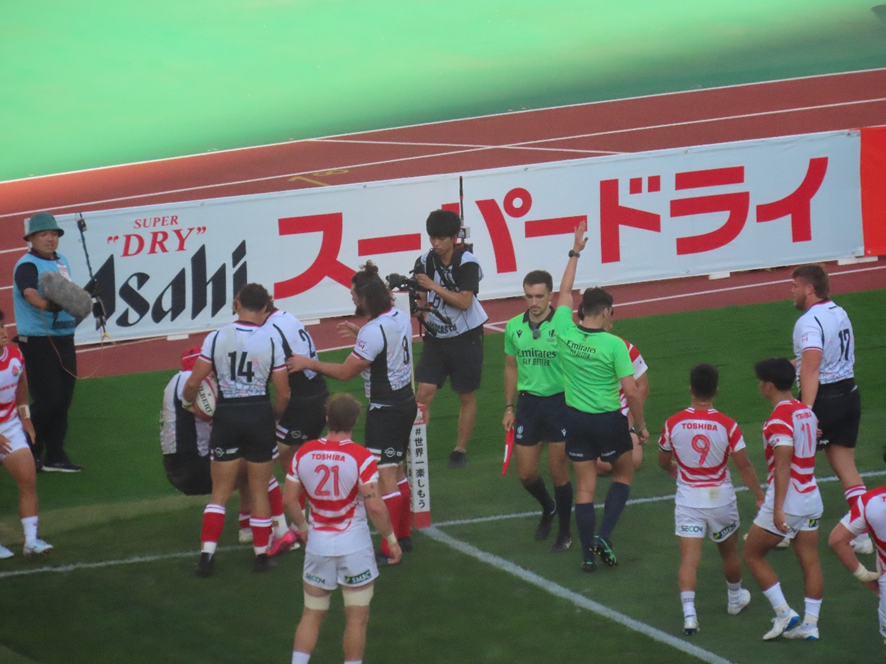
This try can only be attributed to a lapse in concentration by the Brave Blossoms’ backline. Their focus had slipped after the previous try.
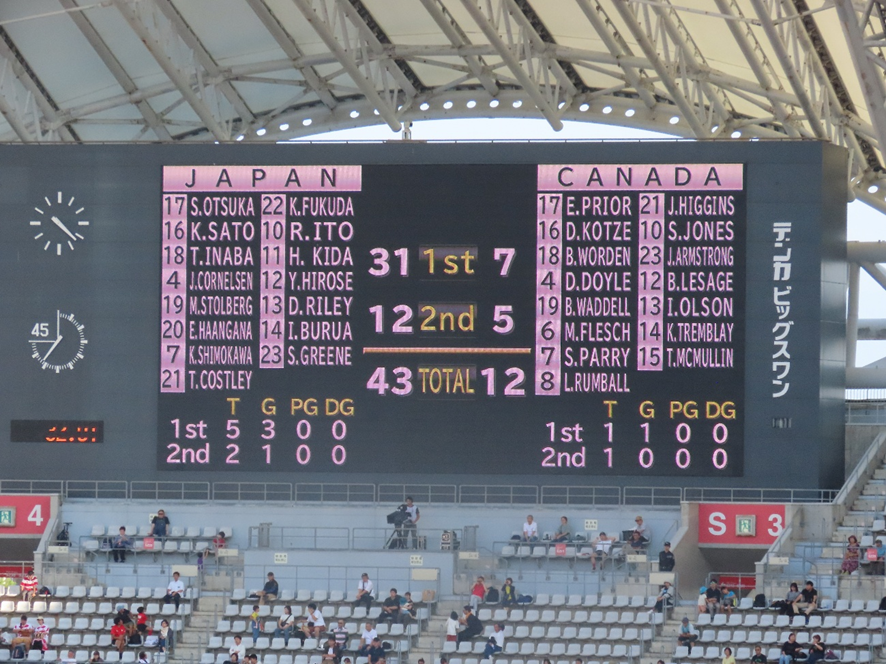
The conversion kick following the try was missed, bringing the score to 43–12.
37 minutes into the second half:
Looking at the second-half score so far—12-5—the Maple Leafs’ strong performance stands out.
However, once the Brave Blossoms entered the opponent’s half, they steadily advanced, broke through the line, and surged toward the try line. Finally, prop Inaba—making his debut for the Japanese national team that day—scored a try in the left-center of the opponent’s in-goal area.
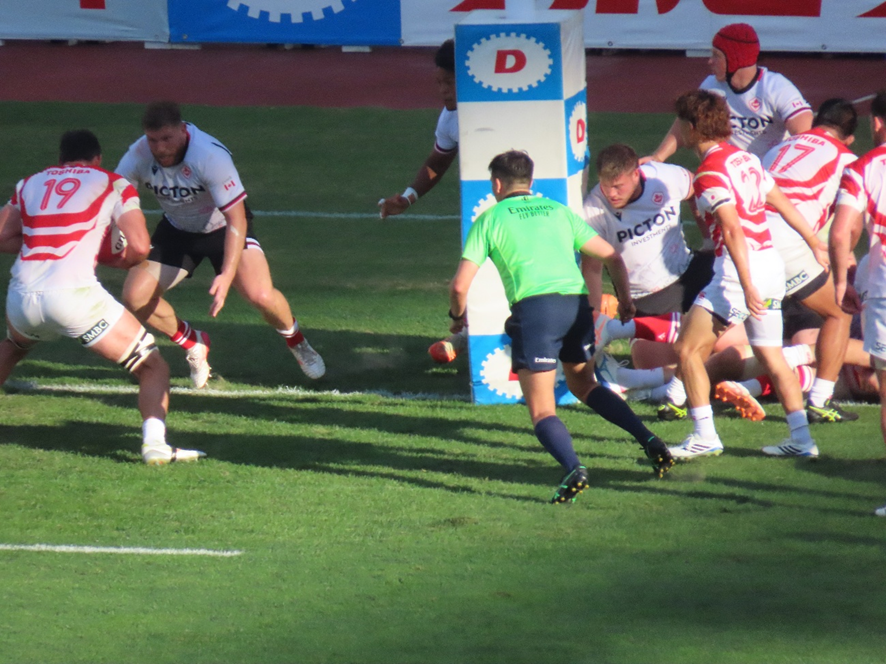
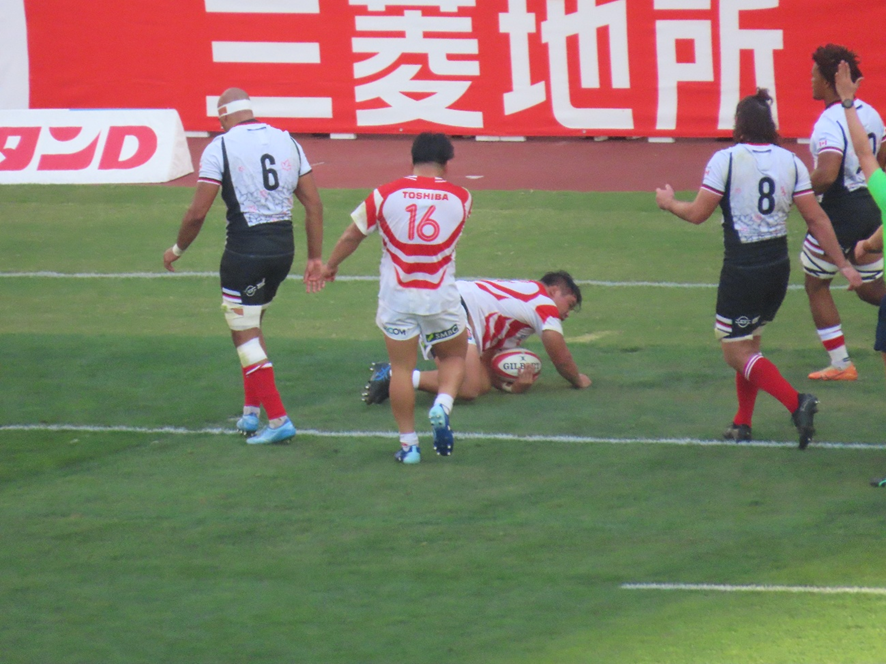
The conversion kick following the try was also successful, bringing the score to 50–12.
40 minutes into the second half:
With the match nearing its end, the Brave Blossoms advanced deep into the opponent’s territory following a penalty kick awarded for a foul by the opposing team.
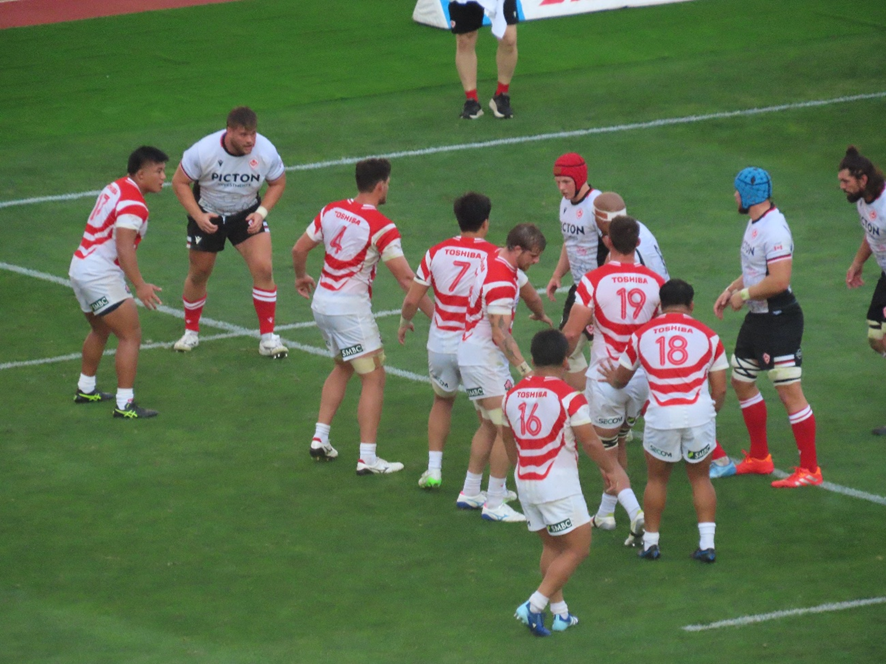
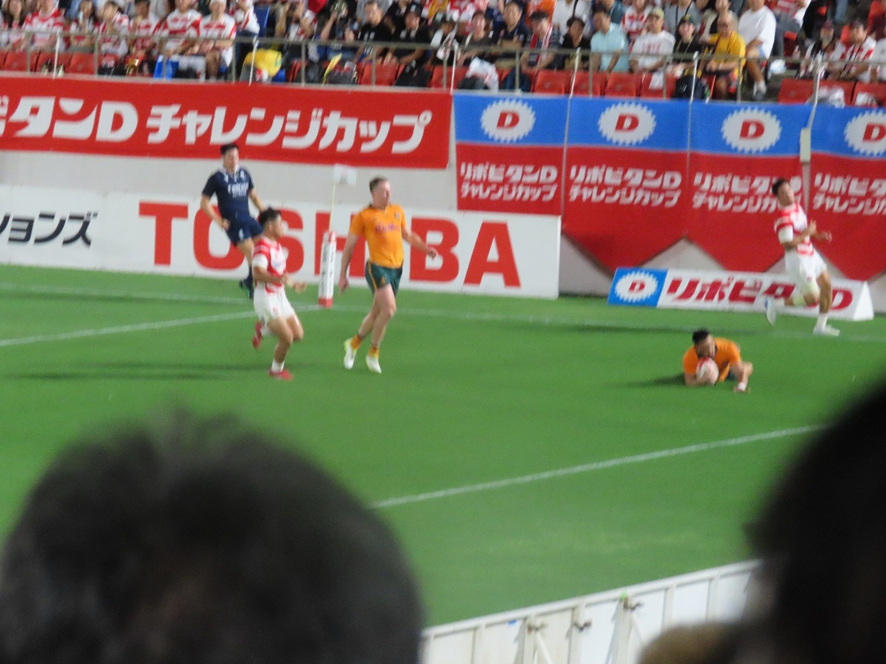
From there, the Brave Blossoms launched wave after wave of attacks centered around their forwards, pressing toward the opponent’s in-goal area, and it appeared that substitute No. 8 COSTLEY had scored a try.
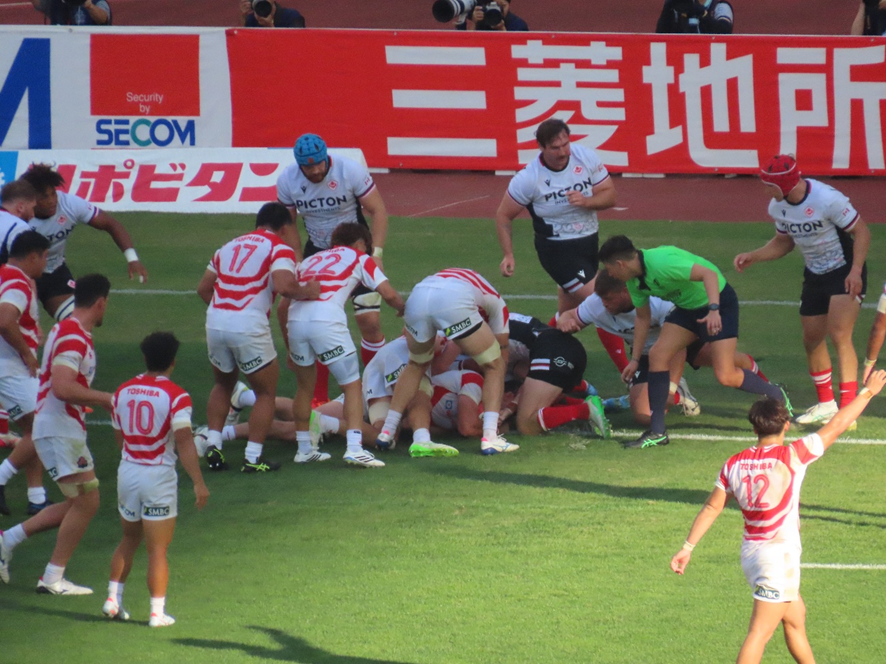
However, a video review was called, and following the review, the Brave Blossoms’ try was upheld.

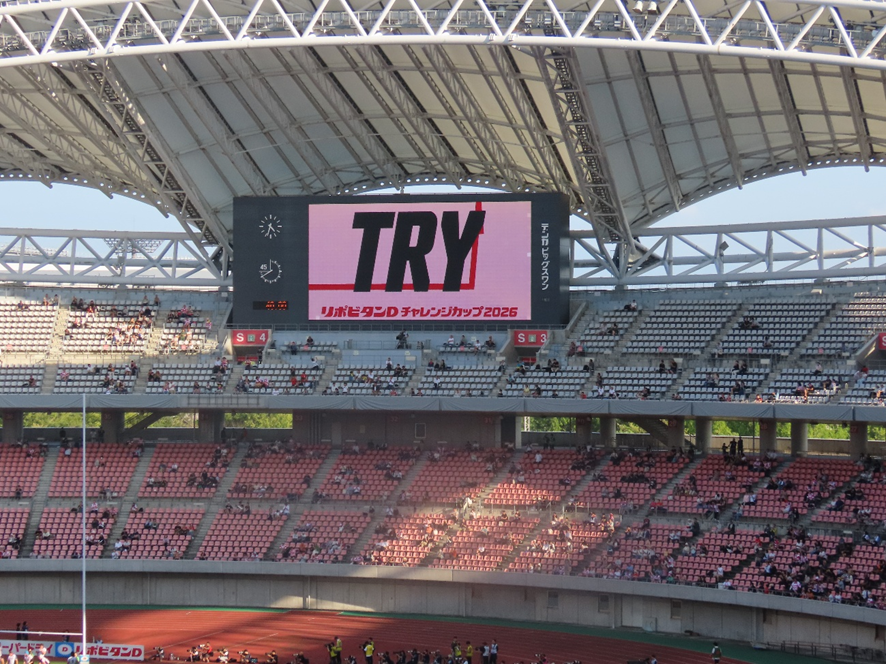
The conversion kick after the try was also successful, bringing the score to 57–12.
With that, the match ended, and the Brave Blossoms secured their first Test match victory in five games.
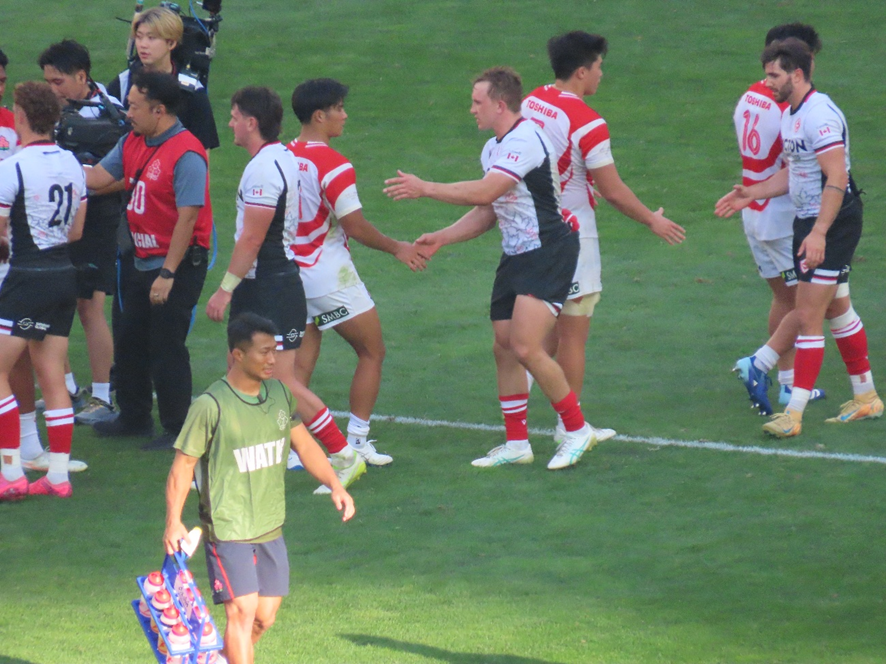
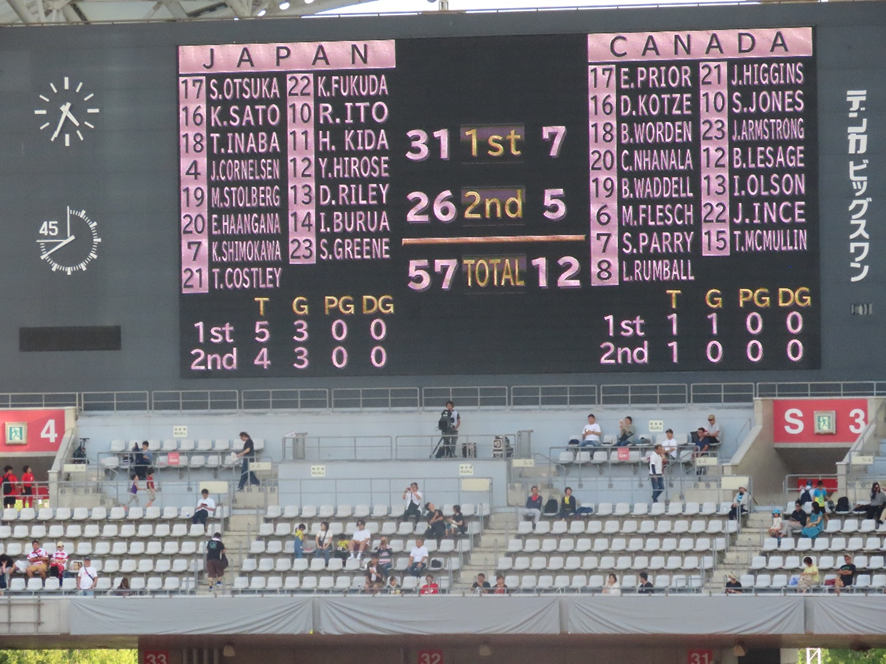
While the Japanese national team achieved a decisive victory on paper, several issues were evident regarding the backline’s defense and coordination. We hope the team will work to improve its overall performance in the Test Match series, which continues through November.
There is just over a year left until the 2027 Rugby World Cup.
**********************

Stop the war.
Peace to Ukraine
*************************